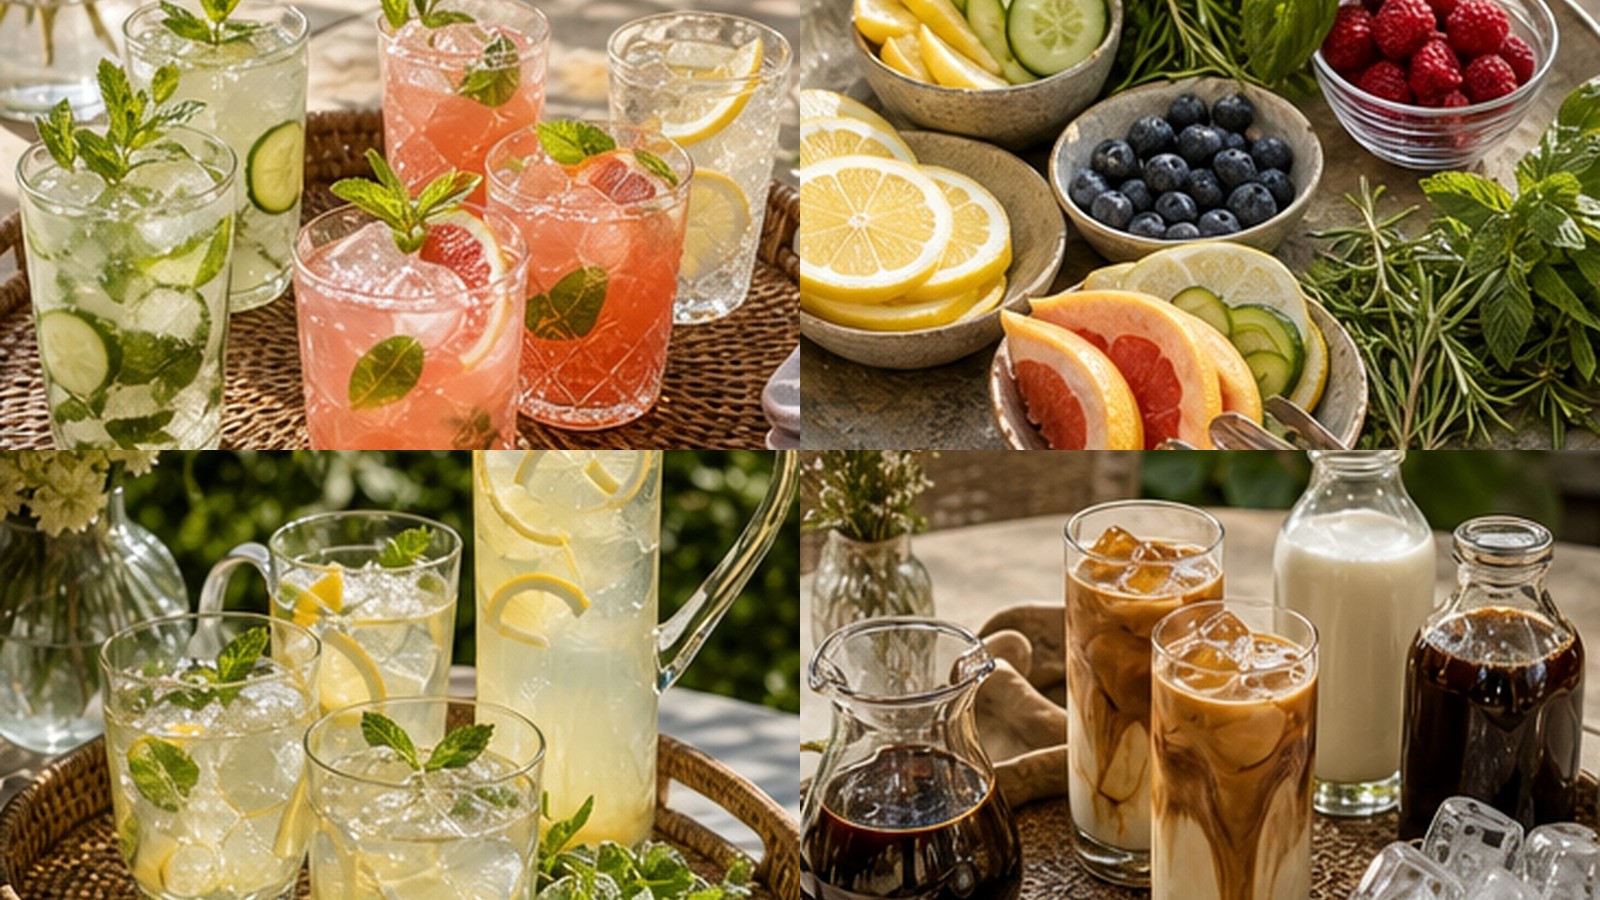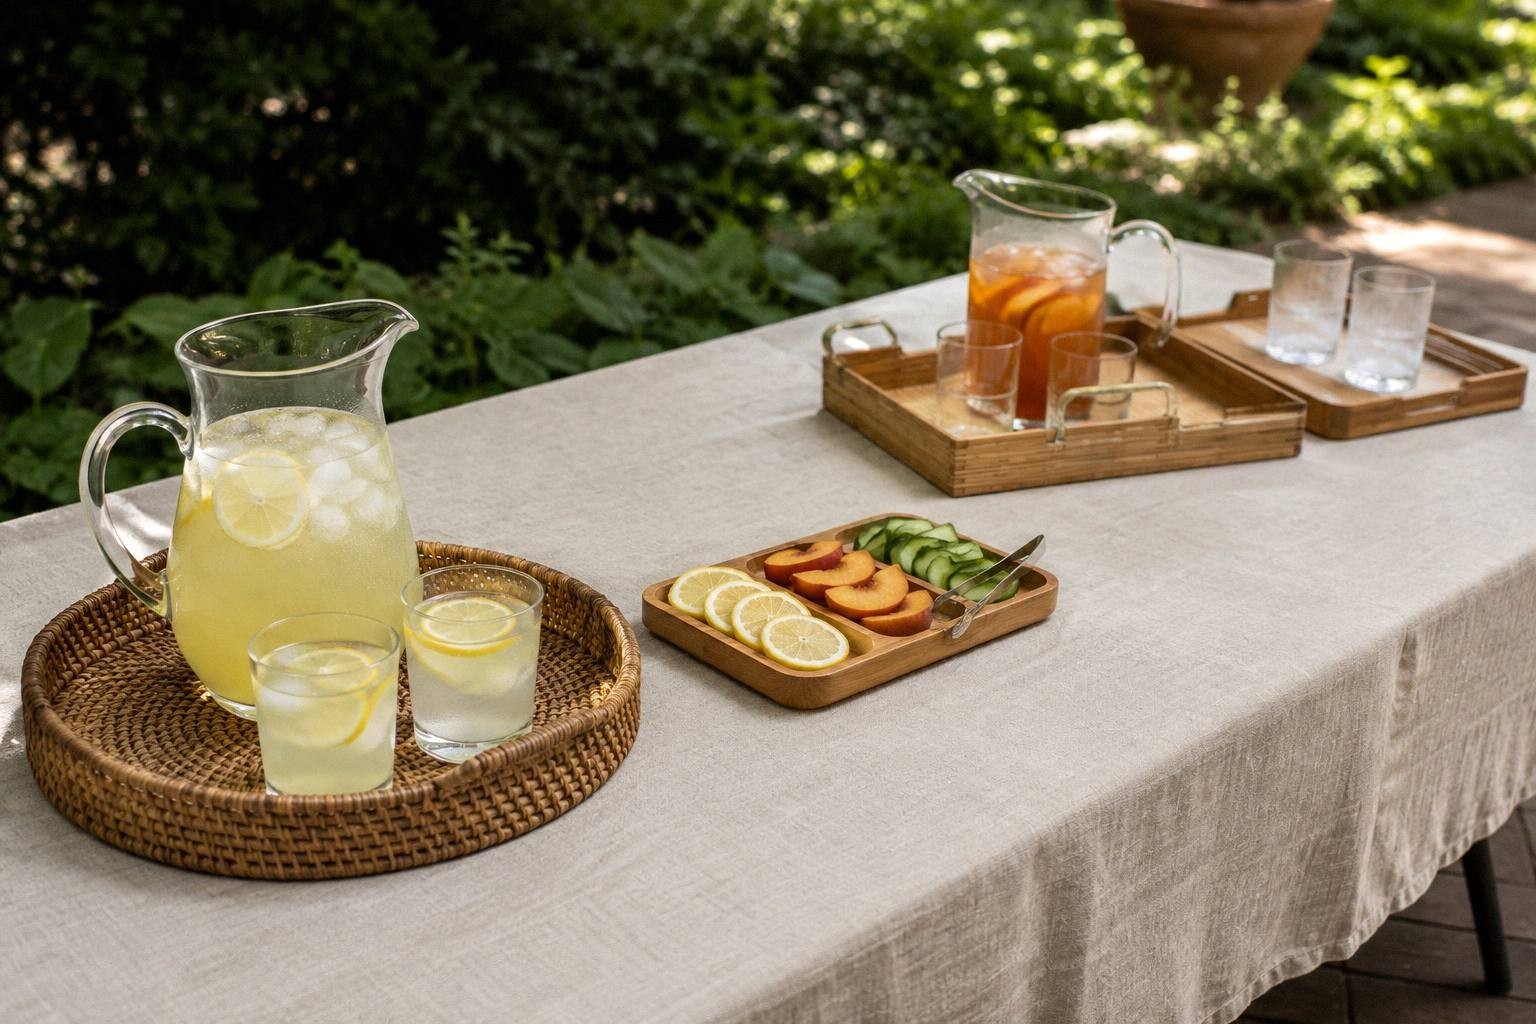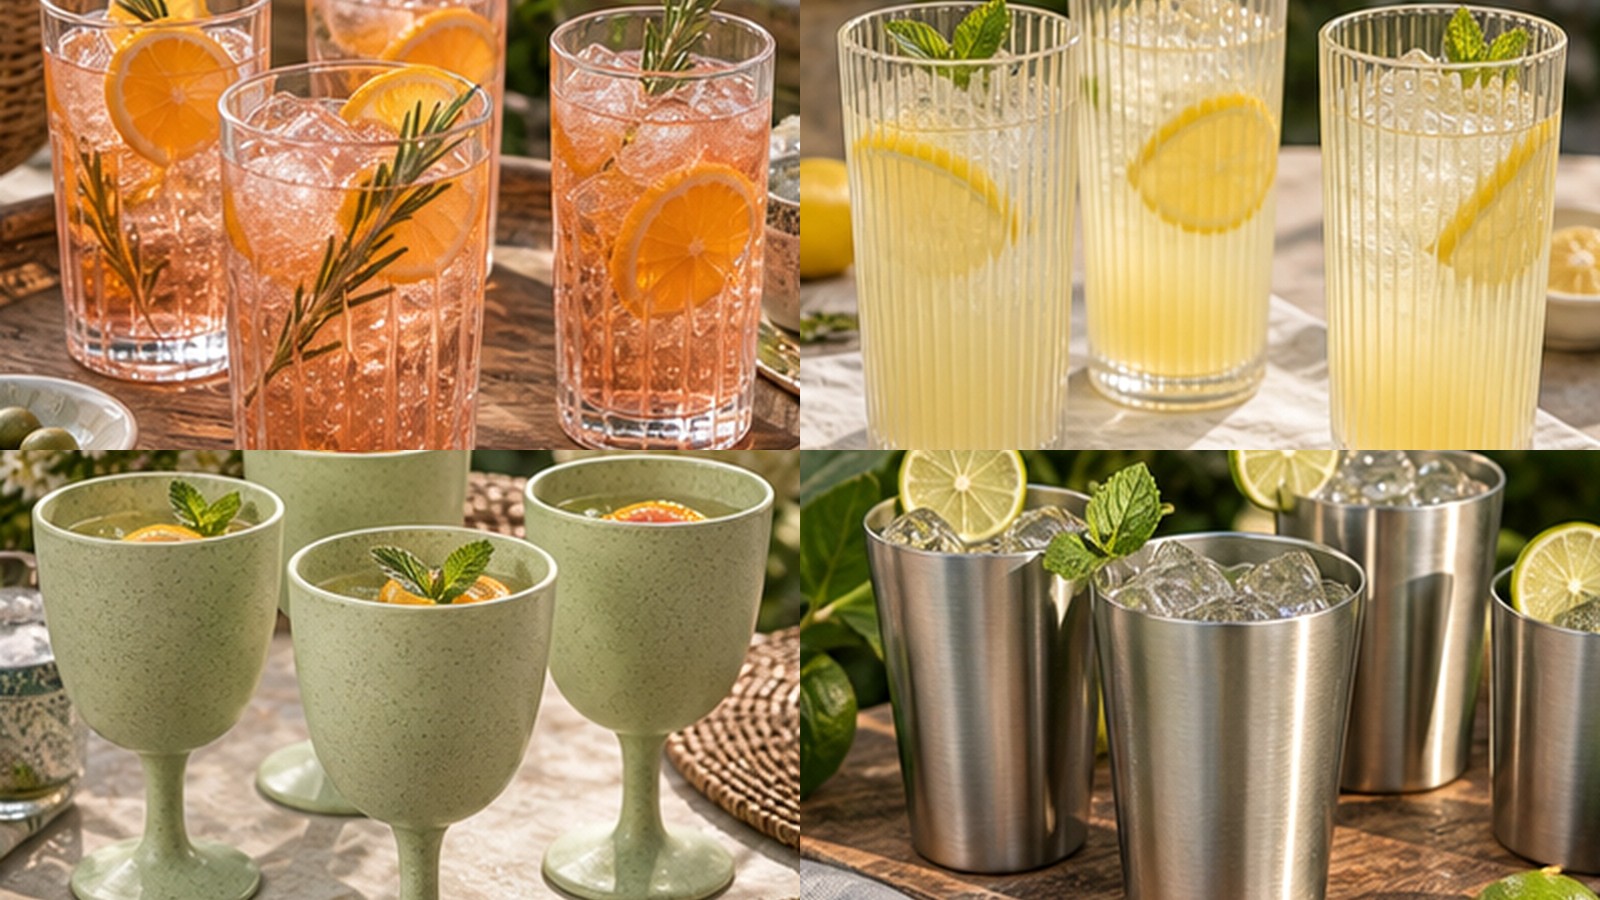
I want the drink table to look finished, but I don’t want to buy twelve pretty things that still leave guests asking where the ice is.
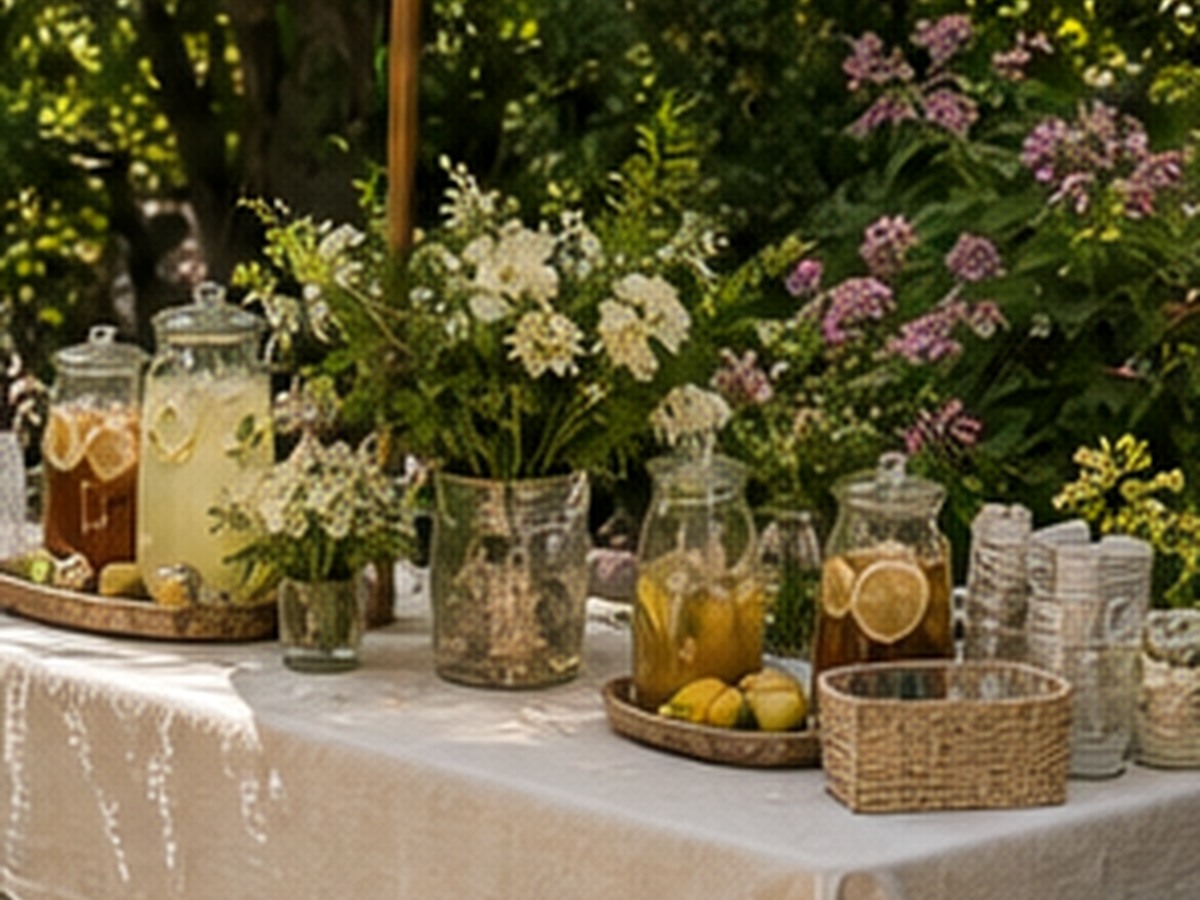
The setup in this guide solves both problems. It gives tea, lemonade, ice, cups, garnish, and refills a clear place, then uses a few warm textures so the table feels like part of the party instead of a folding table somebody forgot to hide.
Quick answer
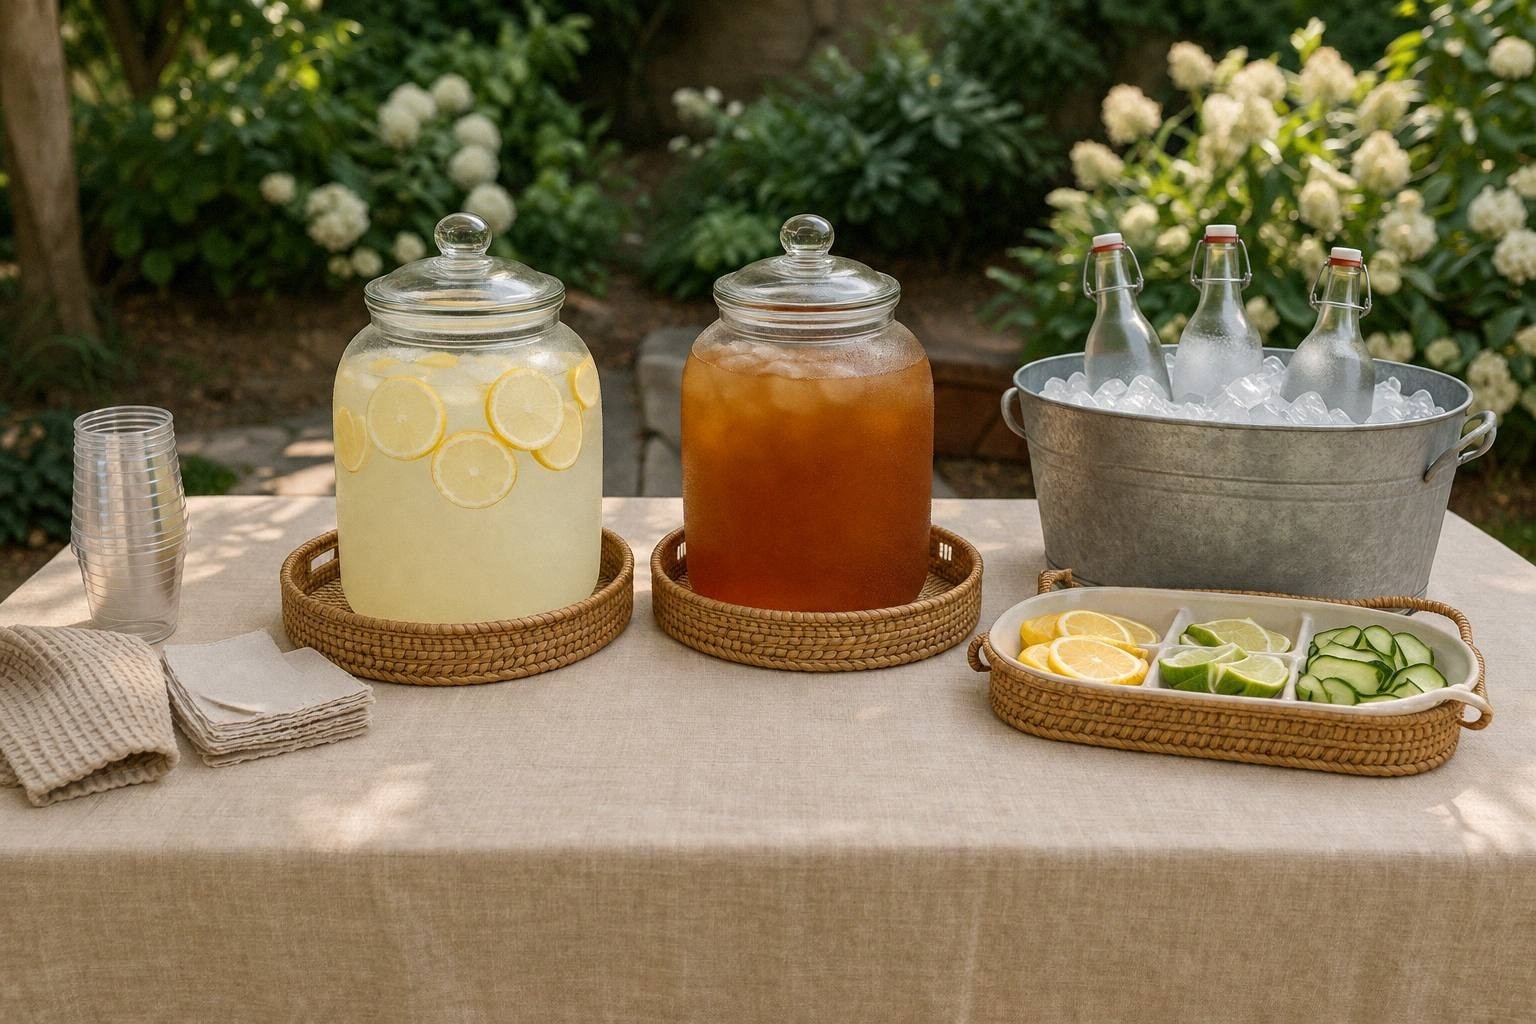
For a self-serve BBQ drink station, start with two cold drinks, one visible ice tub, one stack of cups, one divided garnish tray , and a washable table covering. Put backup drinks and ice in a cooler below or behind the table. A tray under each pitcher catches drips and makes an inexpensive setup look deliberate.
If you buy anything, start with a pitcher or dispenser that pours cleanly and a divided garnish tray. Use a cooler you already own for ice and canned drinks. Borrow the table, use your current cups, and cover an unattractive surface with a washable cloth.
BBQ drink station shopping list: what to buy or borrow
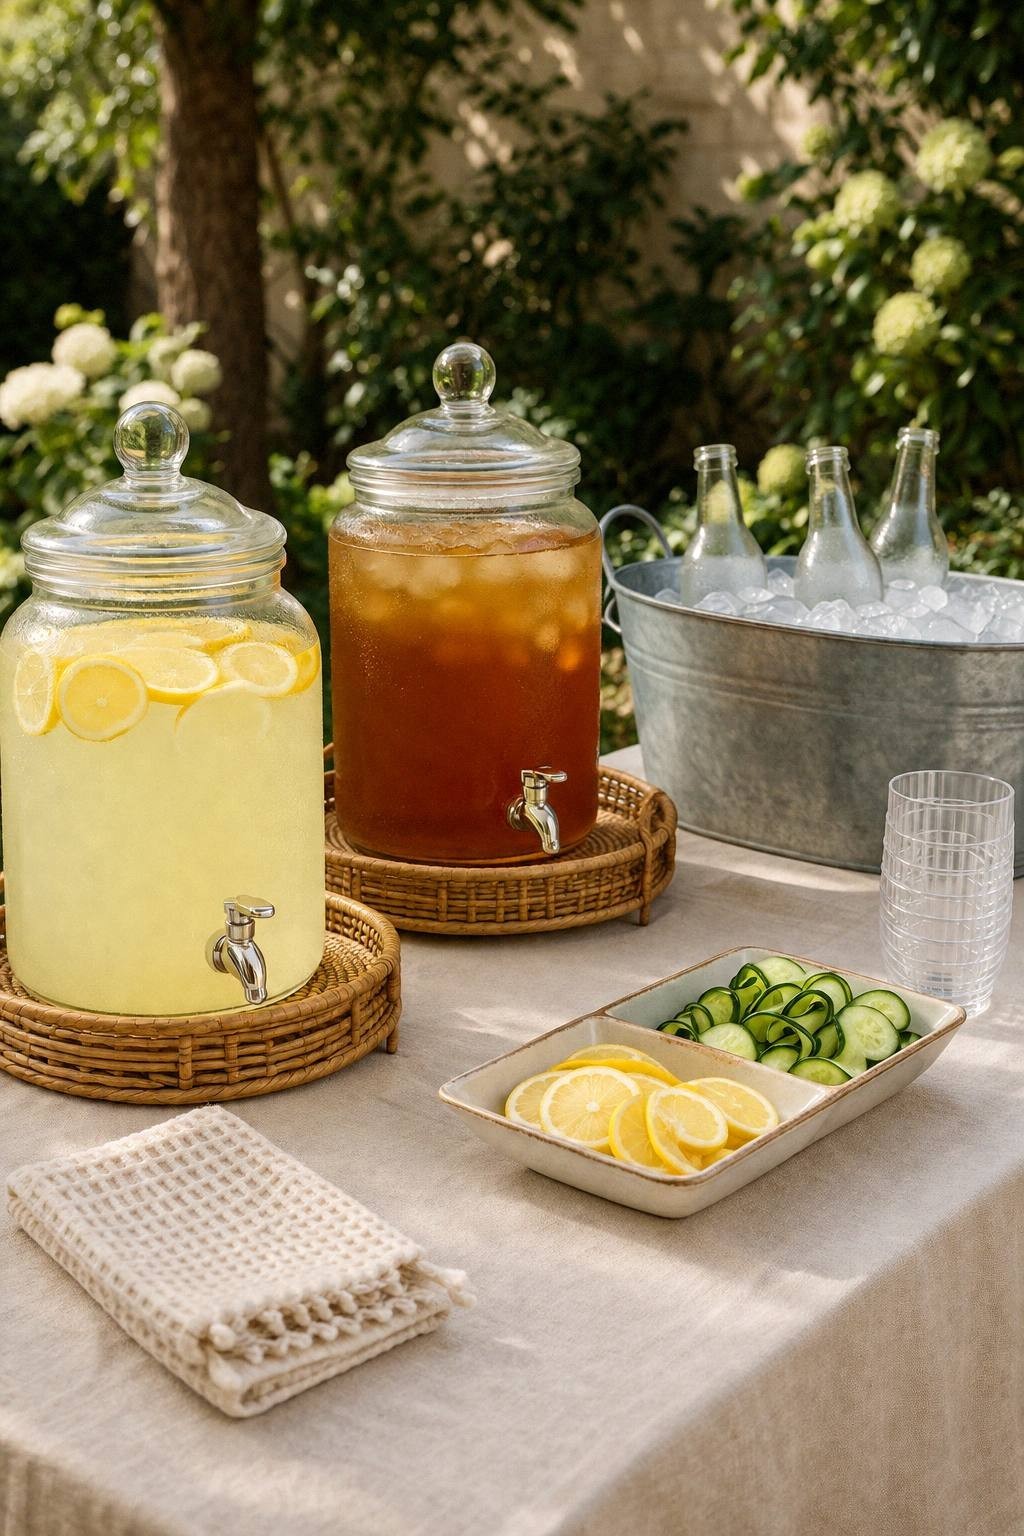
The original Pin is an editorial setup, not a photograph of branded merchandise. The products below are examples for particular jobs, not a ranking. Check each current listing for the exact pack, dimensions, material, care, and included parts before ordering.
These product links are affiliate links. If you buy through them, we may earn a commission at no extra cost to you.
| What you see in the setup | Product example | Check before ordering |
|---|---|---|
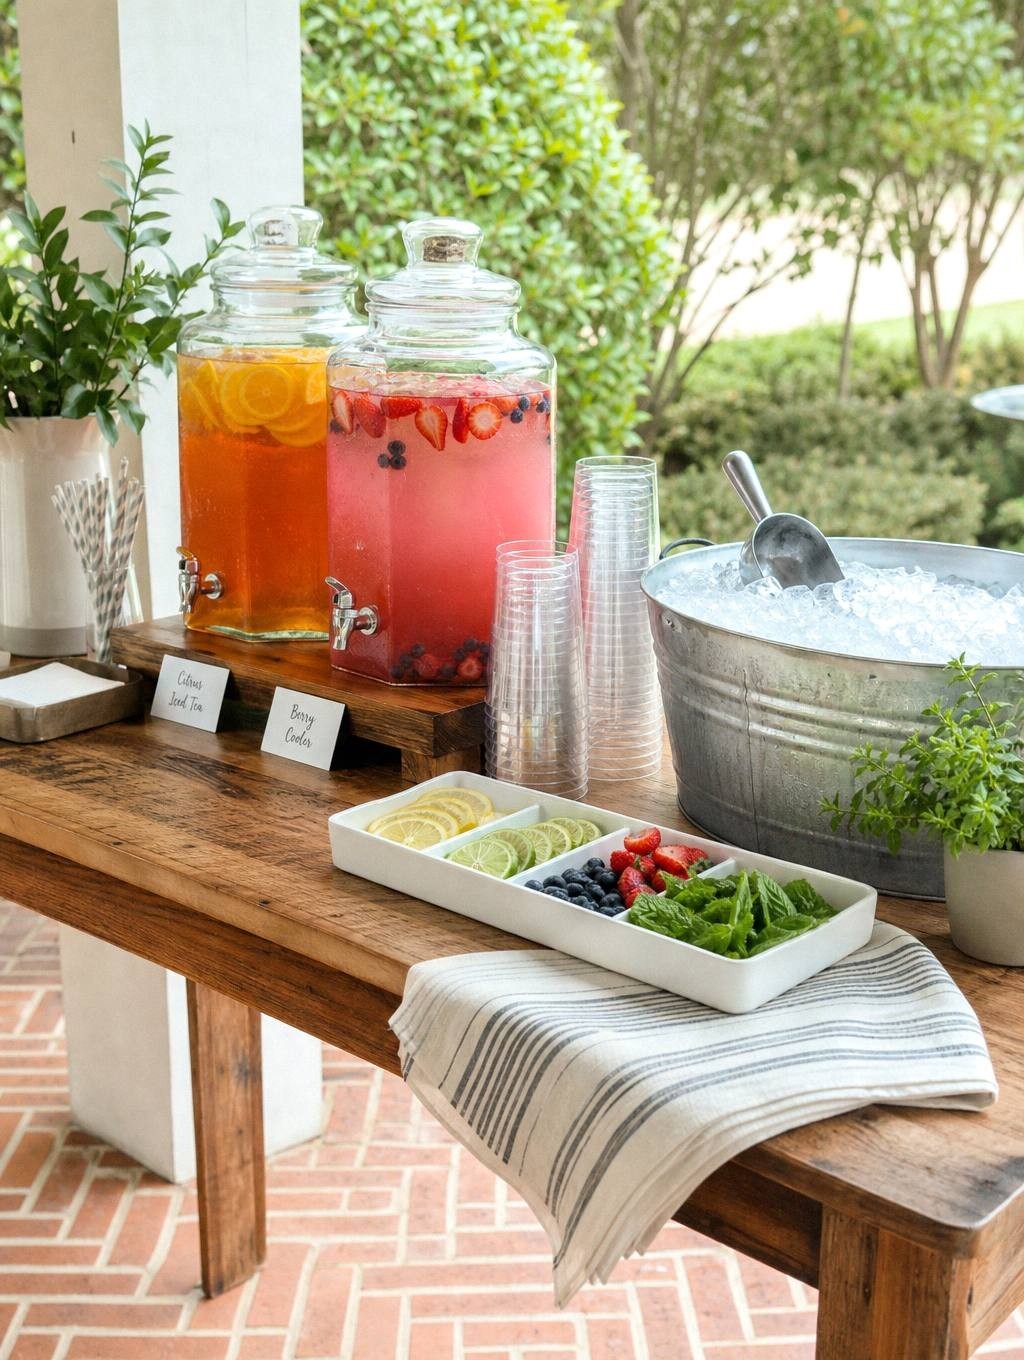
| Two clear drink servers | Lifewit two-pack, 1-gallon drink dispensersPaid Amazon links: we may earn a commission if you buy through links in this article. Disclosure details. | Each is listed as one gallon. Compare the spigot clearance and the pair’s footprint with your table before choosing two dispensers. |
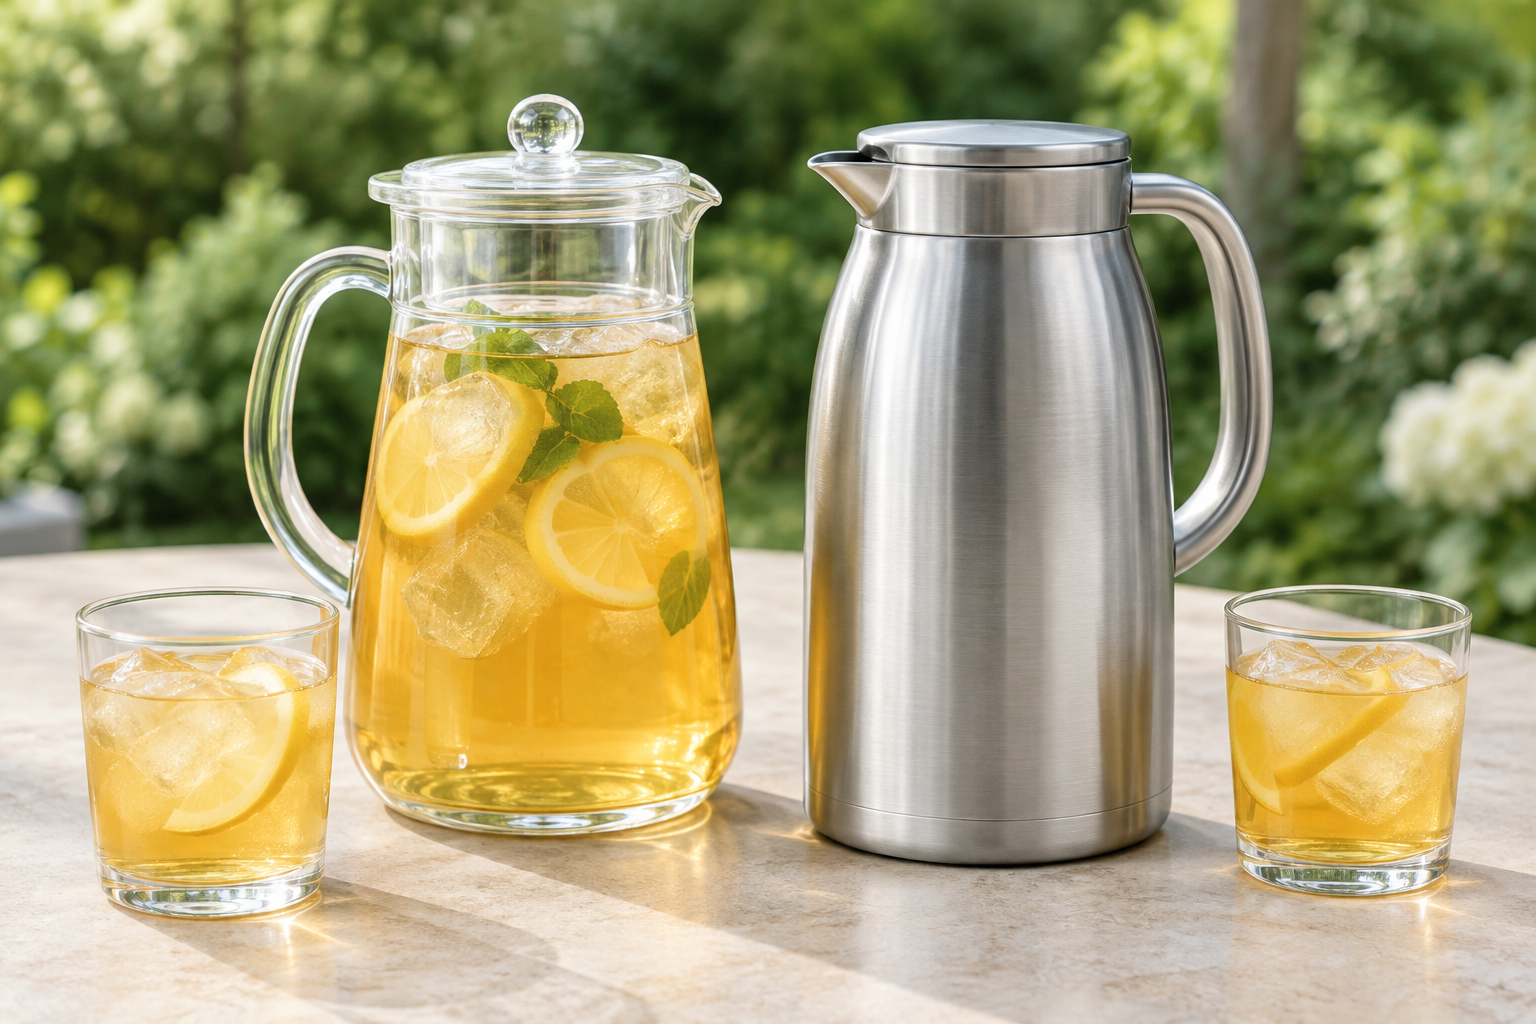
| Glass pitcher | Bivvclaz 68-ounce glass pitcher | Match the recipe’s finished volume to the stated capacity, leaving room for fruit and ice; check the exact listing’s care and lid details. |
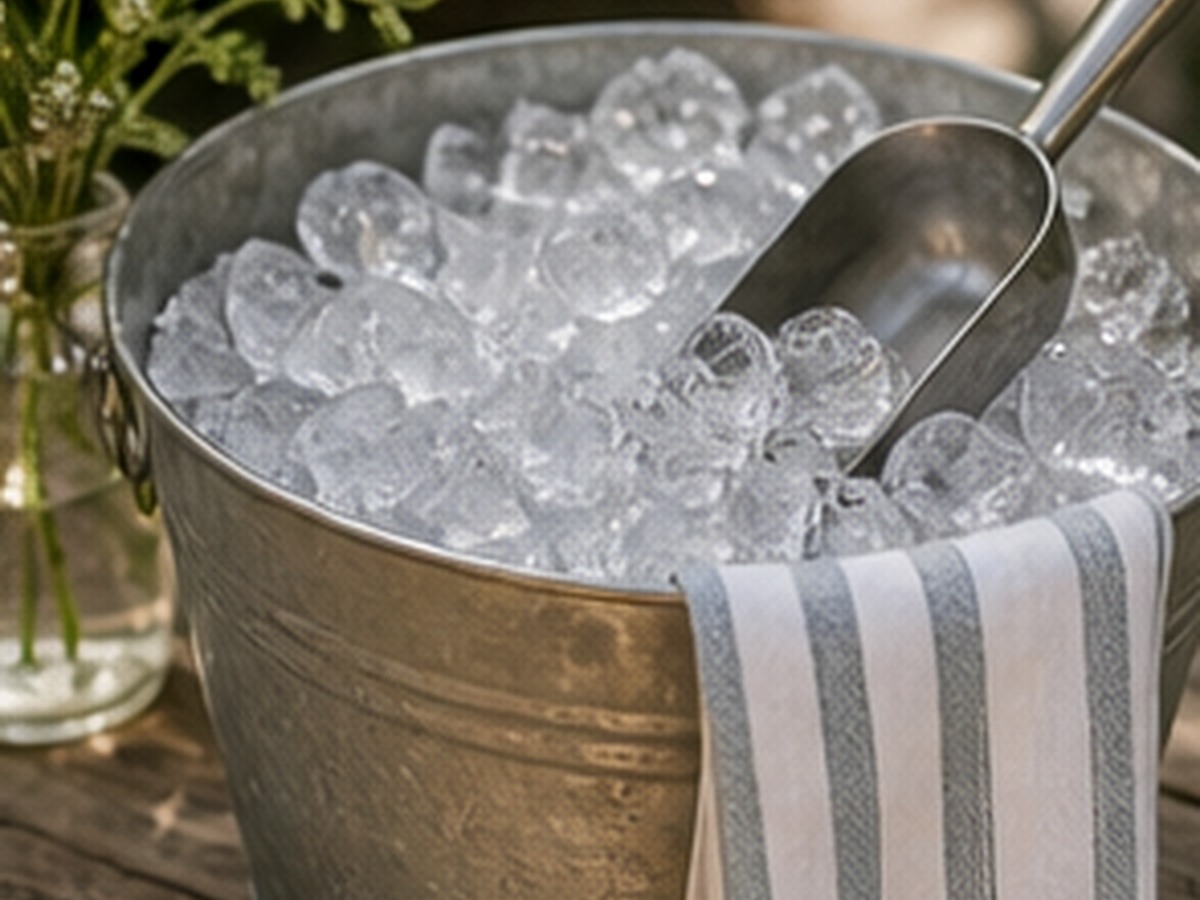
| Galvanized drink tub | OBTANIM four-pack of four-gallon galvanized ice tubs | This is a four-container pack. Borrow a cooler or buy a single tub if you do not need four stations. |
| Round woven tray | DECRAFTS 11.8-inch round rattan serving tray | Measure the pitcher’s base; an 11.8-inch outside diameter leaves less room inside the rim. Cups or small bowls may be a better fit. |
| Divided garnish tray | Buddeez jumbo divided serving tray with lid | Buddeez lists a 15.75-by-11.25-inch body, a snap-on cover, and a separate dip-basin cover. See the maker’s page . |
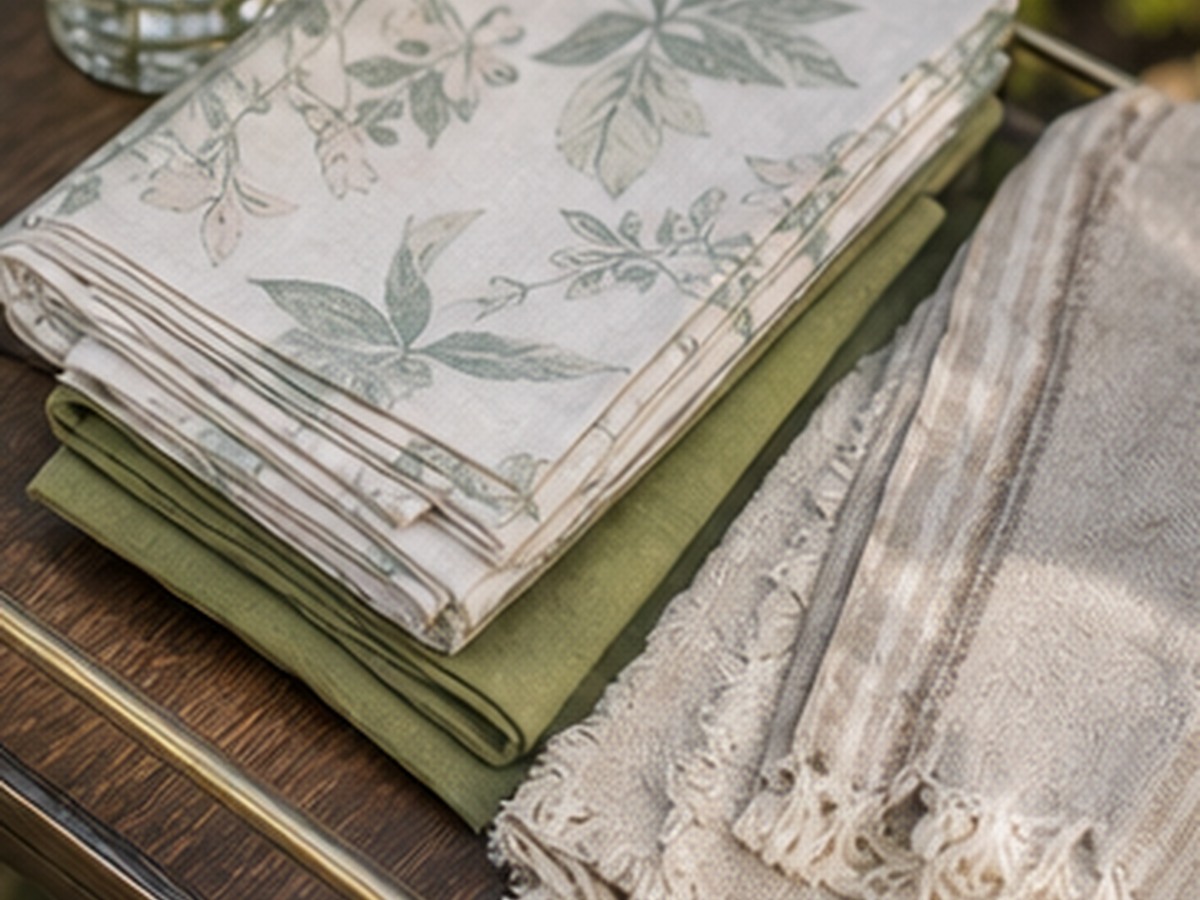
| Linen-look table covering | Veblandy washable linen-textured tablecloth | Measure the table and check the current listing’s size and wash instructions; the product name does not establish its drape or spill resistance. |
| Spill towels | Homaxy cotton waffle-weave towels | Check the pack size and dimensions. Keep one beside, rather than under, a heavy pitcher so it stays easy to reach. |
What I would not buy for this look
- A dedicated party table if you already have a folding table, console, potting bench, or sturdy desk
- Matching glass drinkware for a poolside or child-heavy party
- Tiny decorative signs that take space from cups or napkins
- A huge bar-tool kit for tea, lemonade, and a batch mocktail
- More than one garnish container
- Flowers so large that guests have to reach around them
How much does each drink dispenser hold?
The chart below uses a 6-fluid-ounce station pour, leaving room in the cup for ice. It is nominal container math: 64 / 6 = 10 full pours, 128 / 6 = 21 and 320 / 6 = 53, each with a remainder. Actual working capacity is lower if ice, fruit, headspace or the spout leaves liquid behind; measure usable beverage volume. This is not a recipe yield or a promise about guest consumption.
For ten to twelve guests, two 64-ounce pitchers are easy to refill and easy to lift. For a larger open-house crowd, one-gallon dispensers reduce refill trips. A 2.5-gallon dispenser is useful only when you have a sturdy table and a drink that will not need constant stirring.
BBQ drink station layout for a 72-inch table
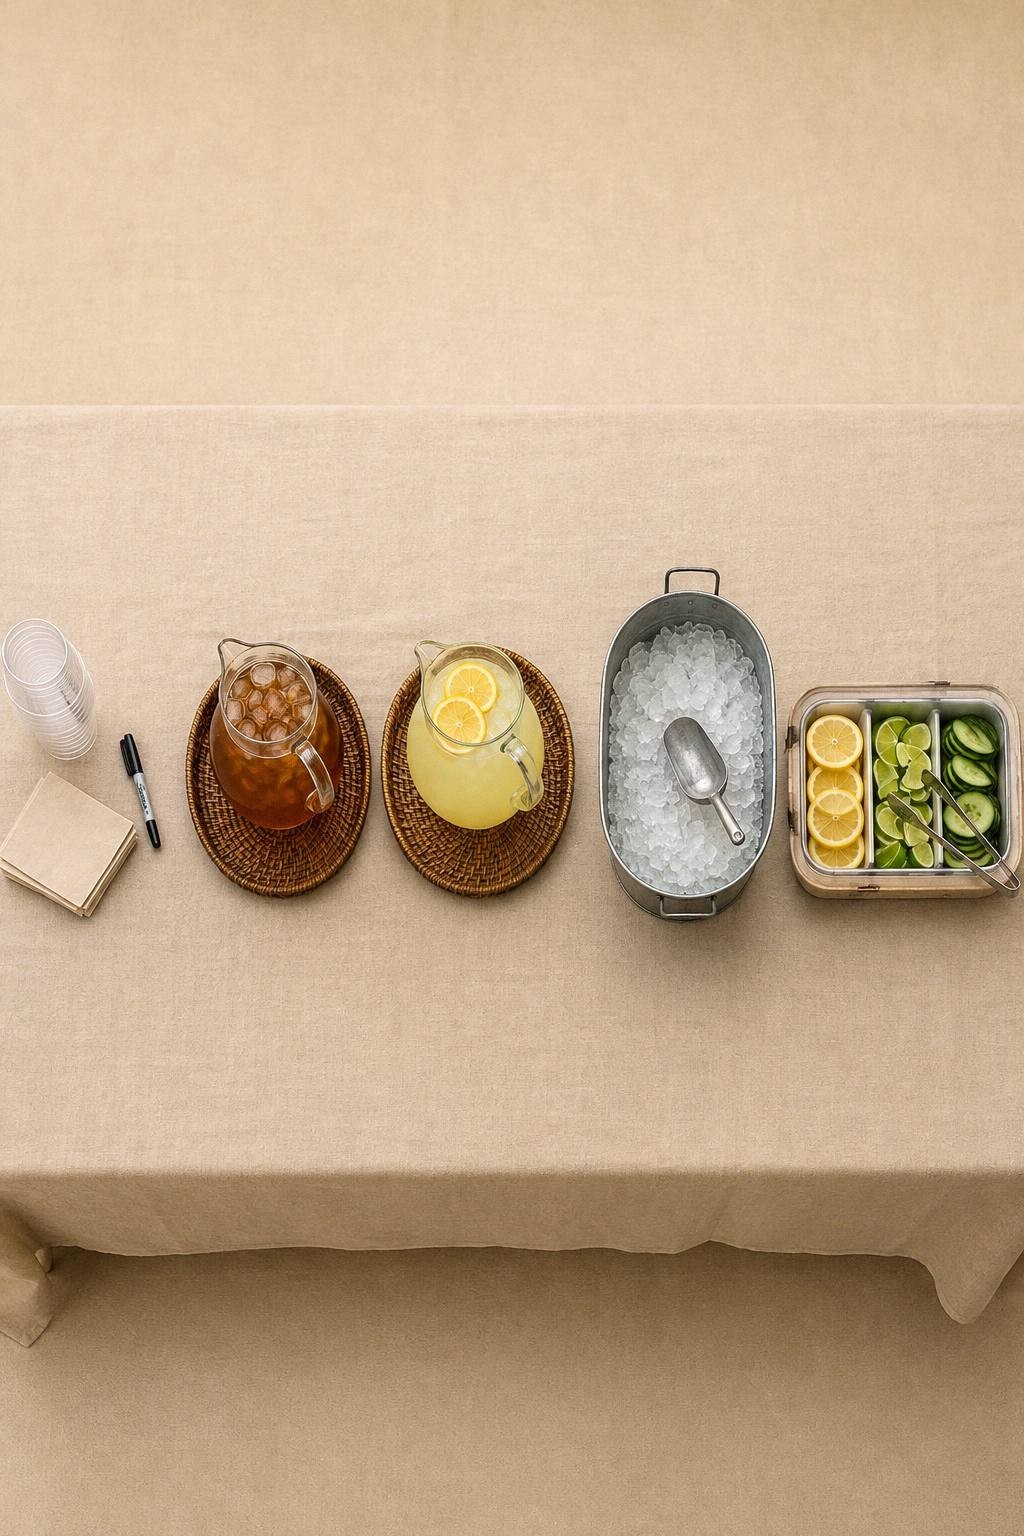
A standard six-foot table gives you 72 inches. Do not fill all 72.
| Zone | Suggested width | Put here | Why it works |
|---|---|---|---|
| Cups and napkins | 12 inches | Cups, marker, napkins | Guests begin at the edge instead of reaching across a pitcher |
| First drink | 16 inches | Tea or water on a tray | The familiar choice is easiest to find |
| Second drink | 16 inches | Lemonade or batch peach ginger mocktail on a tray | The special drink still has room for a label |
| Ice | 14 inches | Ice bucket or scoop tub | Ice sits after the pour so it does not block the spout |
| Garnish | 10 inches | One covered divided tray and tongs | Guests finish the drink without circling back |
| Breathing room | 4 inches or more | Nothing | Empty space makes the station easier to read and easier to wipe |
The guest path is simple:
Cup → pour → ice → garnish → napkin
If the path crosses itself, move something. Good styling cannot rescue a table where people reach over one another.
10 BBQ drink station ideas you can copy
1. Start with one familiar drink and one reason to look twice
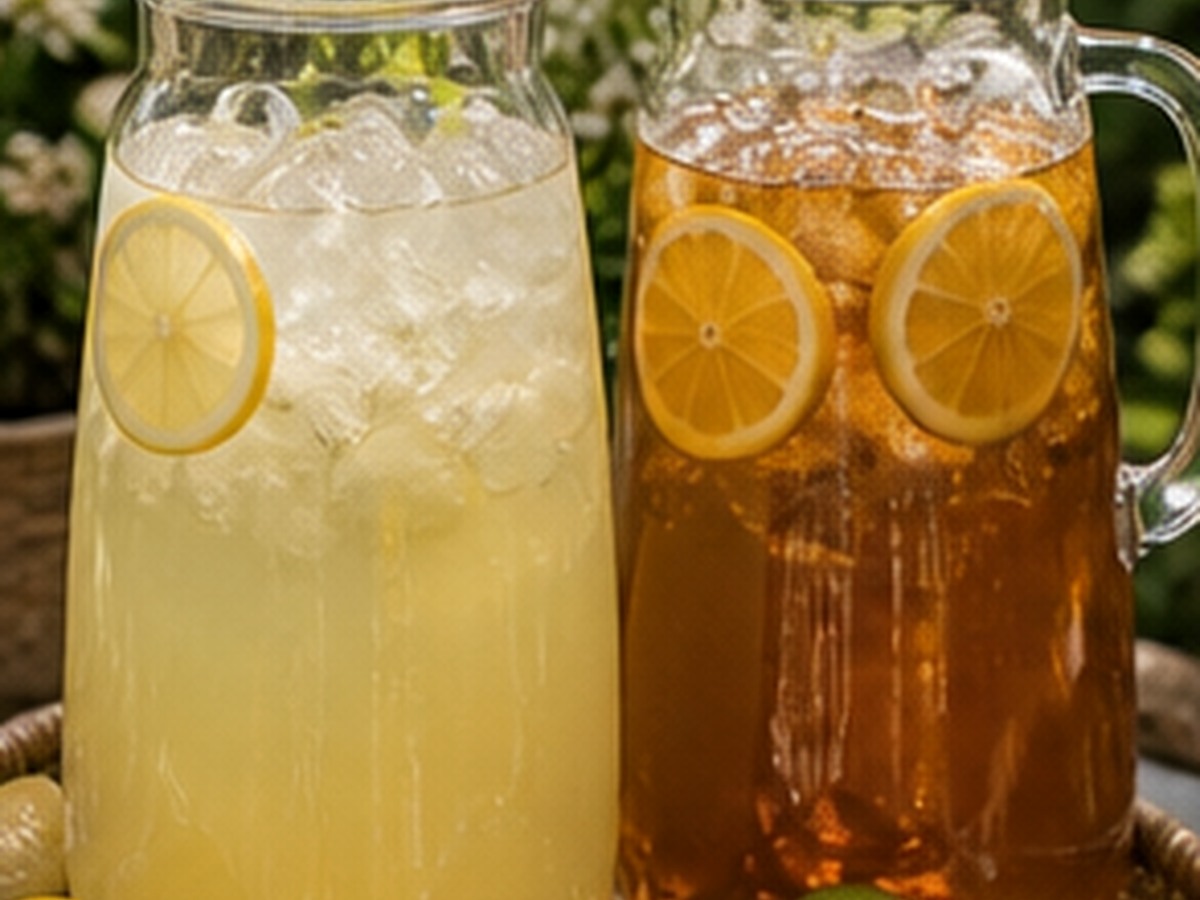
Iced tea and lemonade work because nobody needs instructions. The second container can hold something more memorable, such as strawberry limeade, peach tea, cucumber citrus water, or a zero-proof ginger spritz.
Do not offer five pitchers. Two choices look generous without making the host maintain a menu.
2. Pick a pitcher for twelve people and a dispenser for a crowd
A glass pitcher is easier to wash, stir, and fit in the refrigerator. A dispenser makes more sense when people will arrive over several hours.
| Choose this | When it wins | Watch for |
|---|---|---|
| Glass pitcher | Smaller cookout, frequent stirring, refrigerator storage | Heavy when full and easier to tip |
| One-gallon dispenser | Open house, steady refills, children serving themselves | Spout clearance and a stable base |
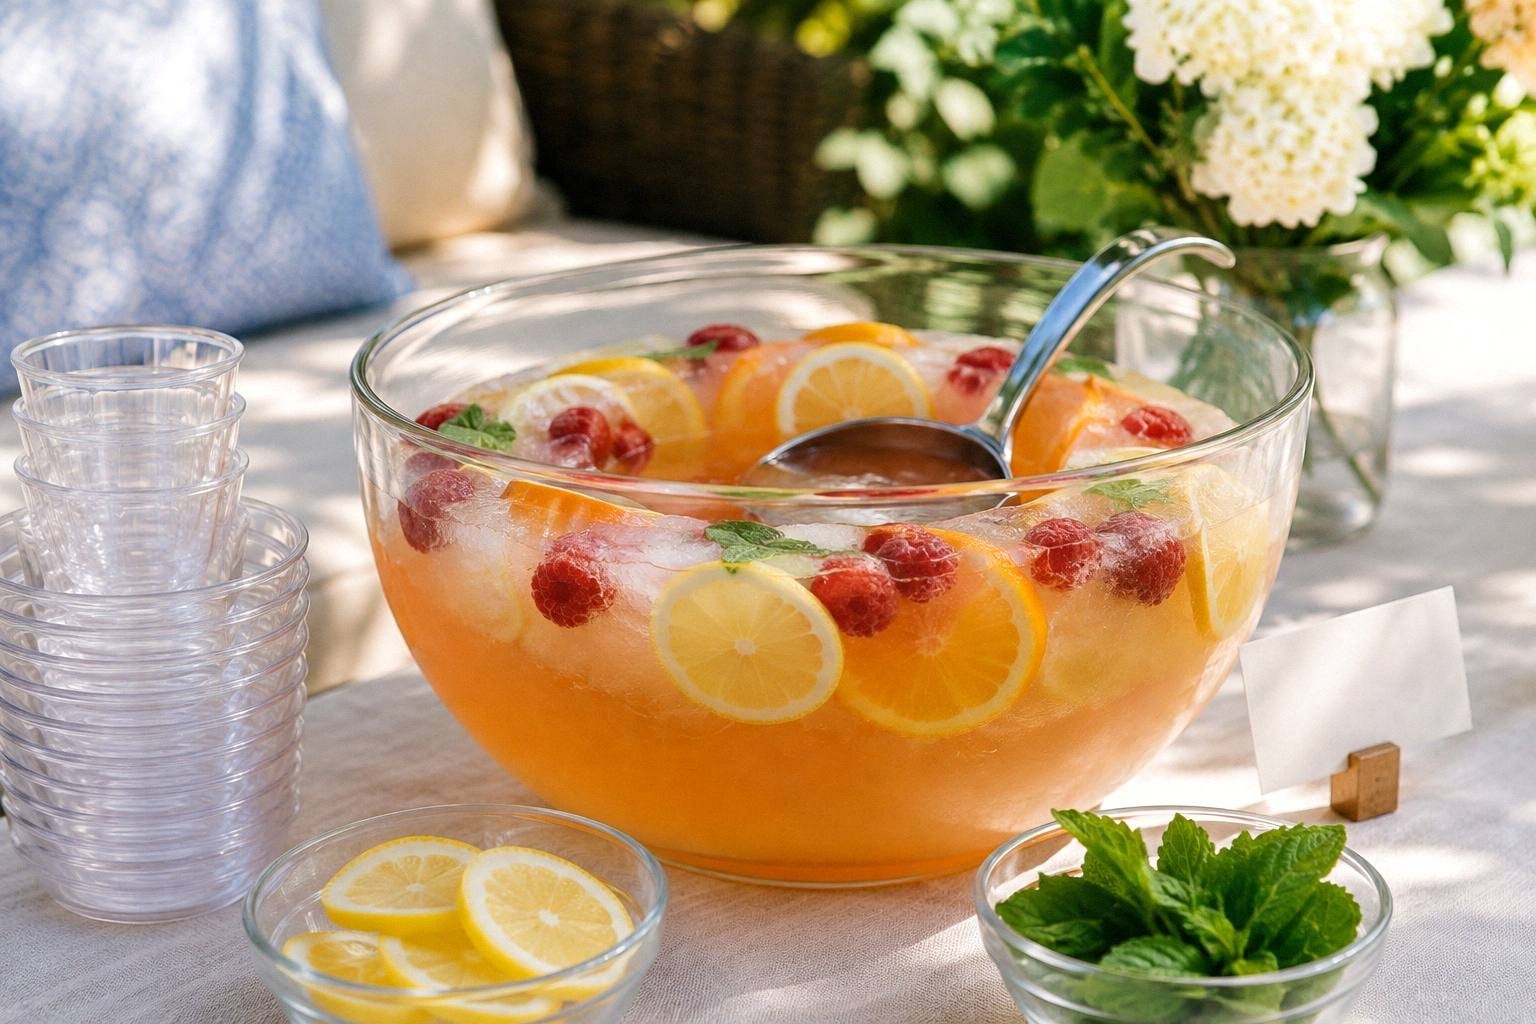
| Large dispenser | Big crowd and sturdy serving surface | Weight, cleaning, and drinks settling at the bottom |
Put any spouted dispenser on a riser or tray before the party. Fill a cup from it at home. If the cup will not fit under the spout, the station is not ready.
3. Use a tray under every wet thing
A round rattan tray gives the pictured setup its warm, finished look. It also creates a landing zone for condensation, lemon seeds, and the spoon somebody forgets to return.
Use one tray for the pitchers and one smaller plate or tray for cups. You do not need a matched set. Wood, rattan, and galvanized metal look better together when the colors stay quiet.
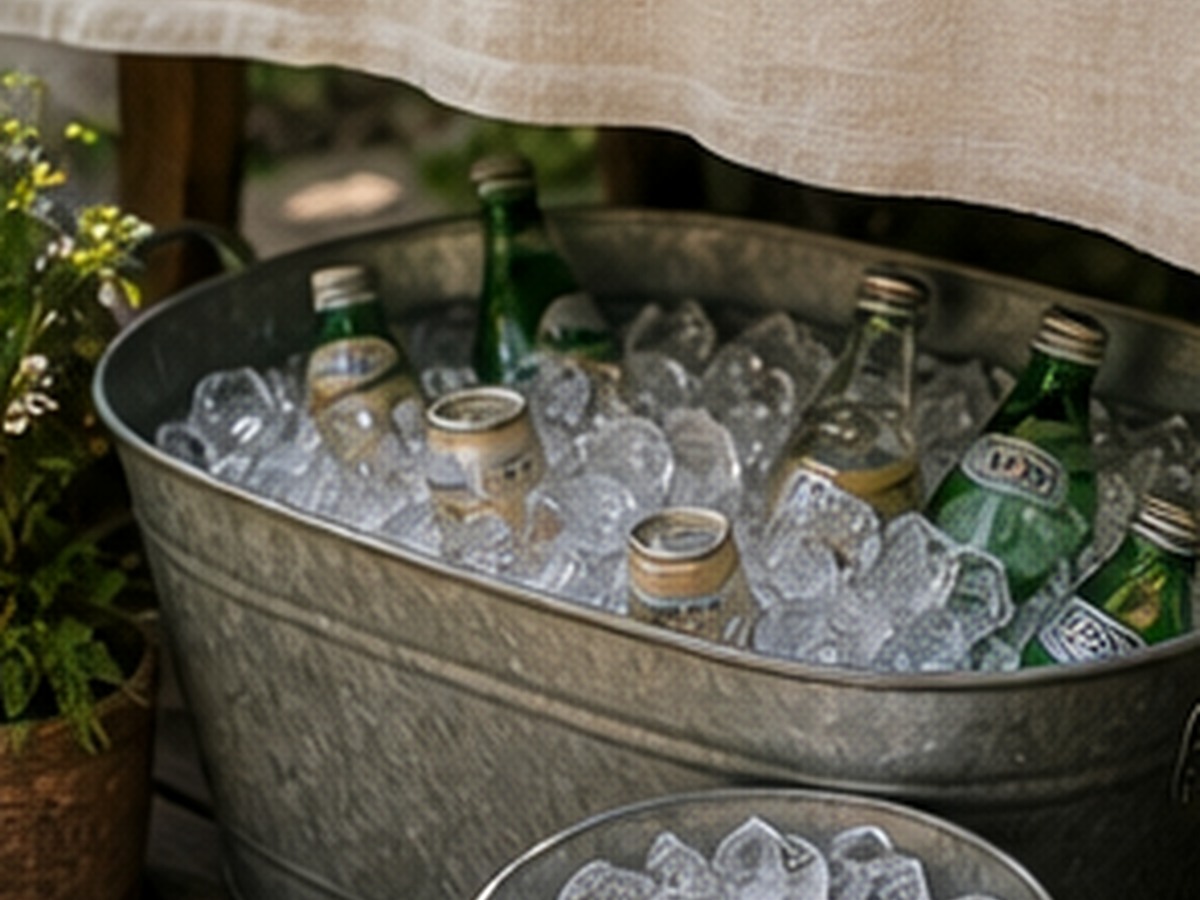
4. Make the galvanized tub do the ugly work
The ice tub is the workhorse, not a centerpiece. Use it for bottled water, canned drinks, or sealed backup containers. If you use it for loose serving ice, use a clean scoop stored with its handle out of the ice, in a clean holder, and do not bury bottles in the same ice guests put into cups. Use a food-contact-safe liner for serving ice; a decorative galvanized tub is not automatically suitable for direct food contact.
For a cheaper version, line a clean galvanized garden tub with a food-safe container, or put an ordinary cooler behind the cloth-covered table where guests can still reach it.
5. Give cups their own twelve inches
Do not squeeze cups between two pitchers. Put them at the beginning of the line with napkins and one permanent marker.
The marker matters at a long cookout. A name or symbol cuts down on abandoned half-full cups. If you use reusable acrylic cups, set out only what the first group needs and refill the stack later.
6. Treat garnish like a condiment station
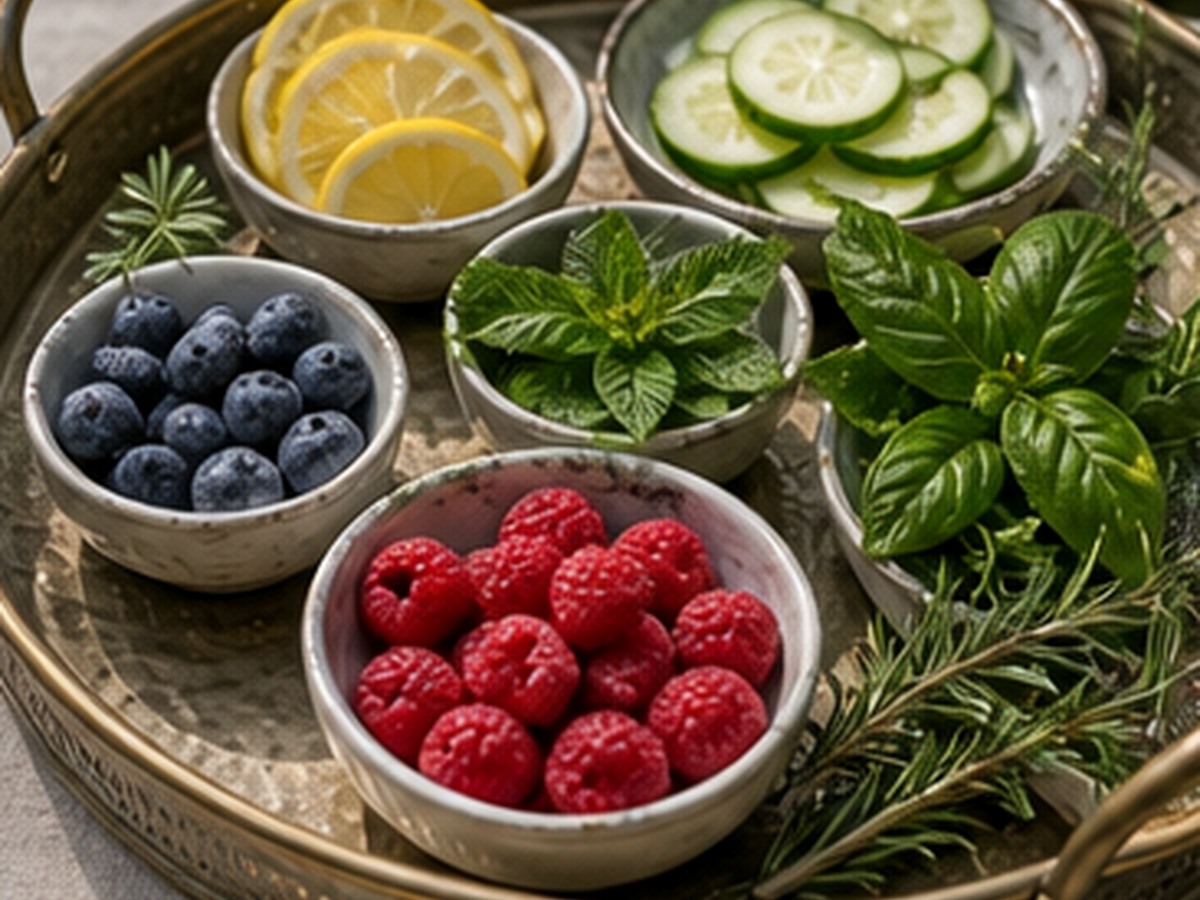
One divided tray is easier than five little bowls. Use two or three garnishes that actually match the drinks:
- Lemon wheels for tea and lemonade
- Lime wedges for ginger or cucumber drinks
- Cucumber ribbons for citrus water
- Berries for lemonade or a berry mocktail
- Fresh mint in a small water glass beside the tray
Keep the tray covered until guests arrive. Put tongs beside it. Refill a small tray from the refrigerator instead of leaving a mountain of cut fruit in the heat.
7. Hide the folding table, not its legs at any cost
A washable cloth is enough. Let it fall close to the ground in front if you want to hide coolers or supply boxes, but keep the back open so you can reach refills.
Clip the cloth if the day is windy. Put a folded towel under each tray. A linen texture photographs well because it softens the hard glass and metal without adding another pattern.
8. Label the decision, not every object
Guests need to know three things: what the drink is, whether it contains alcohol, and whether it is sweetened.
A useful label says:
- Unsweet tea
- Sparkling strawberry lemonade, alcohol-free
- Peach tea cocktail, contains bourbon
That is better than a decorative sign that says “sip, sip, hooray” while everyone still has to ask what is in the pitcher.
9. Keep the nonalcoholic option equally visible
Do not hide water or the zero-proof drink in a cooler on the ground. Put it in a real pitcher with a real garnish. Drivers, children, pregnant guests, and anyone skipping alcohol should not have to decode the table.
If alcohol is available, keep the spirit separate and clearly labeled. A shared nonalcoholic base lets adults add a measured pour without making the whole dispenser alcoholic.
10. Plan the refill before the first pour
The station usually fails halfway through the cookout, not at the beginning. Make one refrigerator shelf the refill shelf.
Keep there:
- A chilled backup pitcher
- One sealed garnish container
- Extra cups and napkins
- A clean towel
- A second bag or bin of serving ice
When the first pitcher is low, swap it instead of trying to mix another drink while the grill is hot.
Three budget levels
| Budget level | Use what you own | Buy only if needed | The finished effect |
|---|---|---|---|
| No-buy setup | Folding table, sheet, two household pitchers, cooler, cups, dinner plate for citrus | Nothing | Functional and easy to refill |
| Practical upgrade | Existing table and cloth | One clean-pouring pitcher, galvanized tub, divided garnish tray | Looks planned and works for repeat cookouts |
| Finished shop-the-look | Borrowed table | Two matching servers, washable cloth, rattan trays, ice tub, covered garnish tray | Closest match to the Pin without decorative clutter |
Spend on the pieces that prevent a mess or a refill trip. A reliable spout is worth more than a sign. A covered garnish tray earns more space than a vase.
Prep timeline
The day before
- Wash and test the pitchers or dispensers
- Prepare only a fully specified culinary tea, lemonade or batch base with its own handling instructions. Herbal teas require boiling water and the package infusion time, at least 5 minutes; do not improvise counter-steeped tea. Chill promptly in smaller containers and refrigerate at 40 F (4 C) or below. Add carbonation at service.
- Wash the tablecloth and serving towels
- Check that the ice scoop fits the tub
- Clear one refrigerator shelf for refills
Two hours before
- Check the prepared drinks have chilled through to 40 F (4 C) or below; two hours in a refrigerator is not a reliable cooling endpoint for a large dispenser
- Cut sturdy garnish such as citrus and cucumber
- Fill and cover a small garnish tray; keep perishable garnish refrigerated or on effective ice holding at 40 F (4 C) or below
- Put backup cans and water in the cooler
- Move the table into shade before you cover it
Thirty minutes before
- Fill the ice tub
- Set out cups, labels, napkins, and the marker
- Put small cold batches of the first two drinks on their trays, with effective ice holding where needed; keep cold backup in the refrigerator or cooler
- Test one complete cup from start to finish
- Leave the backup pitcher in the refrigerator
Common questions
Do I need glass dispensers?
No. Glass photographs beautifully, but it is heavy and breakable. For a pool, a yard full of children, or a table that gets bumped, clear BPA-free plastic can be the smarter choice.
Should ice go inside the drink?
Only if the drink will be served quickly. Ice in a pitcher melts and changes the flavor. For a longer party, chill the drink first and let guests add ice to each cup.
Can I leave cut garnish outside all afternoon?
Use a small tray, keep it covered, and replace it from the refrigerator rather than setting out the entire batch. FoodSafety.gov’s current guidance says to refrigerate perishable food within two hours, or within one hour when outdoor temperatures are above 90°F. When you cannot confirm how long cut garnish has been warm, discard that garnish and replace it with a fresh cold batch. Refilling does not reset the time for the old food.
What keeps guests out of the kitchen most effectively?
The refill shelf. A beautiful table helps guests serve themselves, but the host still needs cold backup drinks, ice, cups, garnish, and towels in one known place.
The short version
Buy fewer pieces and give each one a job. Two drinks, one ice tub, cups, one garnish tray, and a cloth are enough to make the table feel finished. Put them in the order guests use them, then keep the refills cold and ready behind the scenes.
That is the whole look. Pretty enough to photograph, practical enough that you get to sit down.
Recipe Scope and Cold Holding
Tea, lemonade, strawberry limeade, peach tea, cucumber citrus water, ginger spritz and the pictured mocktails are menu ideas here, not complete formulas. Their ratios, finished yields and storage depend on the selected recipe; a dispenser size does not supply those instructions. Linked botanical or fermentation pages require their own review and do not receive approval from this station guide.
Keep perishable drinks at 40 F (4 C) or below, using a thermometer to check. Discard after more than two cumulative hours without cold holding, or one hour above 90 F (32 C). FoodSafety.gov explains these handling limits. Ice nearby and shade alone do not establish the drink temperature. Normal smell and appearance do not prove safety.
FDA produce guidance applies to garnish preparation and separation from raw barbecue meat. BfR tea guidance supports the hot-infusion requirement above. Keep serving ice and scoops separate from bottle-cooling ice. Shade, covered trays and an attractive dispenser do not replace a thermometer or safe holding.