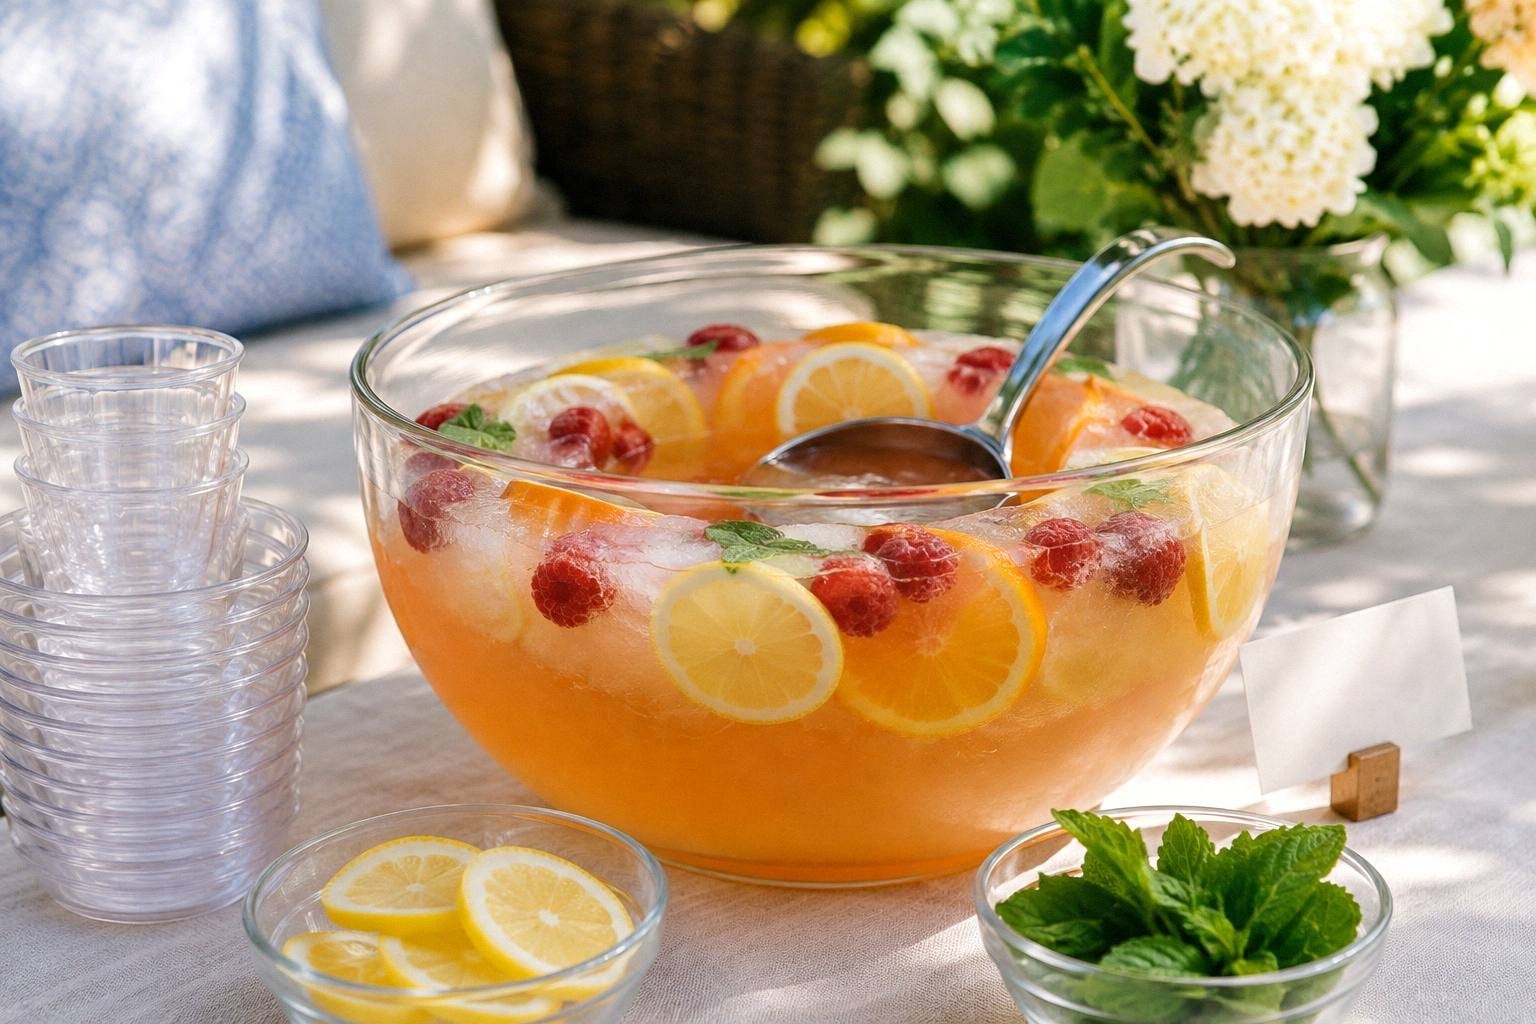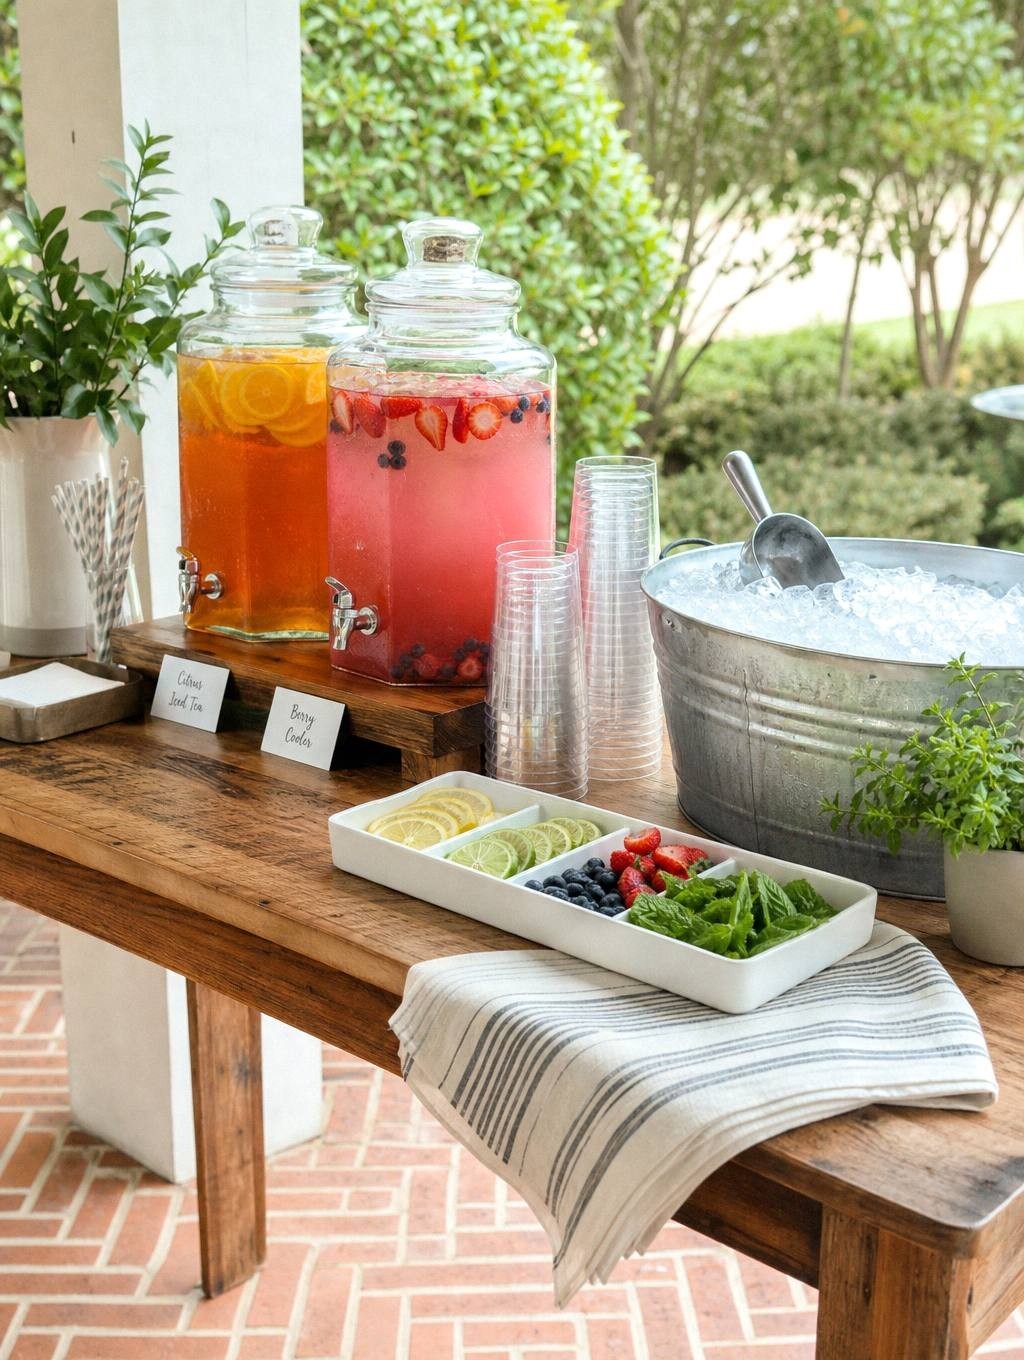
A drink table usually looks unfinished for one simple reason: every object is sitting by itself. The pitcher is sweating directly onto the cloth. Citrus is spreading. Cups are migrating toward the ice. Somebody has put a purse where the refill bottle was supposed to go.
Serving trays fix that visual mess, but the useful part is not decoration. A tray gives each part of the station a boundary. Guests can see where to pour, where to garnish, and where to leave an empty glass without asking you.
This guide shows the seven tray jobs worth setting up, how much space each one needs, and which Amazon Best Seller products are reasonable functional matches. You do not need all seven. Most parties run beautifully with three.
Quick answer: use the three-tray rule
For a small or medium gathering, start with:
- One wet tray under the pitcher or dispenser to catch drips.
- One choice tray for garnish, napkins, and small tools.
- One movement tray for carrying refills out or used glasses back in.
That is enough to make a folding table look planned while keeping the traffic moving. Add specialized trays only when they solve a real problem.
Which serving trays should you buy for a drink table?
The original Pin is an editorial setup, not a photograph of branded merchandise. The product links below are functional matches for different tray jobs, not a ranking. Compare the usable surface and care instructions with your own setup before ordering.
The product links below are Amazon Associate links. The styled scenes show how each kind of tray works on a drink table. They are illustrative; open the linked listing to see the exact tray before buying.
| Tray job | Product example | Useful fit or care check |
|---|---|---|
| Rimmed garnish tray | Buddeez jumbo divided tray with lidPaid Amazon links: we may earn a commission if you buy through links in this article. Disclosure details. | The maker lists a snap-on cover and a separate cover for the dip basin; its 15.75-by-11.25-inch footprint needs counter space. See Buddeez’s specifications . |
| Handled outdoor tray | Fibogollo bamboo serving tray with handles | Check the current listing’s outer dimensions and load guidance, then test the handle grip with the glasses you plan to carry. |
| Small bar cart tray | Nordic Ware Naturals eighth sheet, two-pack | An eighth sheet is a compact, rimmed pan; measure the tools and bottles first and check the exact pack and finish on the listing. |
| Pitcher tray | Clear acrylic serving tray with gold handles | Measure the pitcher’s base and the open space needed for a glass; the product name alone does not establish the usable interior. |
| Coffee drink tray | US Acrylic white reusable serving trays, set of four | A set can separate coffee, sweeteners, milk, and used cups; verify dimensions and care for the current bundle. |
| Kids drink tray | Eight-compartment snackle box | Check compartment sizes, lid closure, and care; a snack container is for garnishes and dry add-ins, not a drink tray. |
| Empty-glass tray | Carlisle 14-by-18-inch cafeteria tray | Carlisle lists the matching blue tray as polypropylene, 17.87 by 14 inches overall, and hand-wash only; see the maker’s product page . |
Serving tray size guide for pitchers, garnish, and glasses
The tray must fit the job without swallowing the entire table. These are practical starting dimensions, not strict rules.
Recommended minimum tray width
Before buying, place the actual pitcher, glasses, or garnish bowls on a sheet of newspaper. Fold the paper around them until the grouping feels comfortable, then measure it. That ten-minute mockup prevents buying a beautiful tray that is two inches too small to be useful.
1. The rimmed garnish tray
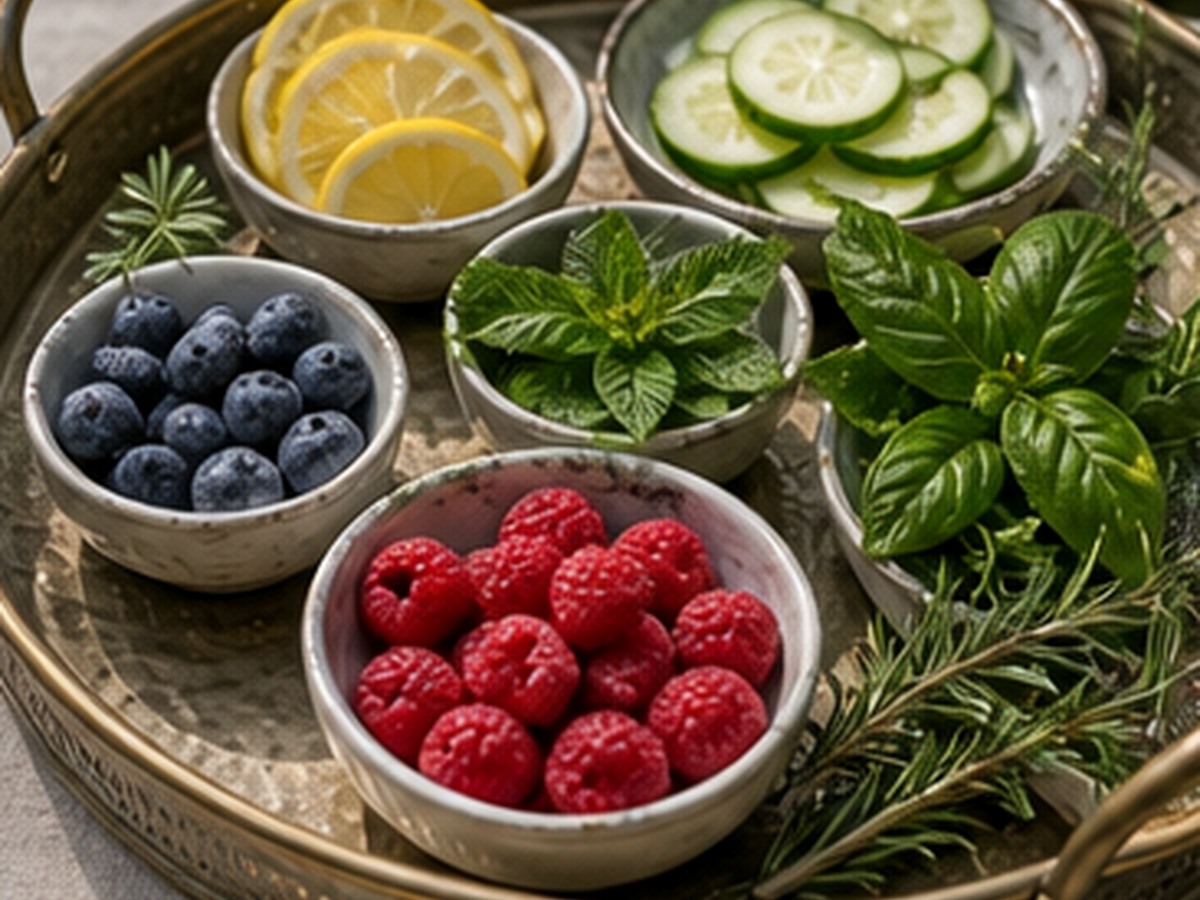
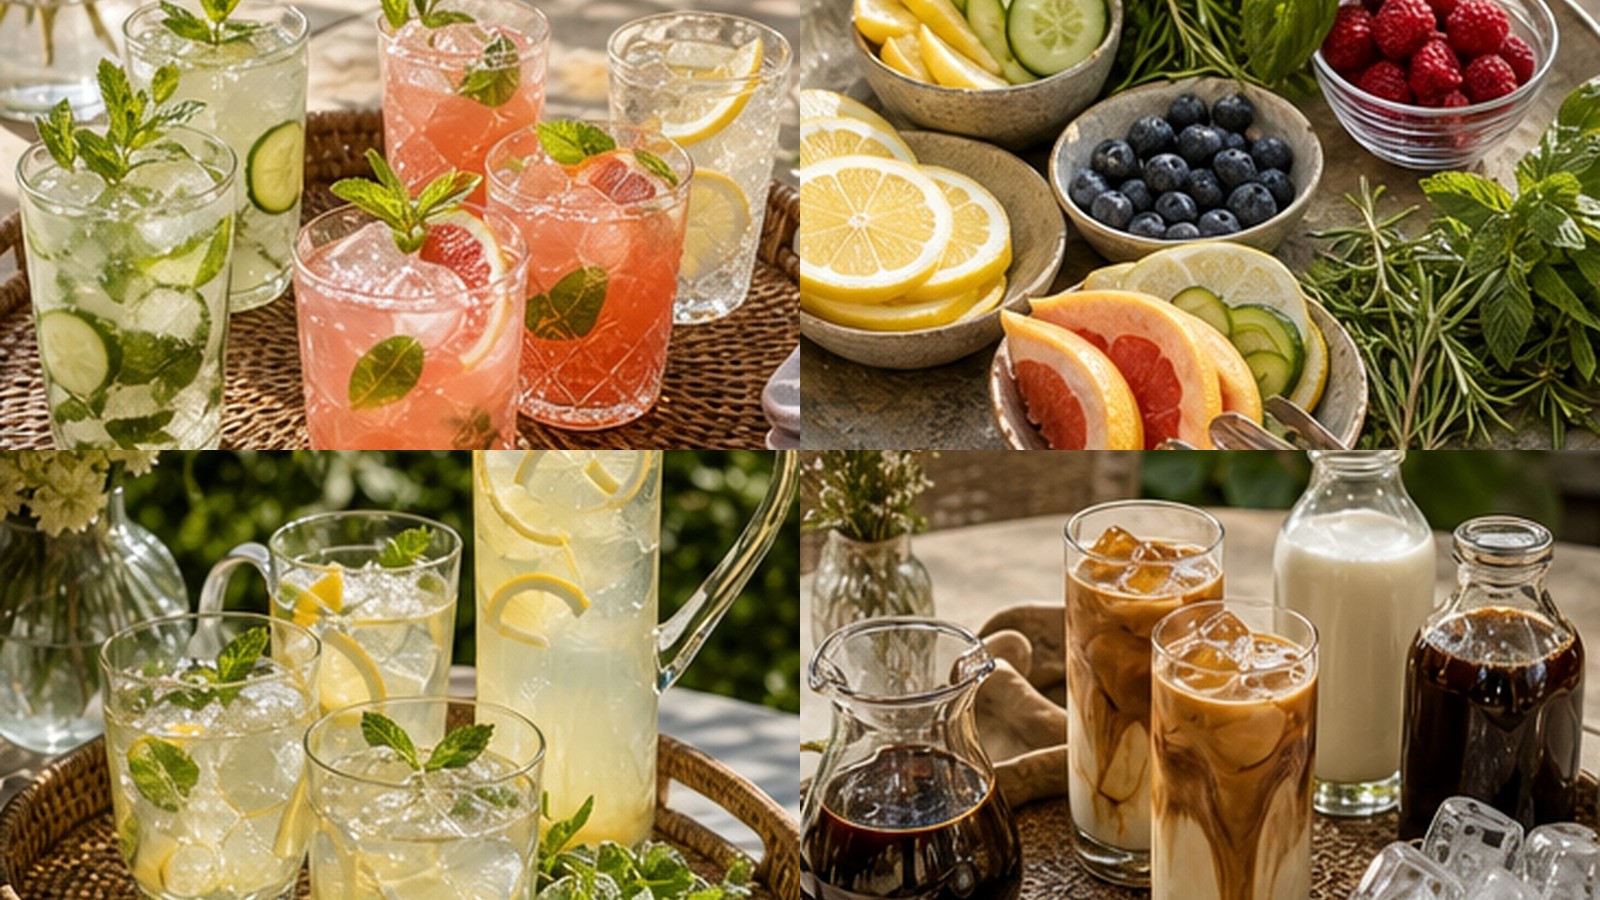
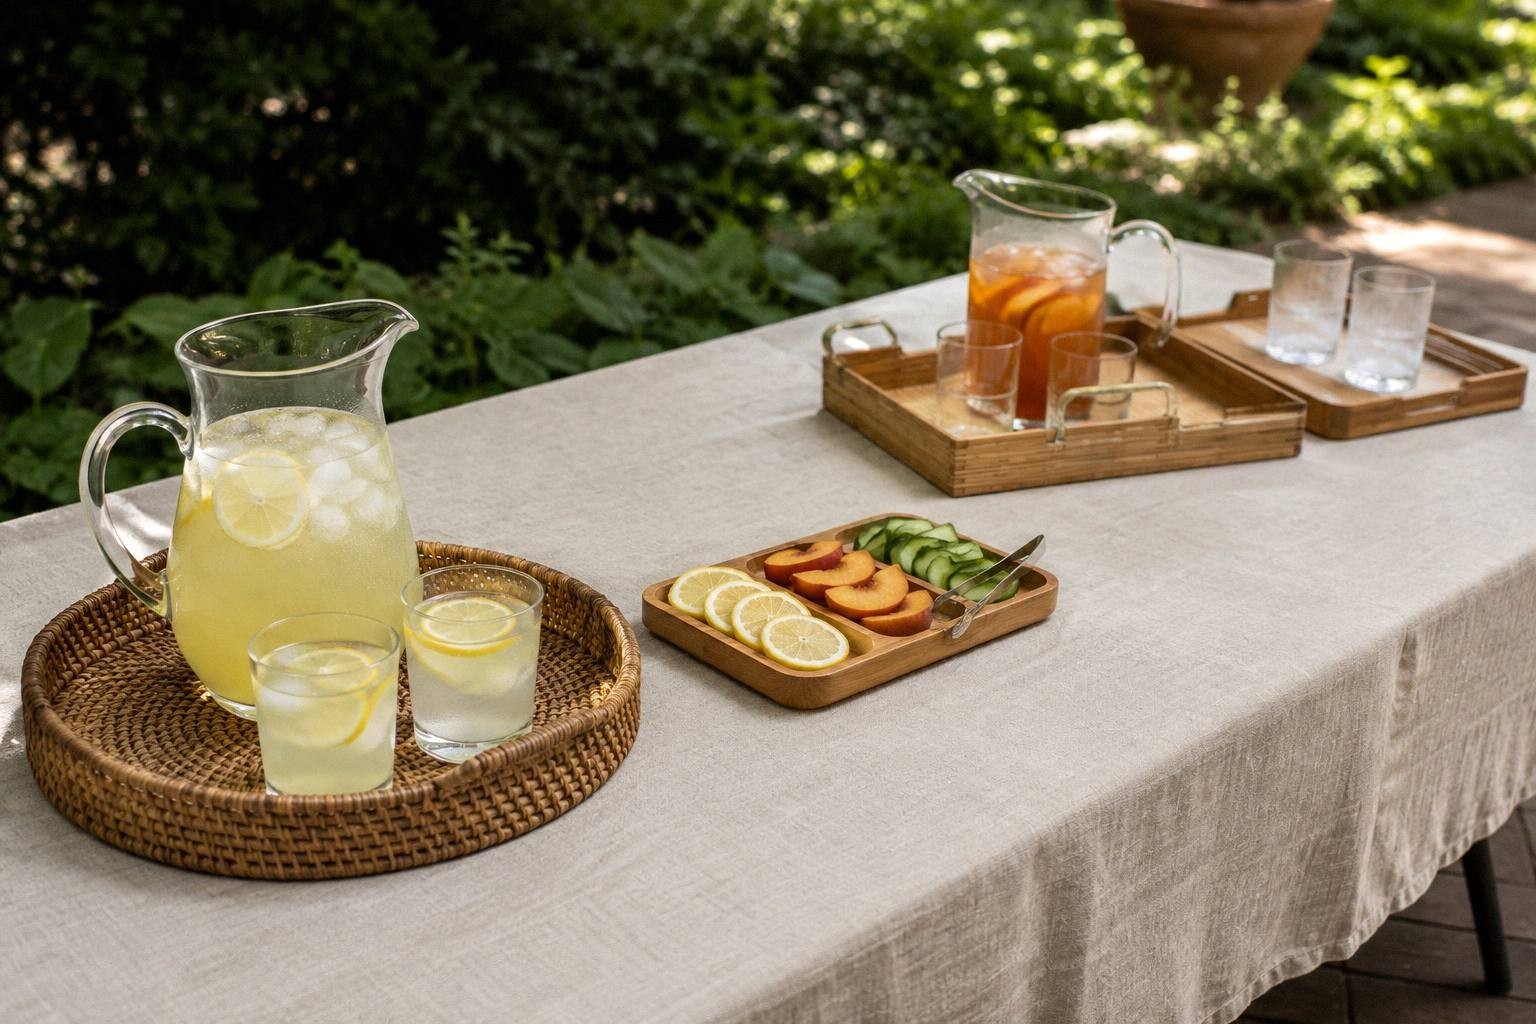
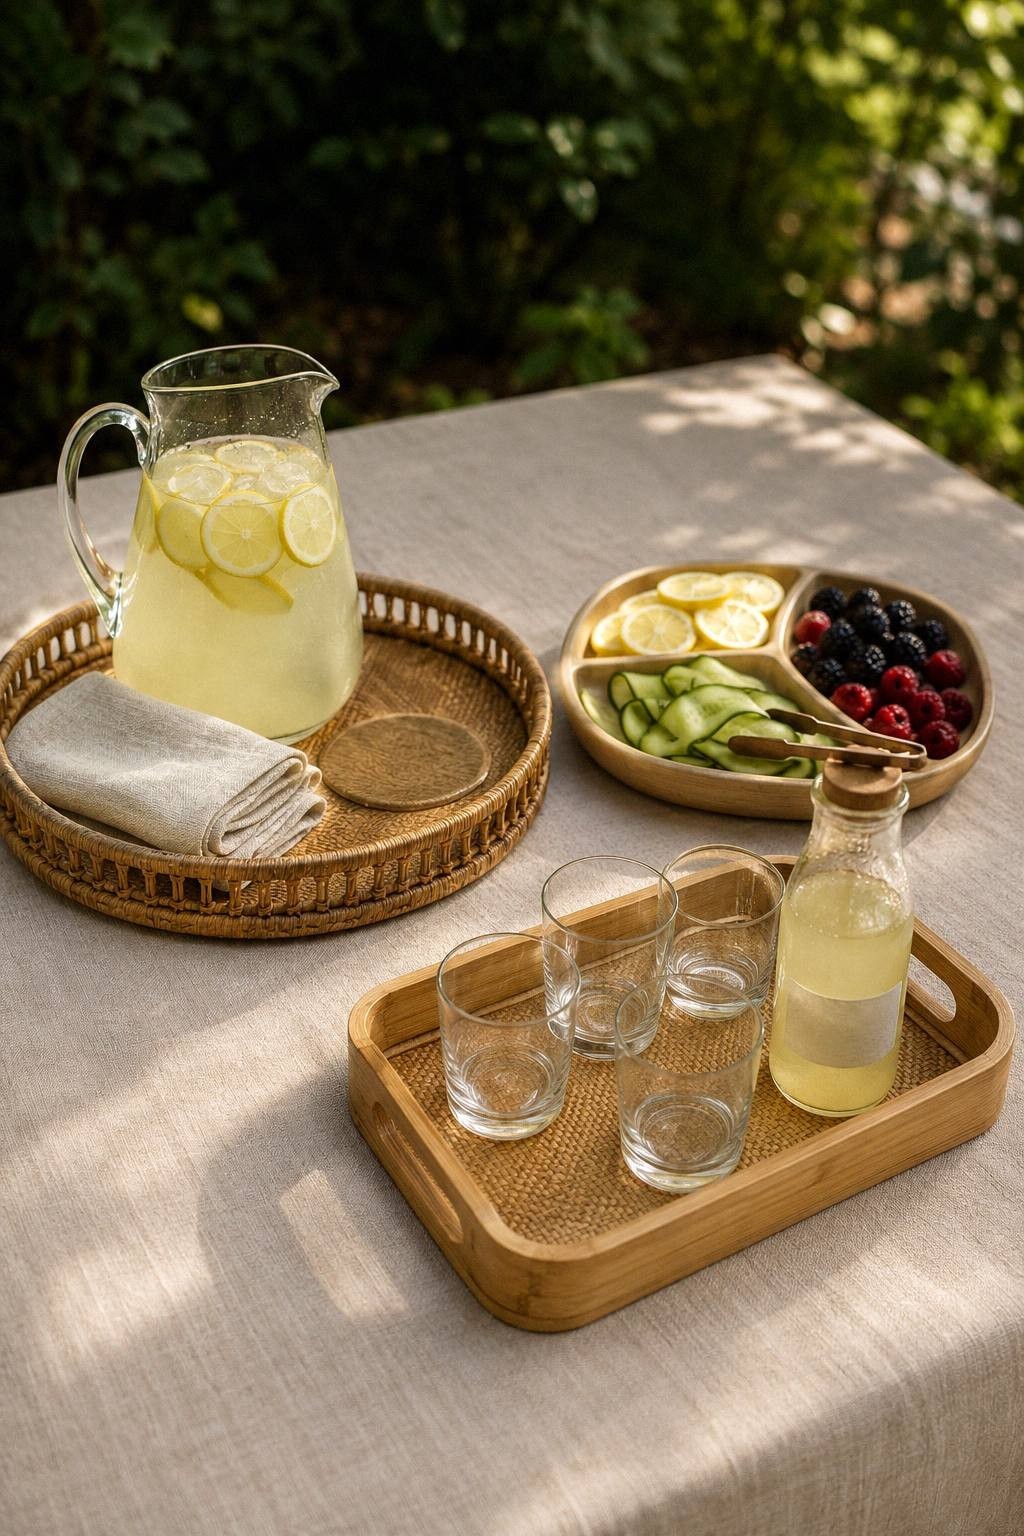
A garnish tray needs a low rim and separate containers. The tray catches stray leaves and juice. The containers stop lemon from making the mint wet and stop berries from rolling under the pitcher.
Use no more than four garnish choices for most parties. More choices take space, slow the line, and create food waste.
Useful setup:
- Lemon or lime wheels
- One fruit, such as berries or sliced peaches
- Cucumber ribbons or a small amount of fresh mint
- Tongs or cocktail picks
Best Seller match: Buddeez jumbo divided serving tray with lid . The lid is especially useful outdoors because garnish can stay covered until guests arrive.
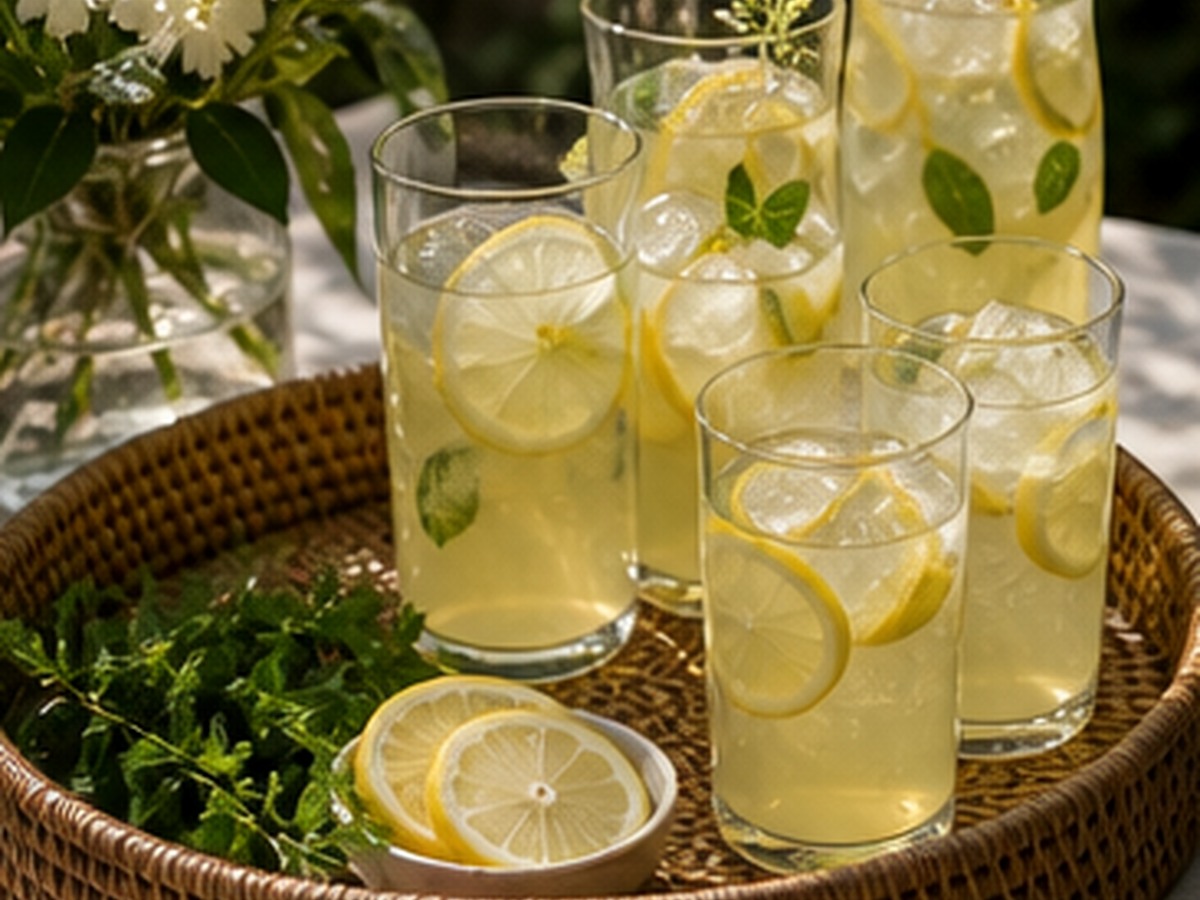
Money-saving swap: Use three cereal bowls on a rimmed baking sheet you already own. The bowls do the separating; the sheet catches the mess.
2. The handled outdoor tray
The outdoor tray is the one you actually carry. It should have comfortable handles, a surface that does not become dangerously slick, and enough clearance that your fingers are not pressed against the glasses.
Do not load it with a full pitcher and six filled glasses at once. Carry the empty glasses first, then bring the pitcher separately. That is safer and usually faster.
Best Seller match: Fibogollo bamboo serving tray with handles .
What to check before buying:
- The handle opening fits four fingers comfortably.
- The base sits flat without rocking.
- The rim is high enough to stop a glass from sliding.
- The finish can be wiped after lemonade, wine, or coffee spills.
3. The small bar cart tray
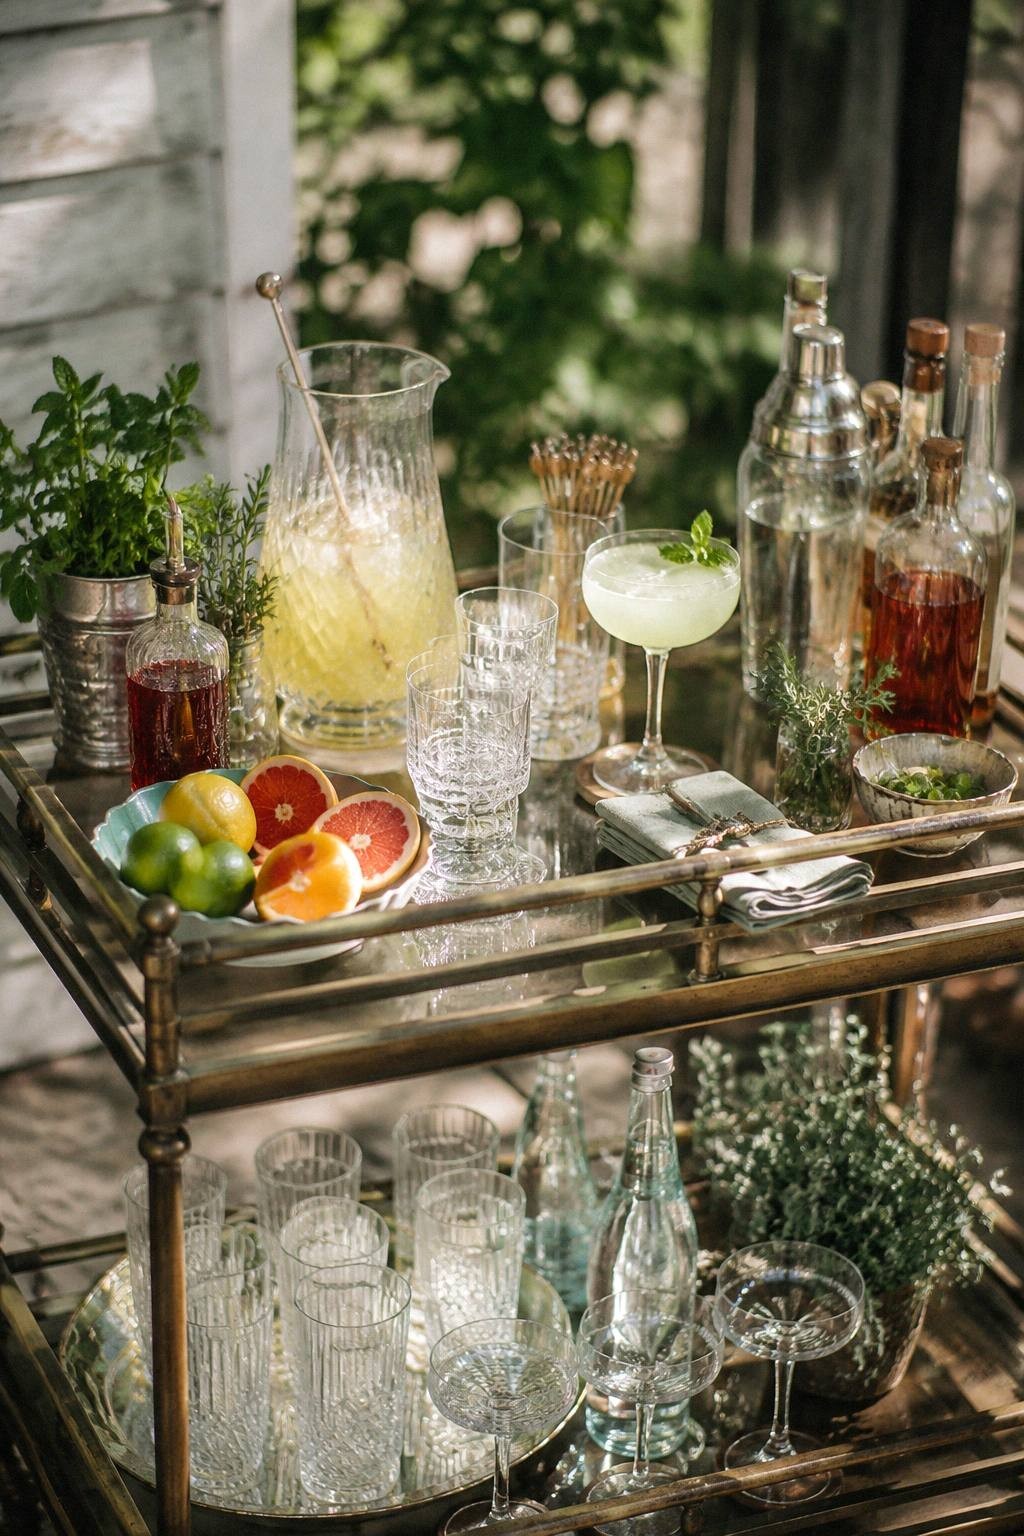
A bar cart does not need a tray as wide as the shelf. A compact tray is better because it leaves room for one bottle, a small ice bucket, or empty glasses.
Put only the objects that wander on this tray: a jigger, bottle opener, syrup, bitters, and a folded towel. Bottles that stand securely do not need another decorative layer underneath them.
Best Seller match: Nordic Ware Naturals eighth sheet, two-pack . A small sheet pan is not fancy, but the rim is practical and the surface is easy to wipe.
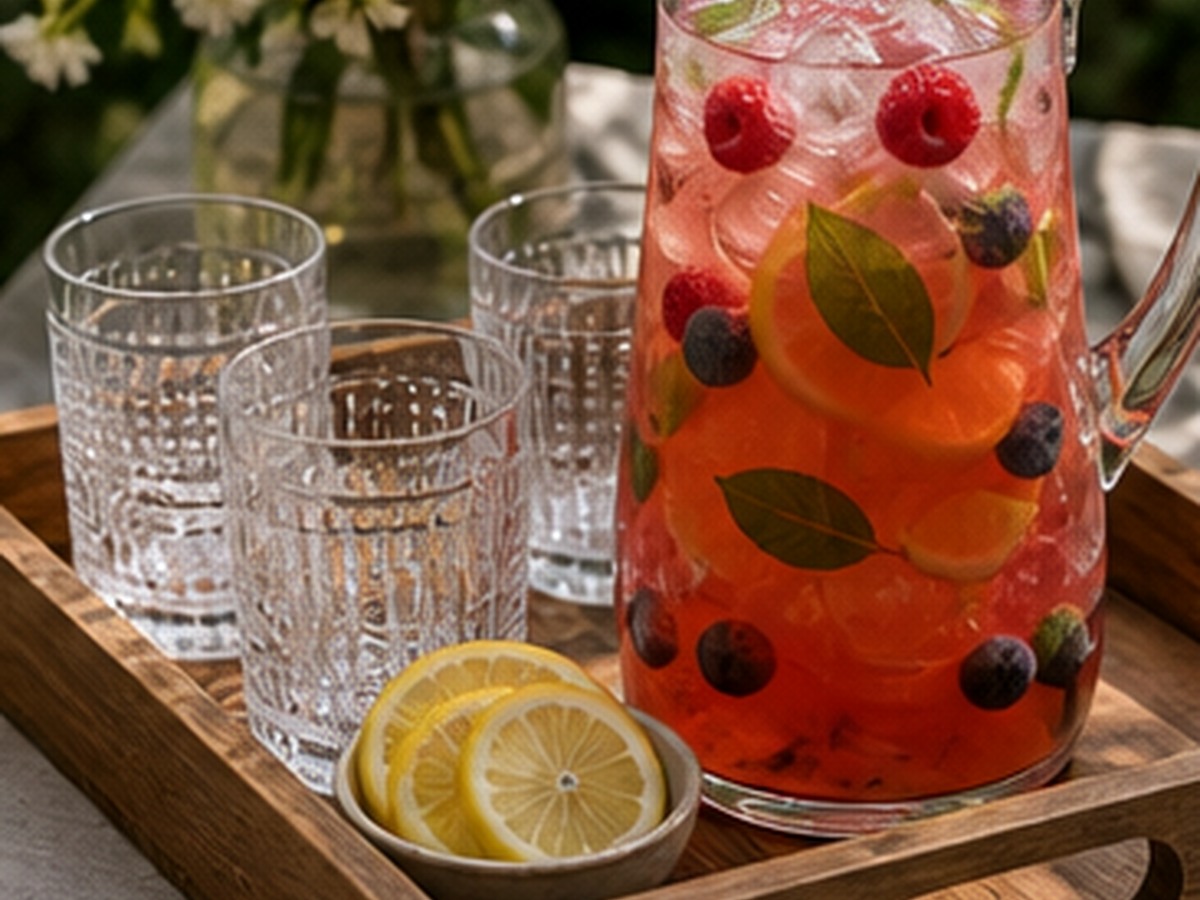
Money-saving swap: A clean quarter-sheet or small baking pan works just as well. Line it with a cloth napkin if you want a softer look.
4. The pitcher tray
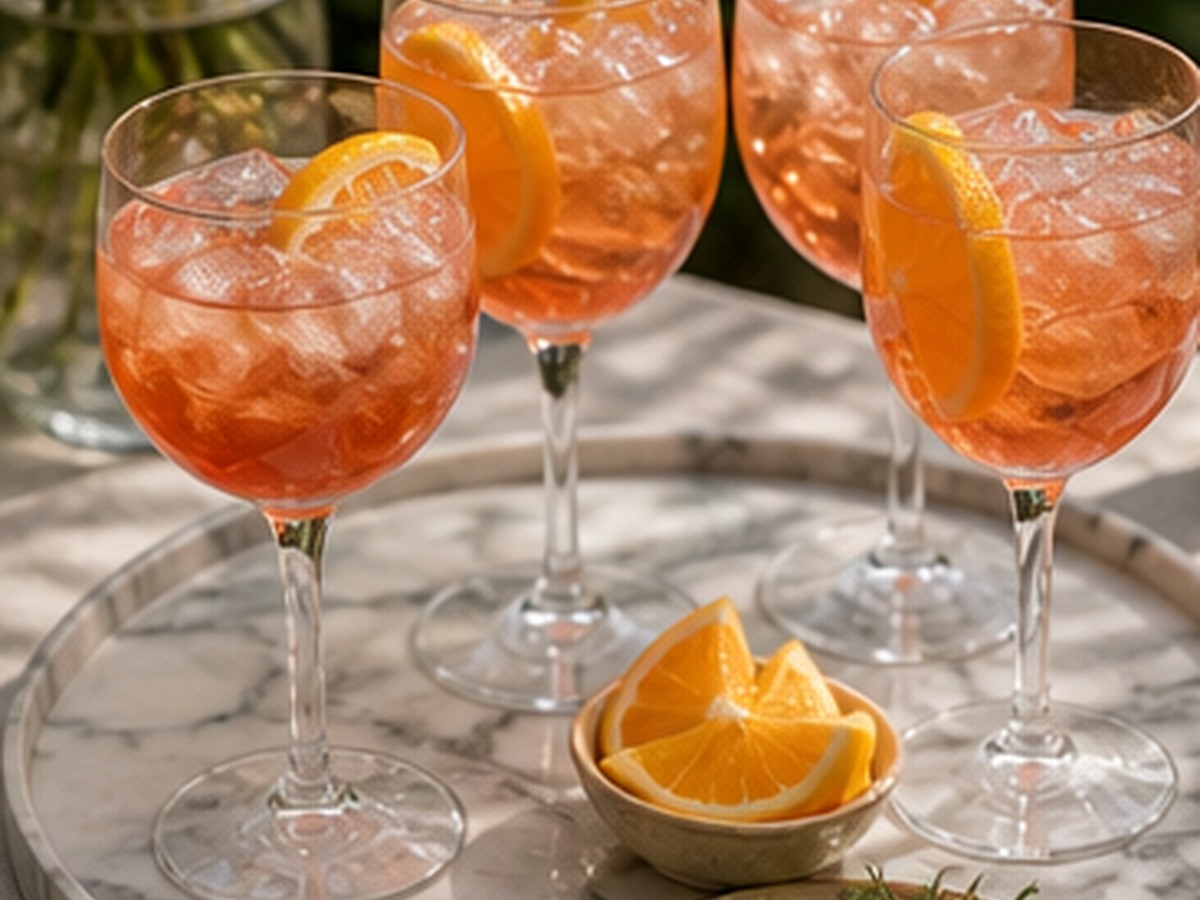
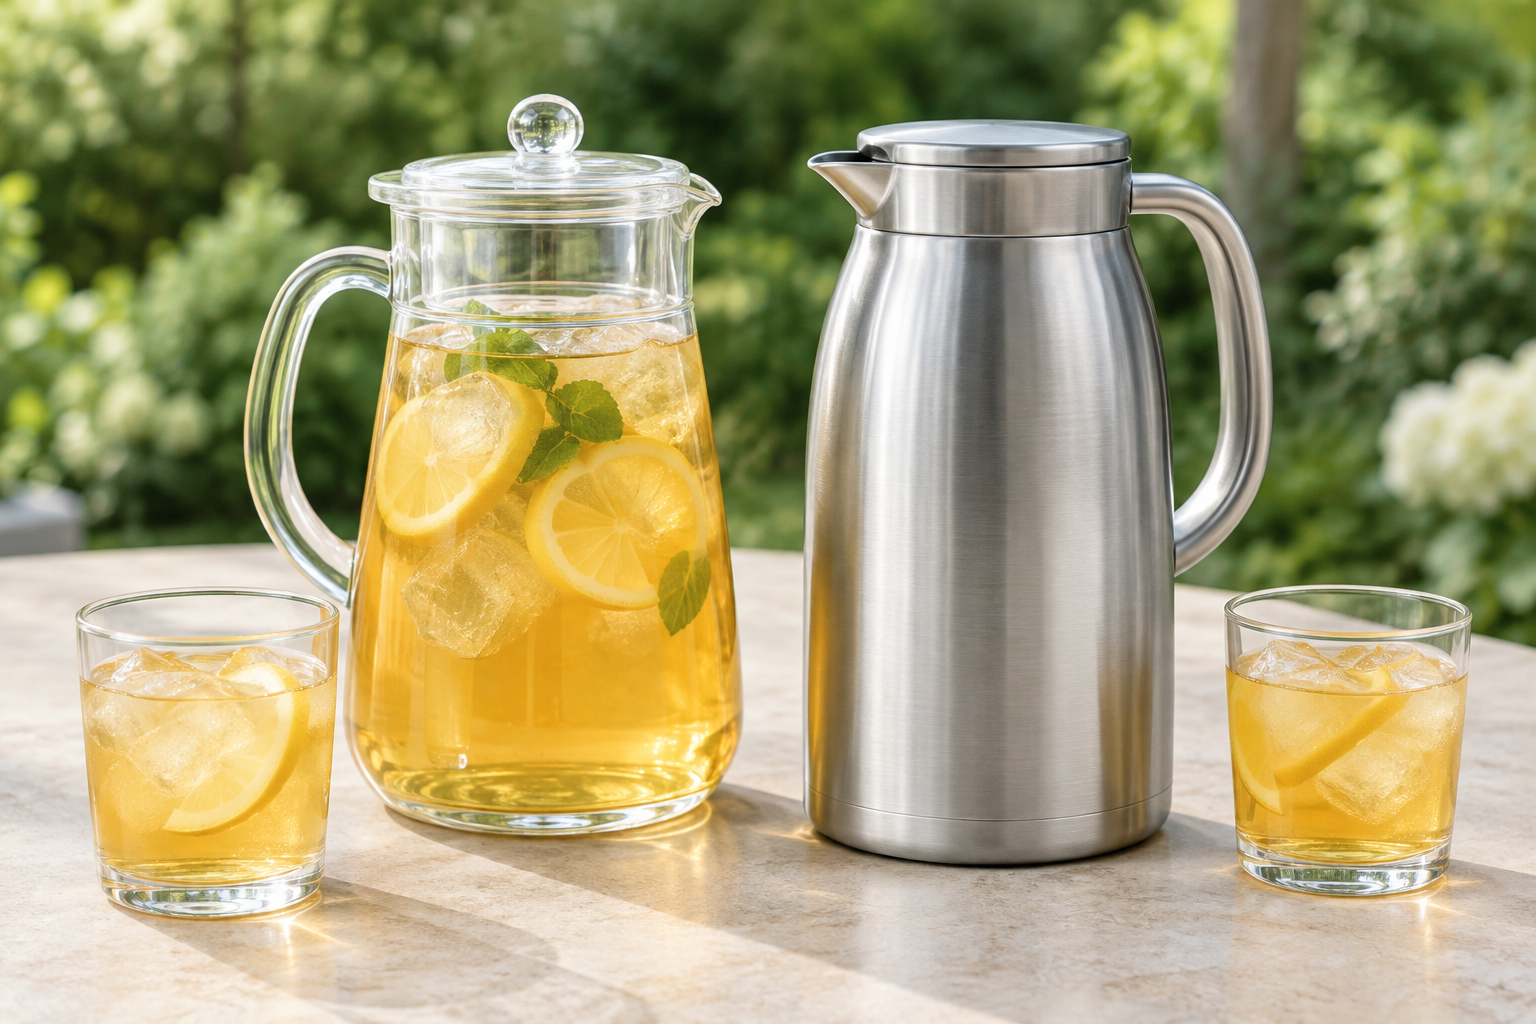
The pitcher tray is the hardest-working piece on the table. It needs enough room for the pitcher, a folded absorbent towel, and perhaps two glasses. If the pitcher touches the rim, the tray is too small.
Put the towel behind or beside the pitcher, not underneath it. A towel hidden under a heavy pitcher stays wet and makes refilling awkward.
Best Seller match: 12-by-16-inch clear acrylic tray with gold handles .
Check the footprint before buying
| Question | Pass condition |
|---|---|
| Does the pitcher fit? | Compare its base with the tray’s usable inside dimensions, not the outside dimensions. |
| Is there room to pour? | Set the pitcher and a glass inside a paper outline of the tray; leave the landing space you want beside the pitcher. |
| Will the tray suit the surface? | Check that its rim, handles, and base match the table and the way you plan to move it. |
| Can it be cleaned as you expect? | Read the care label. Some utility trays are hand-wash only. |
5. The coffee drink tray

Coffee stations become crowded because each guest customizes a drink. Keep the coffee or cold brew on one tray, then put sweetener and milk on a smaller tray beside it. Used spoons need a ramekin, not the tabletop.
For outdoor coffee, set out smaller amounts of dairy and replenish from the refrigerator. Follow the official FoodSafety.gov two-hour rule , or one hour when the temperature is above 90°F.
Best Seller match: US Acrylic white reusable serving trays, set of four .
6. The kids and designated-driver tray
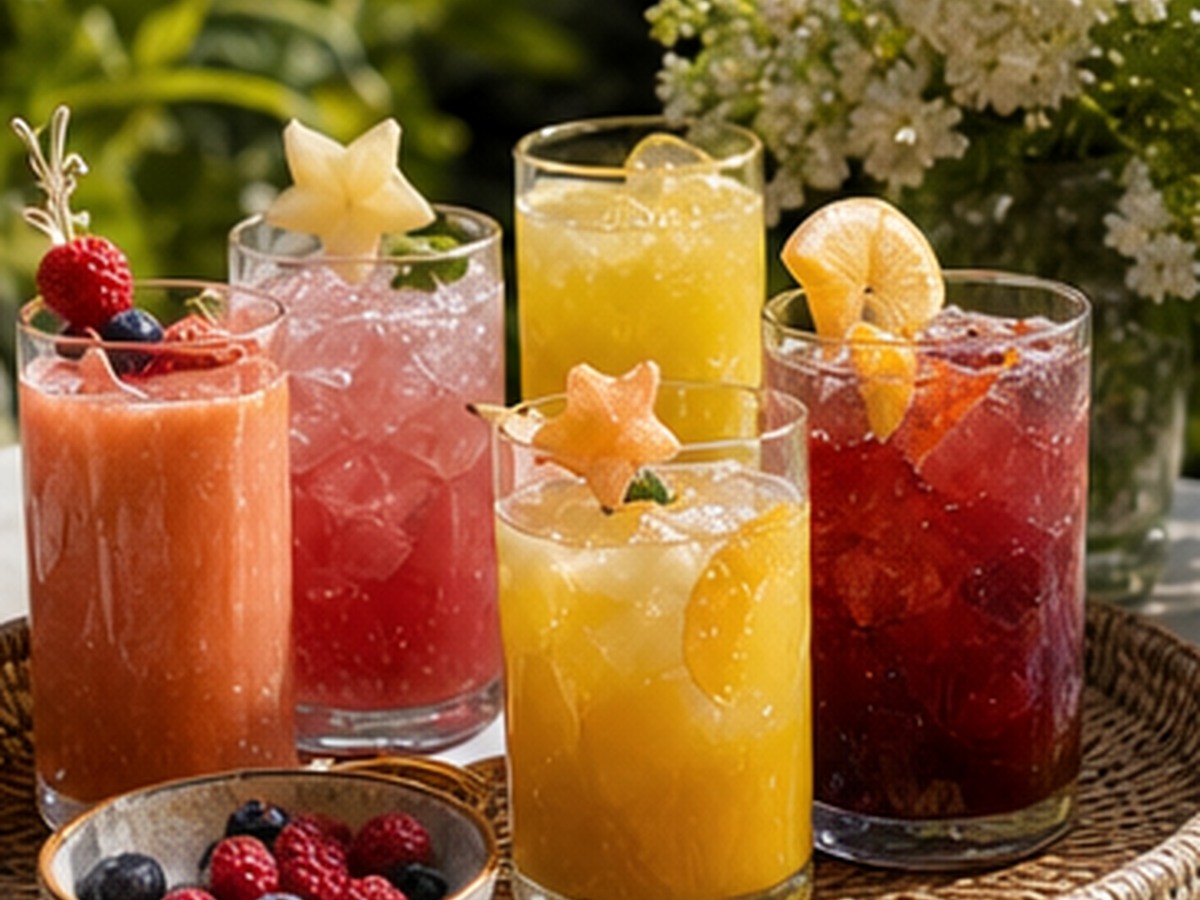
A separate alcohol-free tray helps children and designated drivers find a drink without standing in the cocktail line. Keep it bright, visible, and away from any bottles that could create confusion.
Use fruit, cucumber, or juice ice cubes instead of loose candy toppings. Put add-ins in covered compartments and use a separate spoon or small tongs.
Best Seller match: Leakproof eight-compartment snackle box .

7. The empty-glass tray
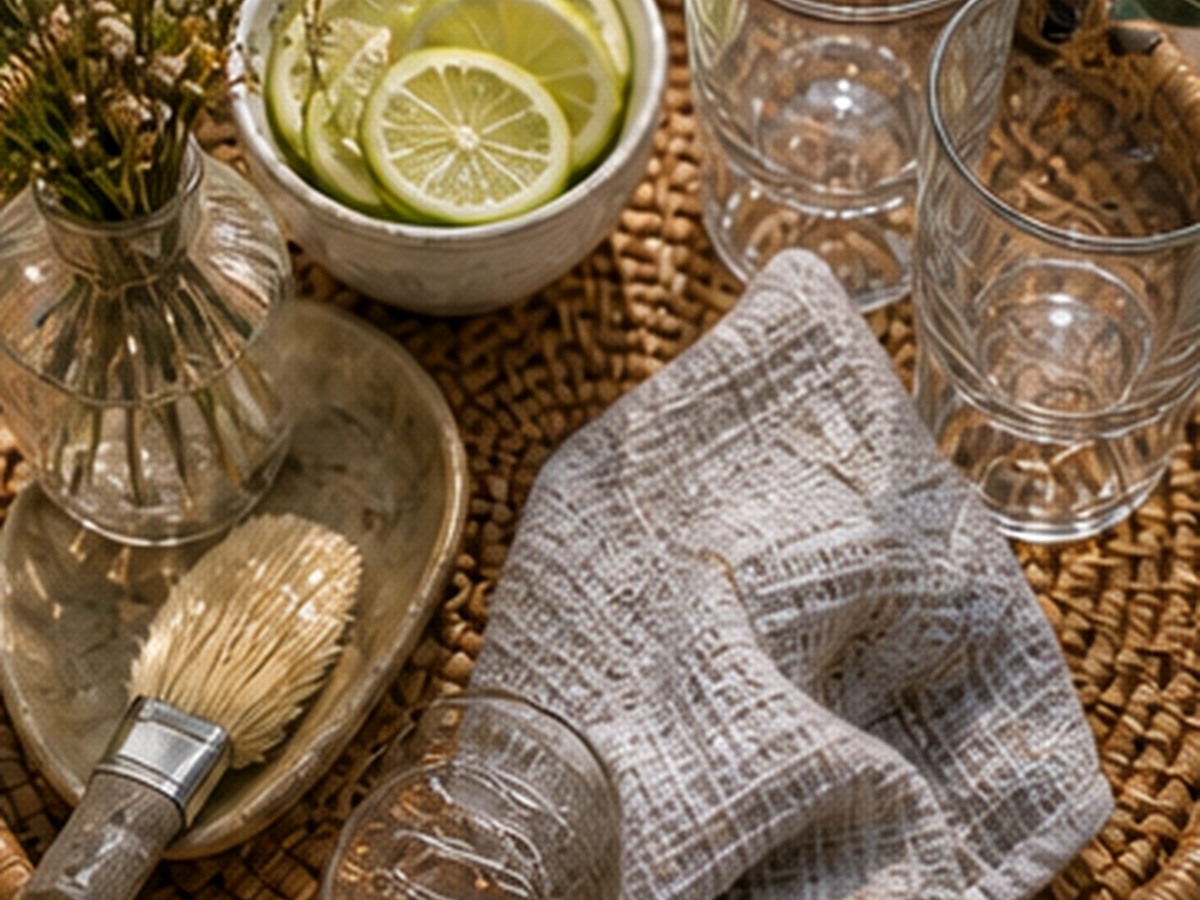
This is the tray most styled party photos leave out. It is also the one that keeps the table from looking abandoned after an hour.
Place it at the end closest to the kitchen, not beside the clean cups. Add one small sign that says Used Glasses if the purpose is not obvious. Clear it whenever it is half full so glasses do not stack or tip.
Best Seller match: Carlisle 14-by-18-inch cafeteria tray . It is a utility purchase, which is exactly what this job needs.
The 72-inch table plan
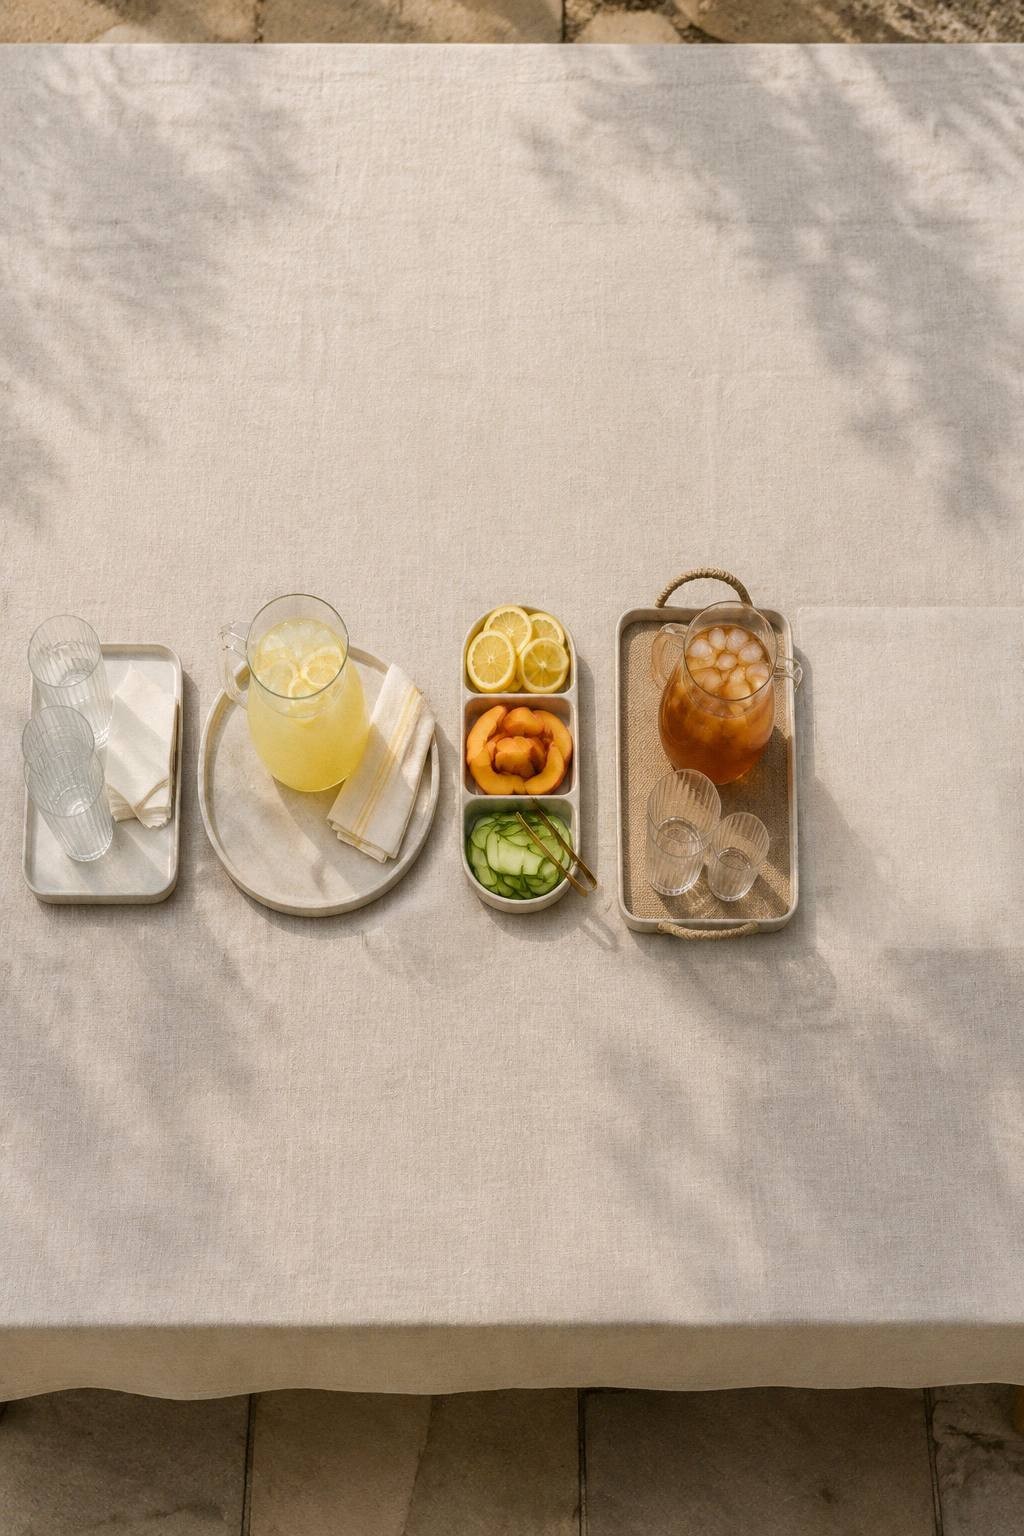
| Table zone | Width | What belongs there |
|---|---|---|
| Cups and napkins | 12 in. | One short stack of cups and plain napkins |
| Pitcher tray | 18 in. | Pitcher, towel, and one landing spot for a glass |
| Garnish tray | 14 in. | Three or four covered garnish choices and tongs |
| Refill space | 16 in. | Backup pitcher, water, or an ice container |
| Breathing room | 12 in. | Open surface split between the working zones |
Keep the used-glass tray on a side table or at the end closest to the kitchen. Mixing clean and used glassware on the same six-foot table makes the station harder to read.
Serving trays you can skip or reuse
- A tray so flat that glasses can slide off outdoors
- A deep decorative basket that hides short cups
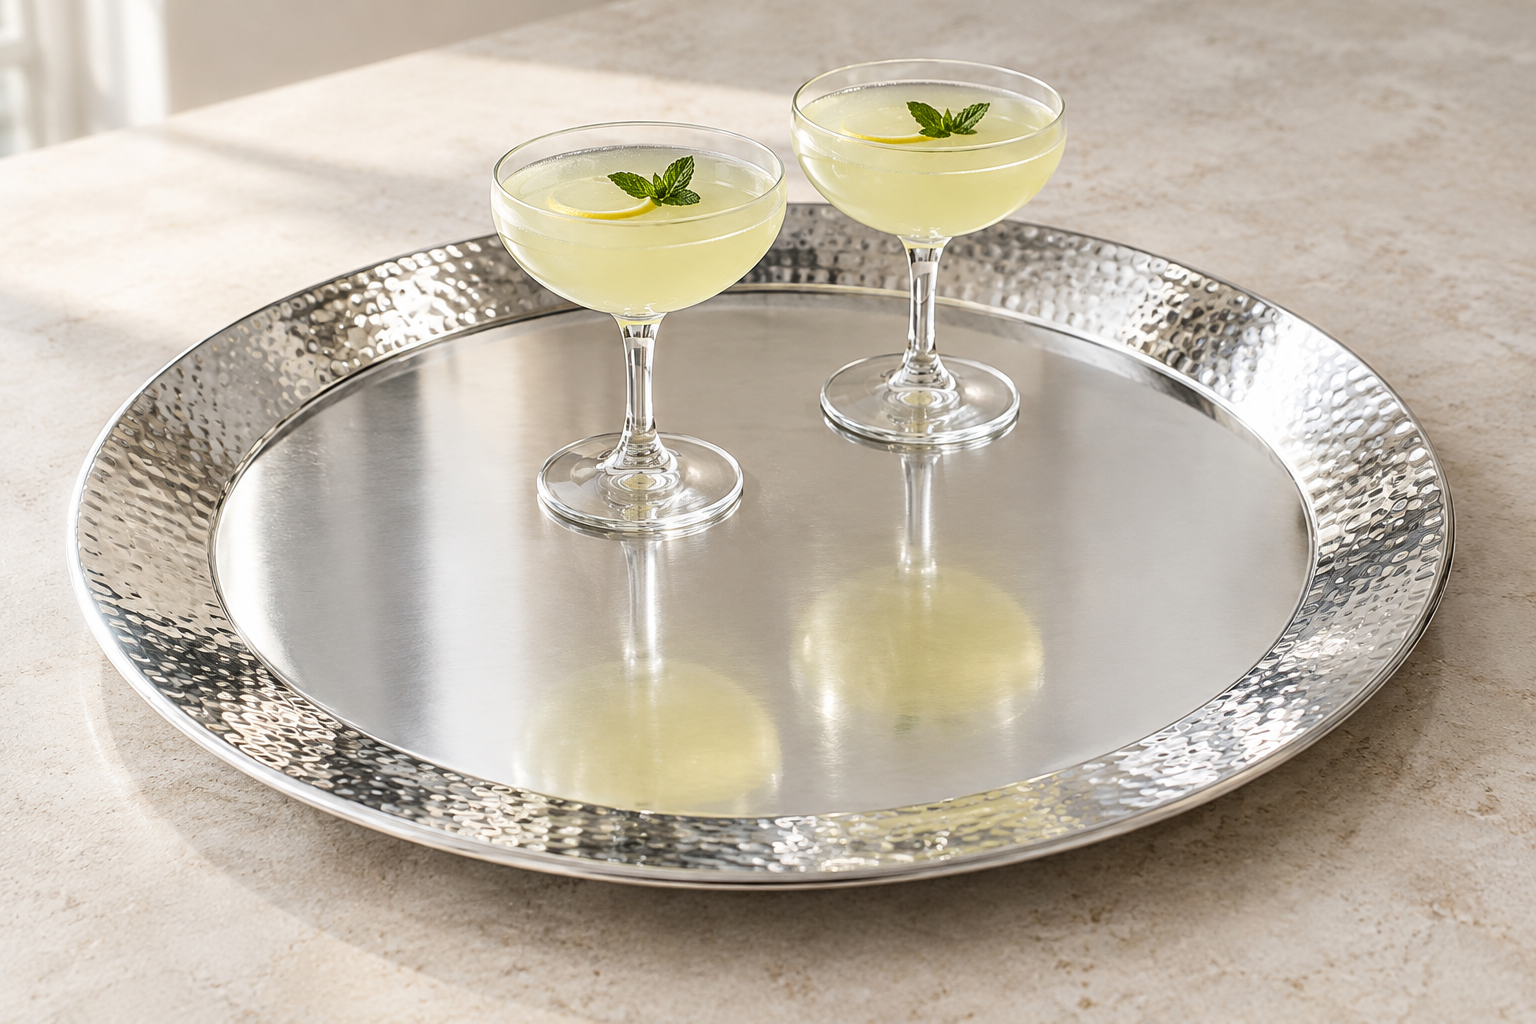
- A mirrored tray for a sunny patio, where glare and water spots become the focal point
- Seven matching trays when three useful trays solve the whole table
- A tray that cannot be wiped clean after citrus, wine, coffee, or syrup
- A tiny garnish tray that forces tongs to rest across the food
Three realistic budgets
| Budget | What to use | What to buy |
|---|---|---|
| Use what you own | Baking sheets, cutting boards, cafeteria trays, shallow baskets, folded towels | Nothing unless the pitcher lacks a safe base |
| One smart upgrade | Existing cleanup and movement trays | One divided garnish tray or one handled tray |
| Build the full station | Reuse any tray that already fits its job | Add the missing wet, choice, or movement zones one at a time |
The most attractive setup is not automatically the most expensive. Repeating one material, such as warm wood or clear acrylic, creates visual continuity even when the trays are not a set.
Common questions
Should every serving tray match?
No. Match the function first. A woven tray can hold a pitcher, a plain plastic tray can collect used glasses, and a metal tray can organize tools. Repeat one color or one napkin fabric if you want the table to feel connected.
Is wood safe under a sweating pitcher?
Only if the finish is intact and you wipe it promptly. A clear acrylic, plastic, or metal tray is lower maintenance for heavy condensation.
How many trays do I need for twenty guests?
Start with the same three jobs: wet, choice, and movement. Increase the size or add a second pitcher tray if two drink lines are forming. Do not add more trays simply because the guest count is larger.
Where should the ice go?
Use a separate insulated tub or bucket beside the pitcher tray. Ice melts too quickly on a shallow decorative tray and creates more water than the tray was designed to hold.
The short version
Contain the pitcher, contain the garnish, and give refills or used glasses a way to move. Those three boundaries make a plain table easier to use and noticeably calmer. Buy only the tray job you cannot solve with something already in the kitchen.