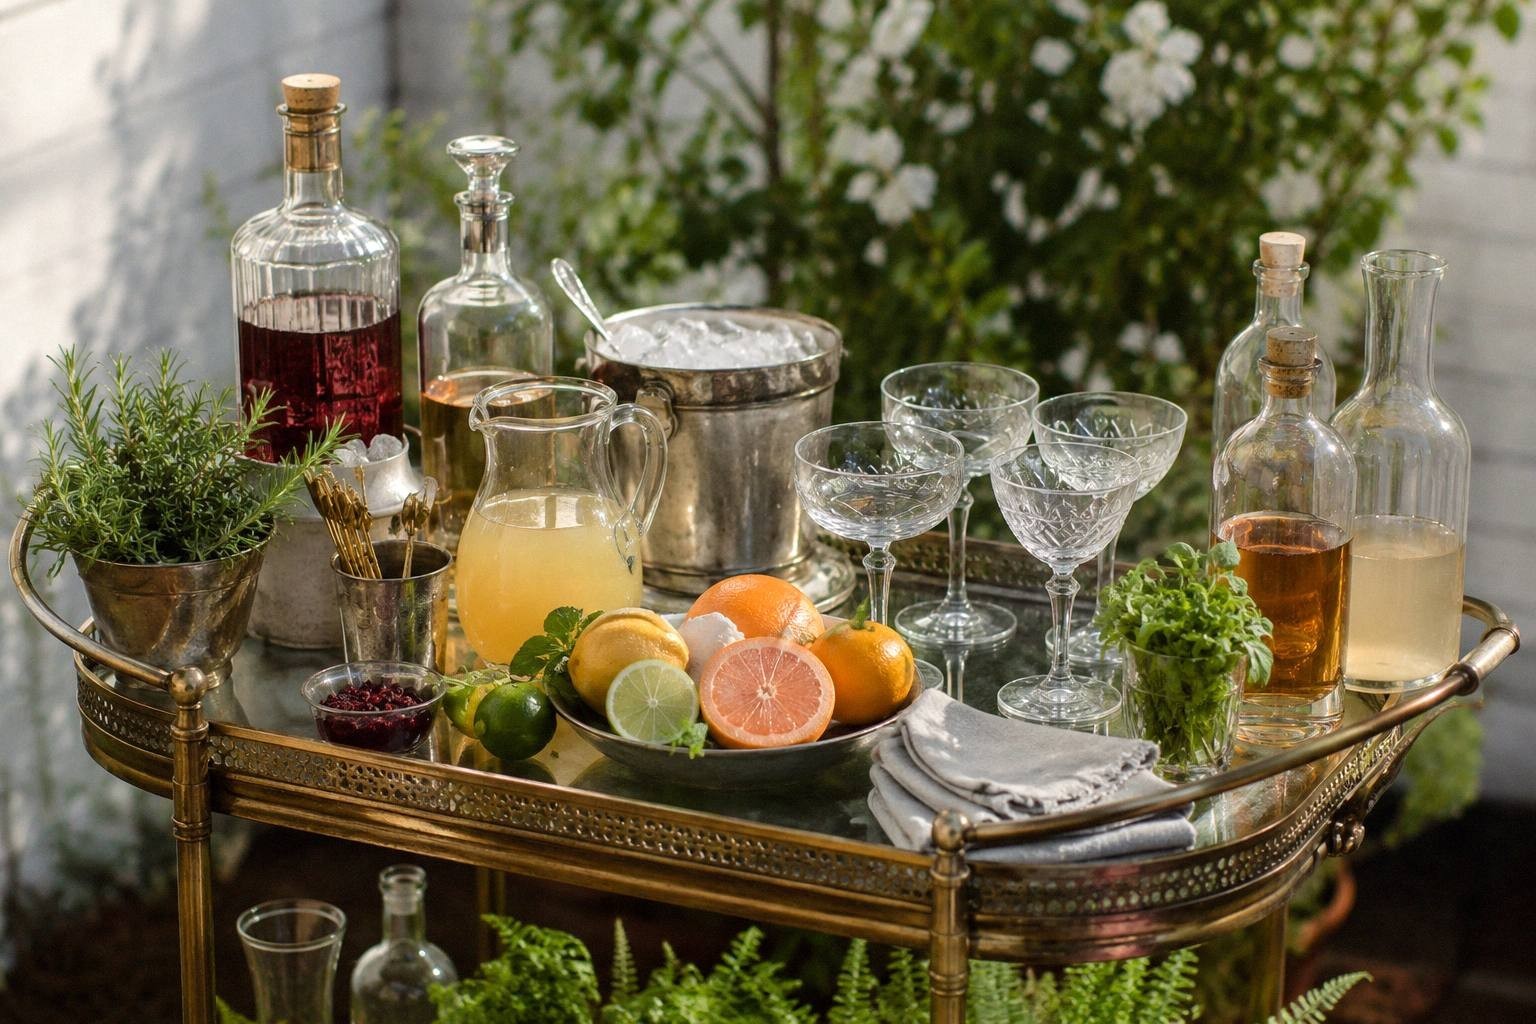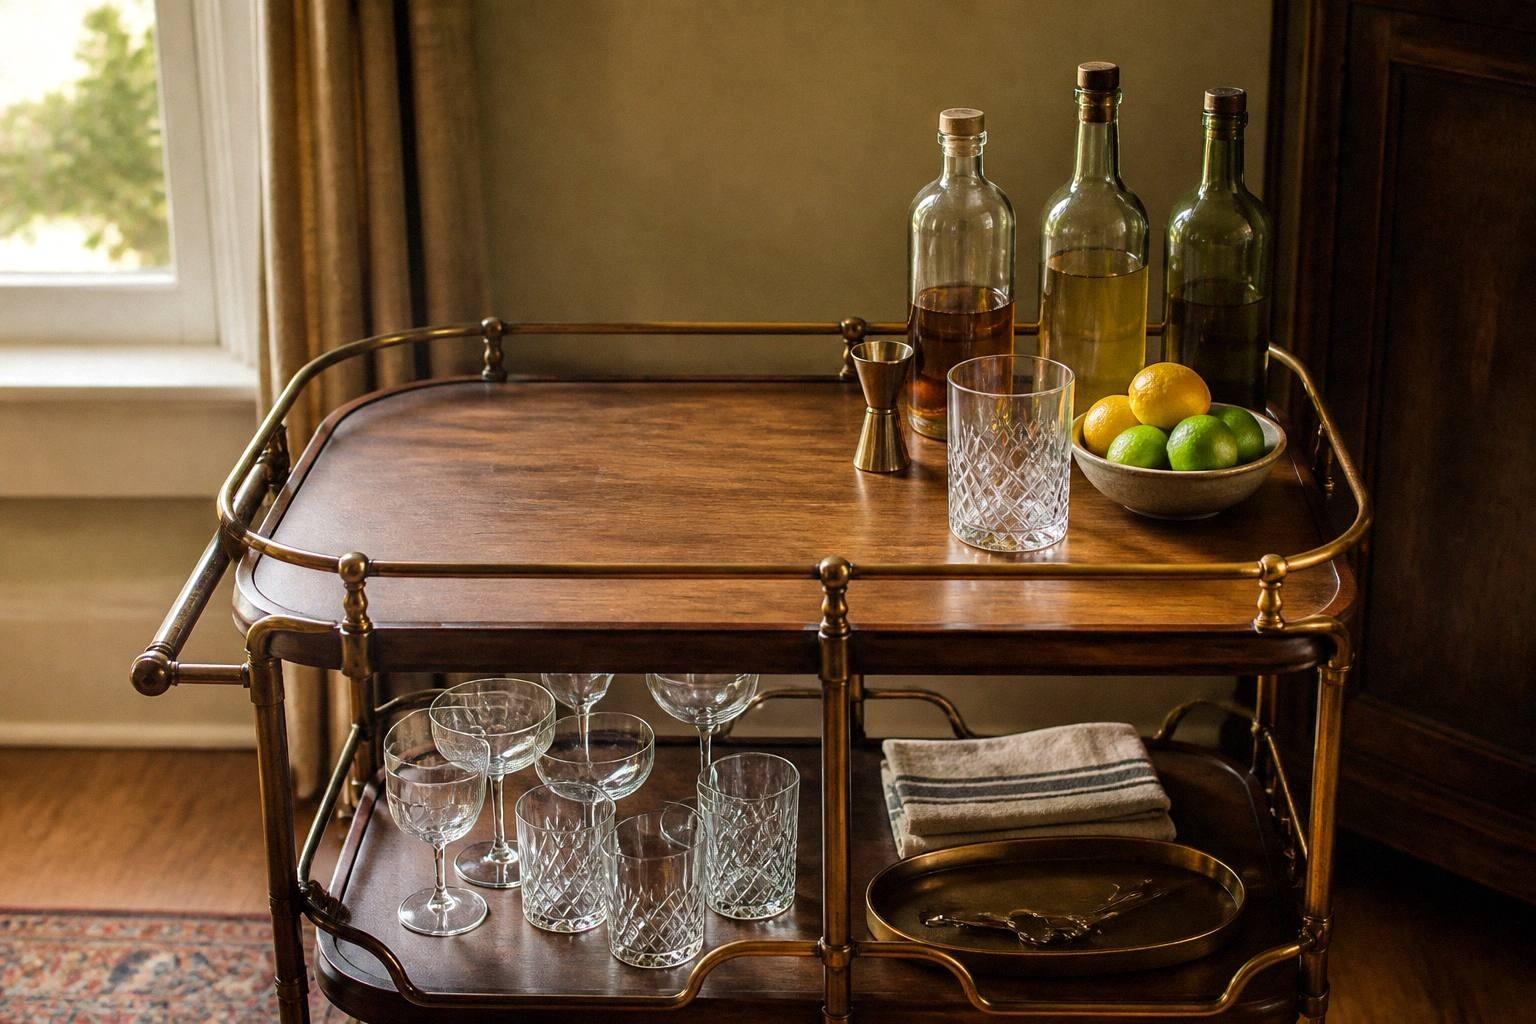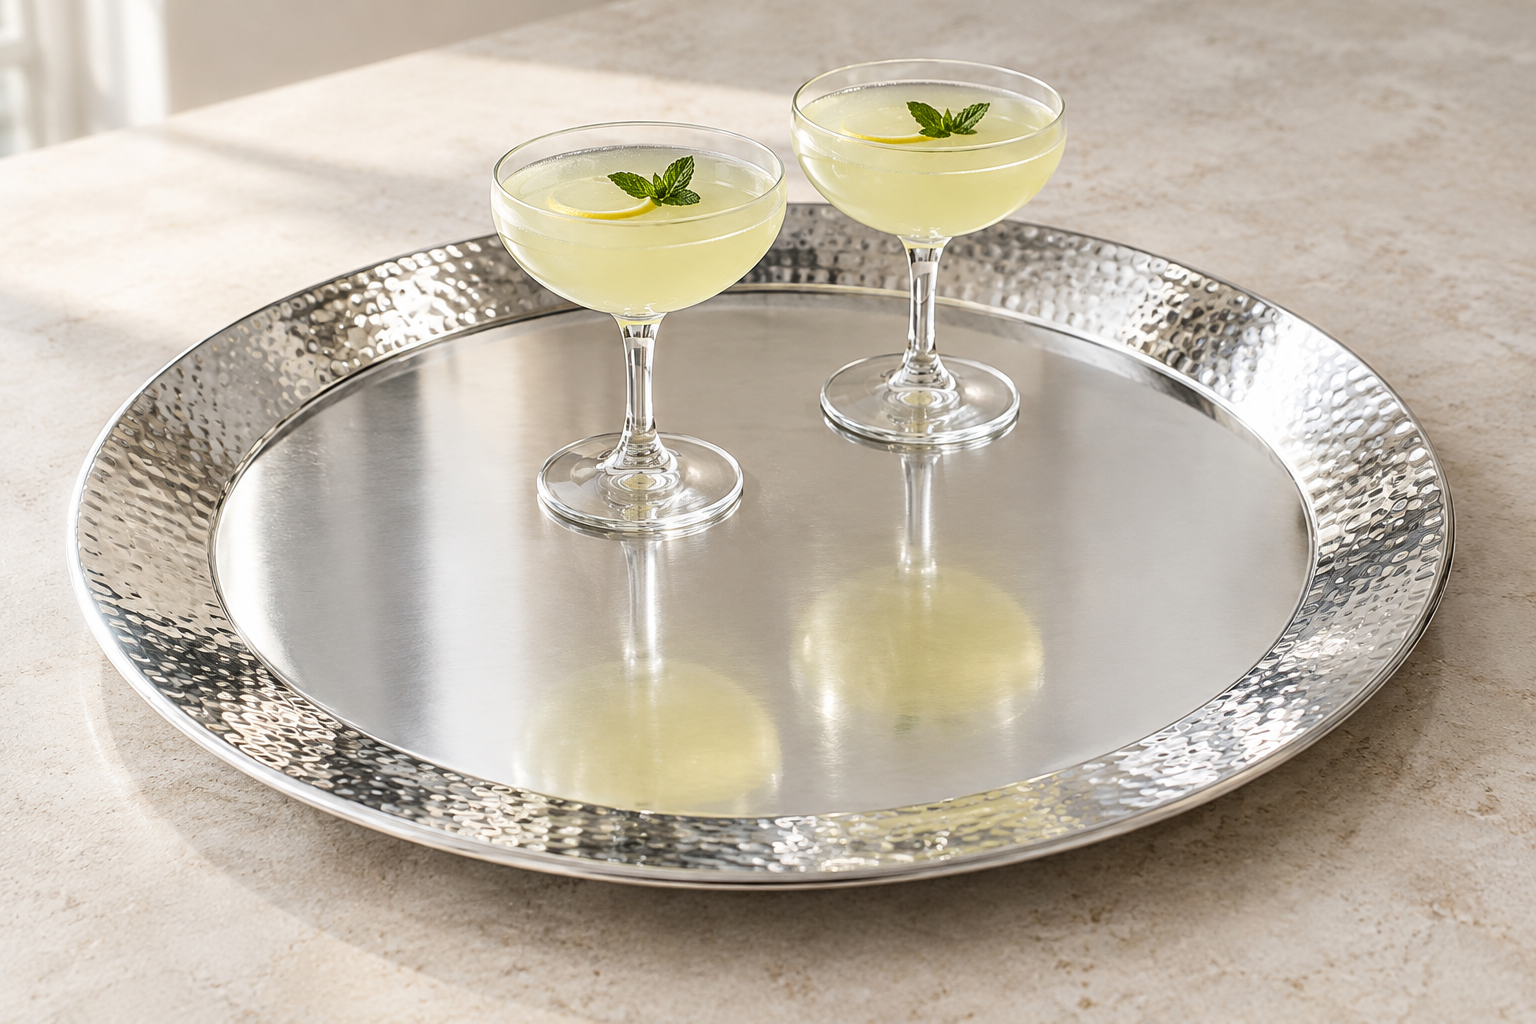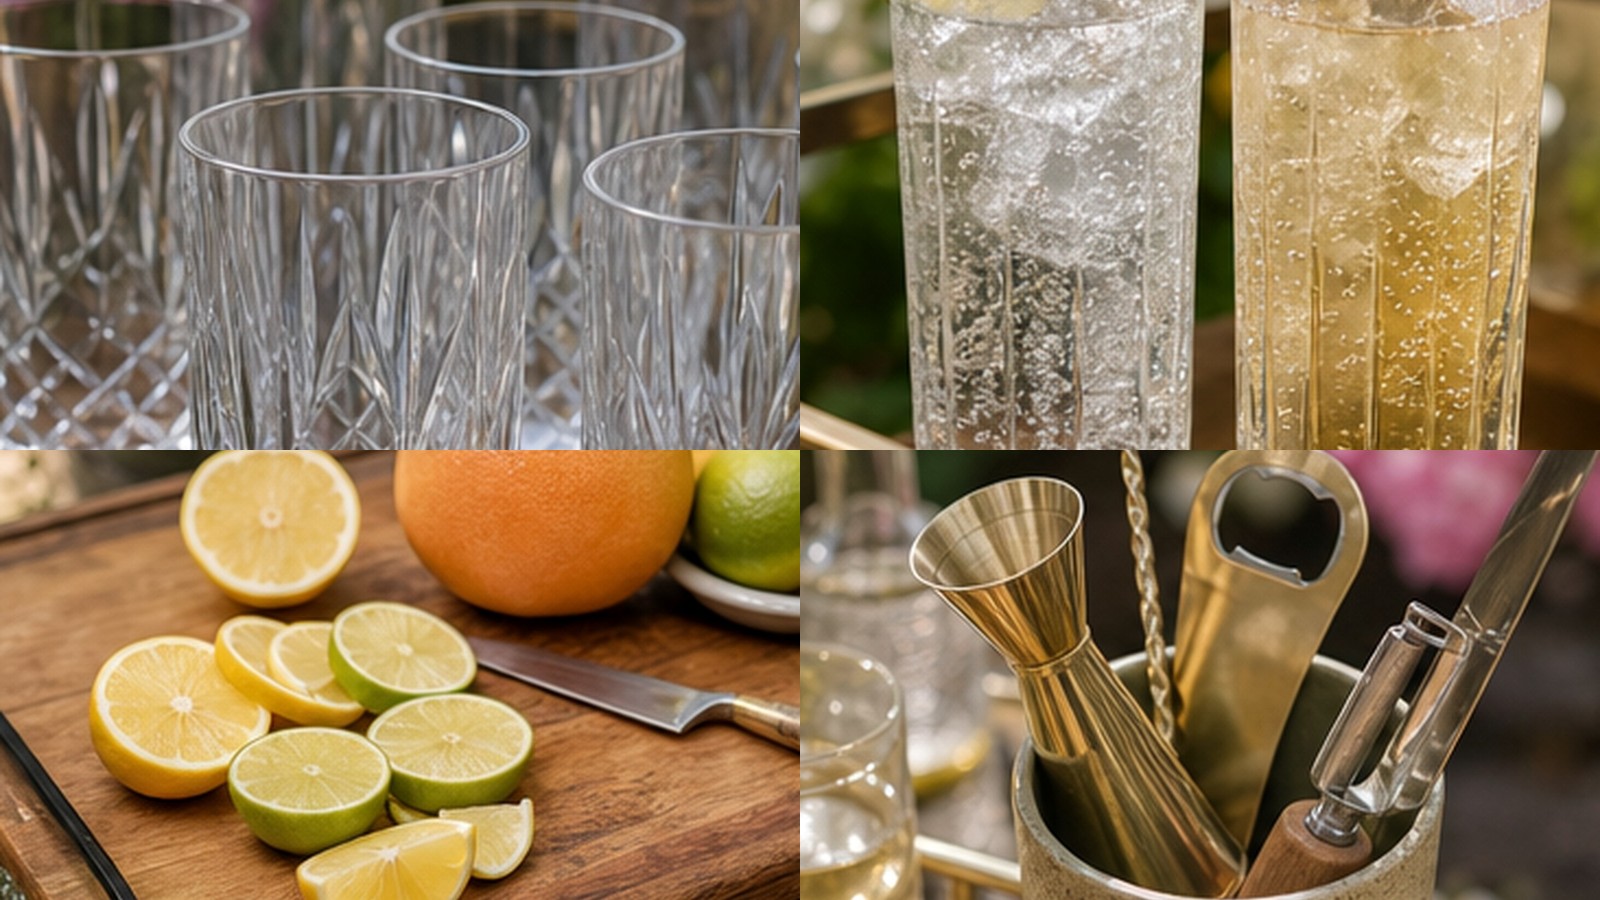
Most bar carts don’t need more bottles. They need a few pieces that make a cheap drink look like somebody planned the night.
That’s the whole test: if a guest can see the glass, ice, mixer, garnish, napkin, and tool without asking where anything is, the cart is doing its job.
This post contains affiliate links. If you buy through them, we may earn a commission at no extra cost to you. The product scenes are illustrative examples, not photos of the exact linked items; confirm current seller, size, material, and care on each listing.
Quick answer
If you’re starting from scratch, use the bar cart essentials guide to cover the working tools. This page is about the finishing choices: a serving zone, one glass style, a clear drink base, and tidy garnish or syrup service. Reuse kitchen pieces before shopping.
The product links are examples to compare, not a live ranking or hands-on test. Prices and availability change. Check the listing for exact dimensions, included parts, and care directions before buying.
The shopping rule I would use first
Buy the things guests touch before you buy the things that decorate the cart.
That means glasses before signs. Ice before bottle displays. A tray before cute clutter. A jigger before a ten-piece tool kit that lives in a drawer by August.
The goal is not a full home bar. The goal is a drink station that makes lemonade, spritzes, iced tea, mocktails, and simple cocktails feel organized.
At a glance
| Piece | Useful when | Reuse or skip when | Example listing |
|---|---|---|---|
| Serving cart or tray | You need one clear place for setup | A counter or table already works | Cart examplePaid Amazon links: we may earn a commission if you buy through links in this article. Disclosure details. |
| One glass style | Guests share one drink format | Sturdy glasses are already in the cupboard | Glass set example |
| Handled tray | You want to group the active pitcher and garnish | A tray crowds the cart or adds an extra trip | Acacia tray example |
| Glass pitcher | You’re batching one base for several people | A jar or pitcher you own pours cleanly | Carafe set example |
| Syrup bottles | You make and serve house syrup often | A labeled jar pours neatly and stays refrigerated | Syrup bottle example |
| Garnish server | Guests choose citrus or herbs themselves | One small bowl handles the menu | Garnish server example |
1. A narrow rolling cart, or one tray that acts like a cart
The cart is not the point. The path is.
If you have room, a narrow rolling cart gives every piece a place. Glasses up top, pitcher and garnish in the middle, backup mixers and napkins below.
If you do not have room, use a handled tray on a counter. It still creates a border around the setup, and borders are what make a drink station look planned instead of scattered.
Use this test before you buy: can the cart hold glasses, ice, a pitcher, garnish, napkins, and one tool cup without looking like a storage shelf?
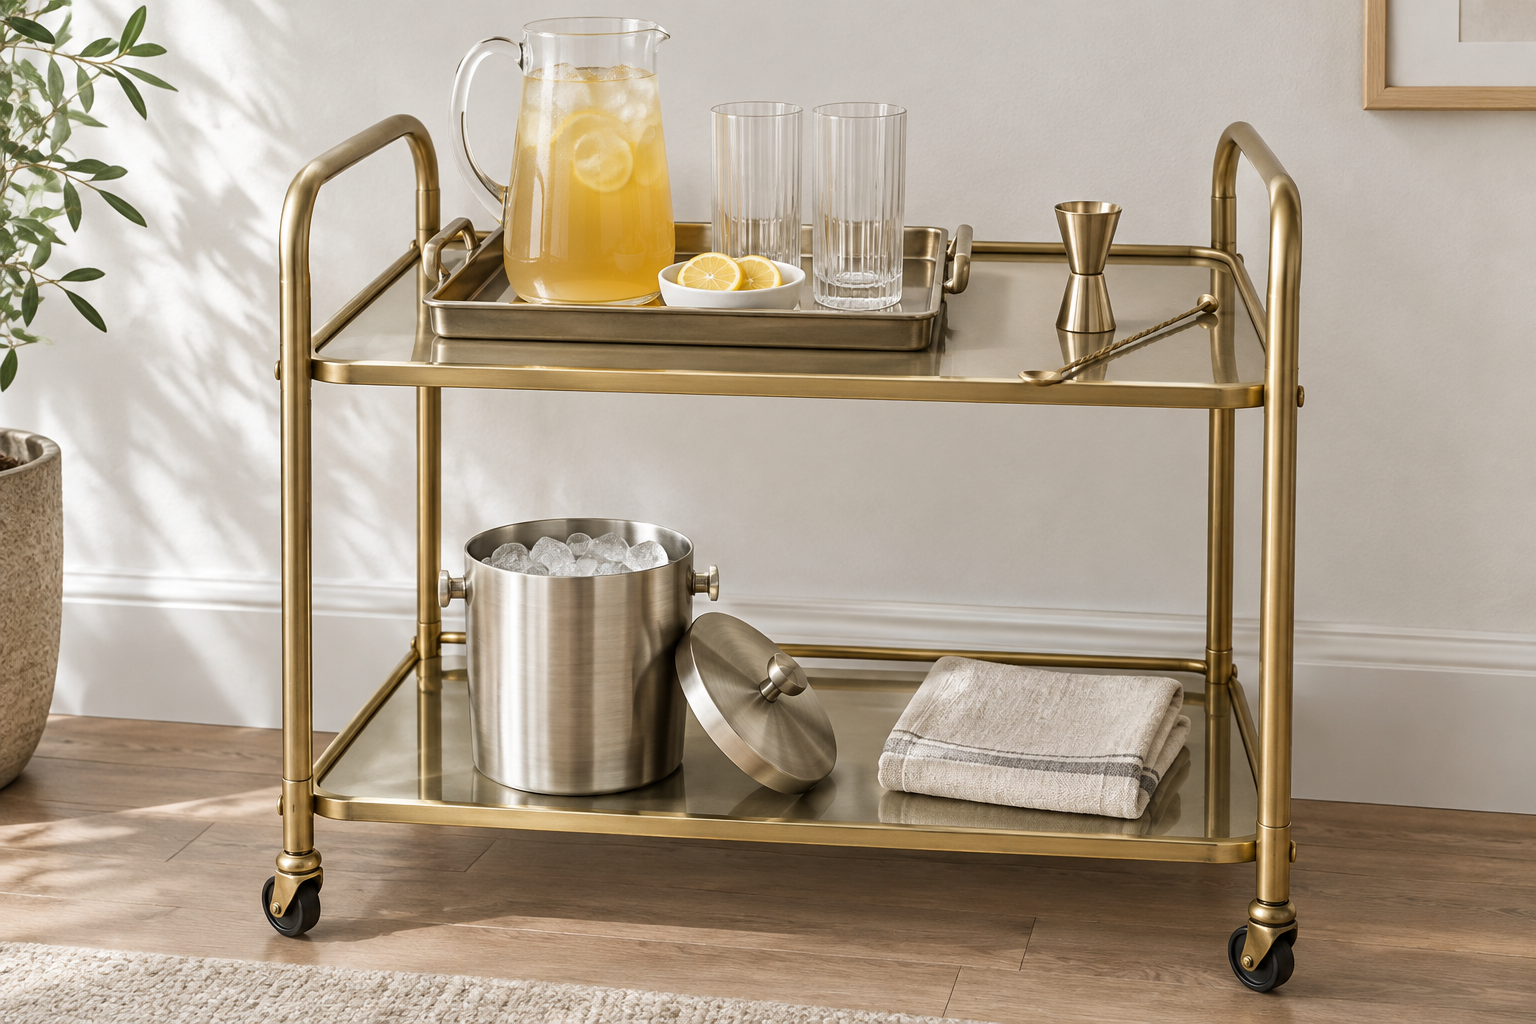
Example listing: TUTOTAK gold bar cart. Check overall width, shelf dimensions, load limits, and assembly details on the current listing. A tray on a steady counter can do the same job for less space.
Related guide: How to Style a Bar Cart for Mocktails and Cocktails
2. One glass style that can handle most drinks
Matching glasses do more visual work than people think.
You don’t need seven shapes. Start with one sturdy glass that works for iced tea, ginger beer drinks, spritzes, lemonade, and simple cocktails. Ribbed highballs or short rocks glasses catch light. Choose food-contact glassware, inspect for chips and cracks, and follow the maker’s washing and thermal-shock instructions; a pattern hiding damage is not a benefit.
I would rather see six useful glasses than two delicate coupes nobody wants to wash.
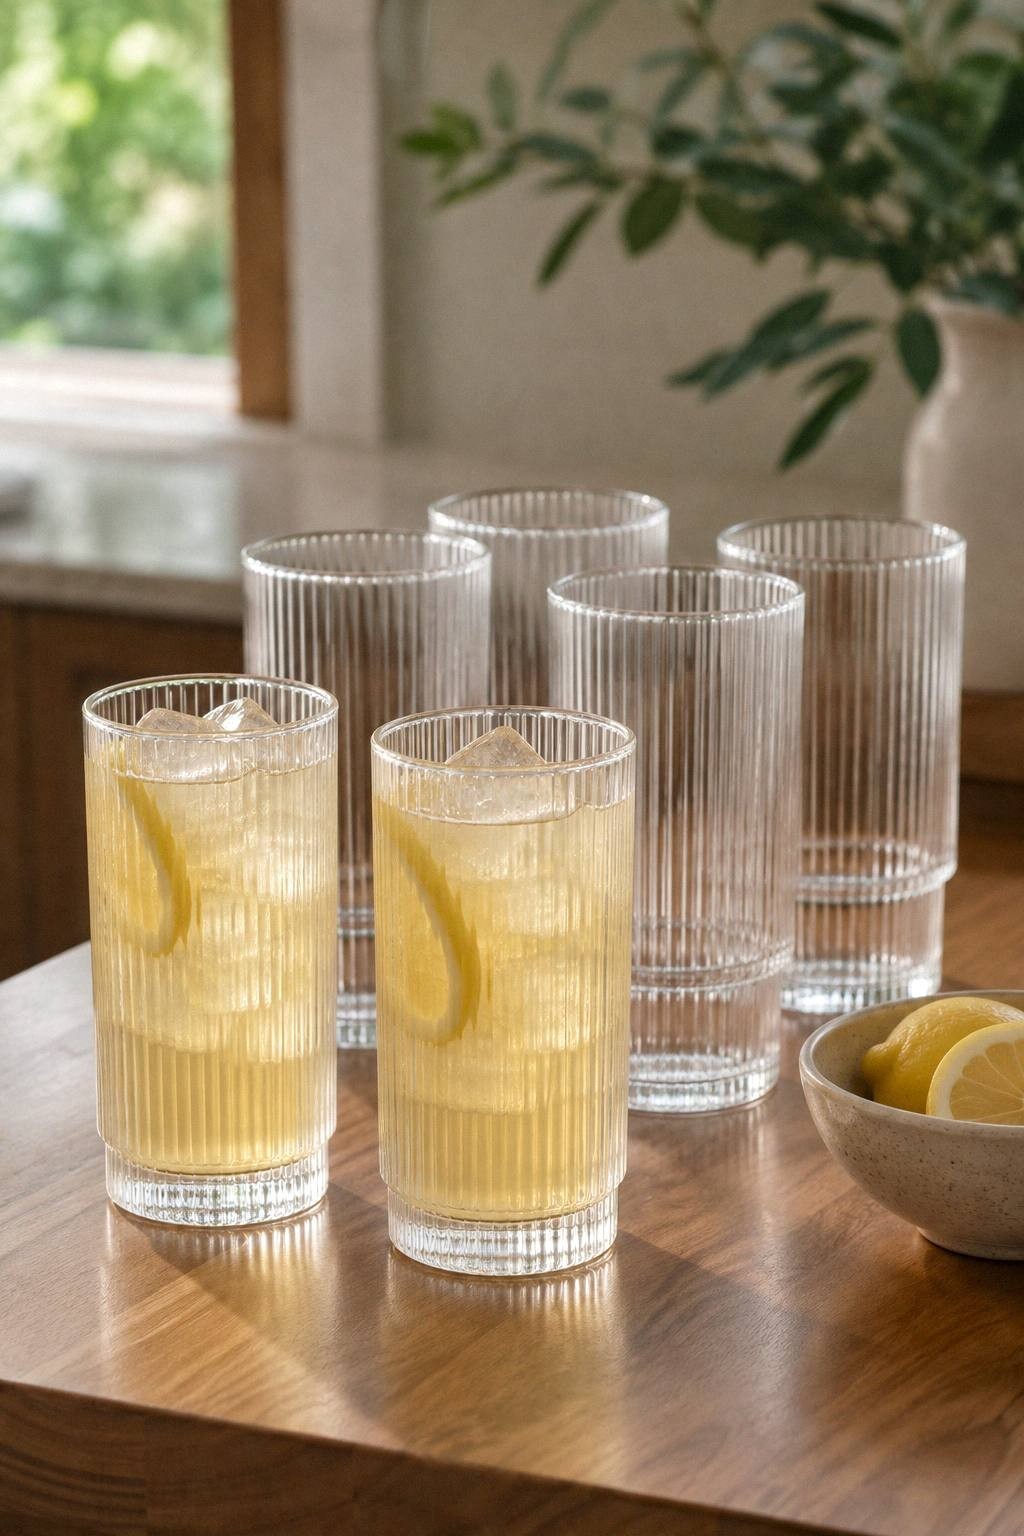
Example listing: Ribbed highball and rocks glasses, set of 8.
3. A handled tray that catches the mess
A tray gives the cart edges.
Put the pitcher, syrup bottle, citrus bowl, and spoon on the tray. Suddenly the cart has a zone. Drips stay contained. Guests understand what belongs together.
If your cart always looks busy, this is usually the first fix. Not more styling. Just one tray with enough rim to hold the active drink pieces.
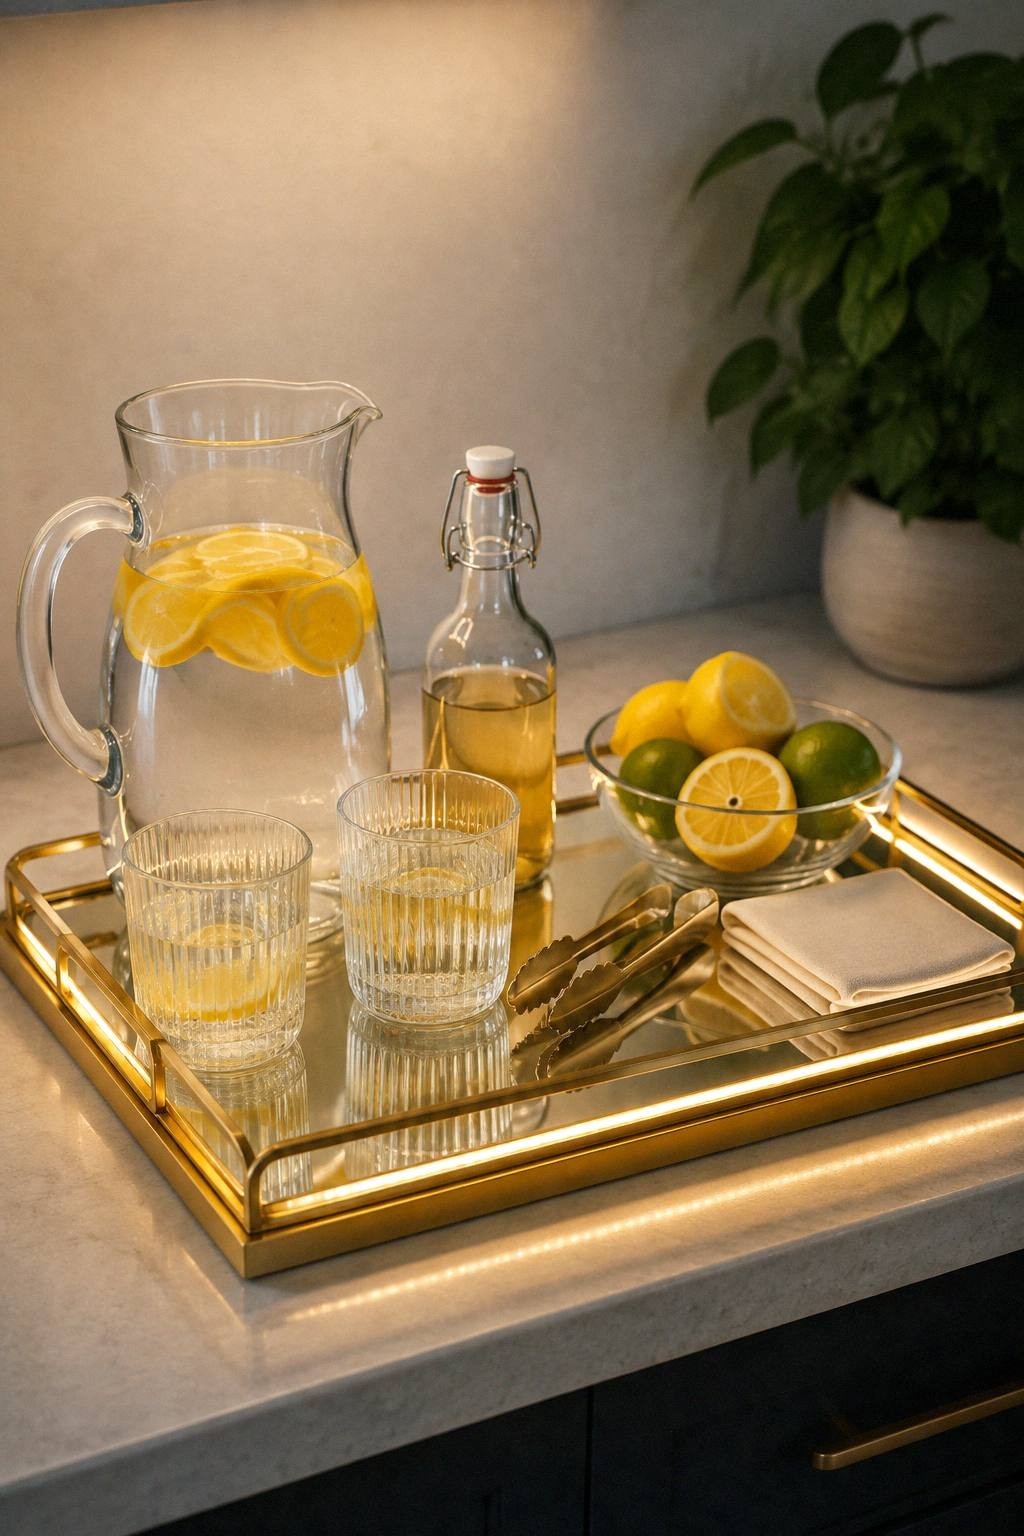
Example listing: Acacia wood serving tray with handles, 17 in..
Related guide: Serving Trays That Make a Folding Table Look Like a Finished Drink Station
4. A jigger and long spoon, not a giant tool kit
The useful tools are boring. That is why they stay on the cart.
A jigger keeps drinks from tasting different every time. A long spoon stirs tall glasses without knocking ice around the counter. A small cup or jar can hold both.
Skip the huge kit at first. Most of it becomes drawer clutter. If the cart is for real nights at home, the tools should be easy to grab and easy to put back.
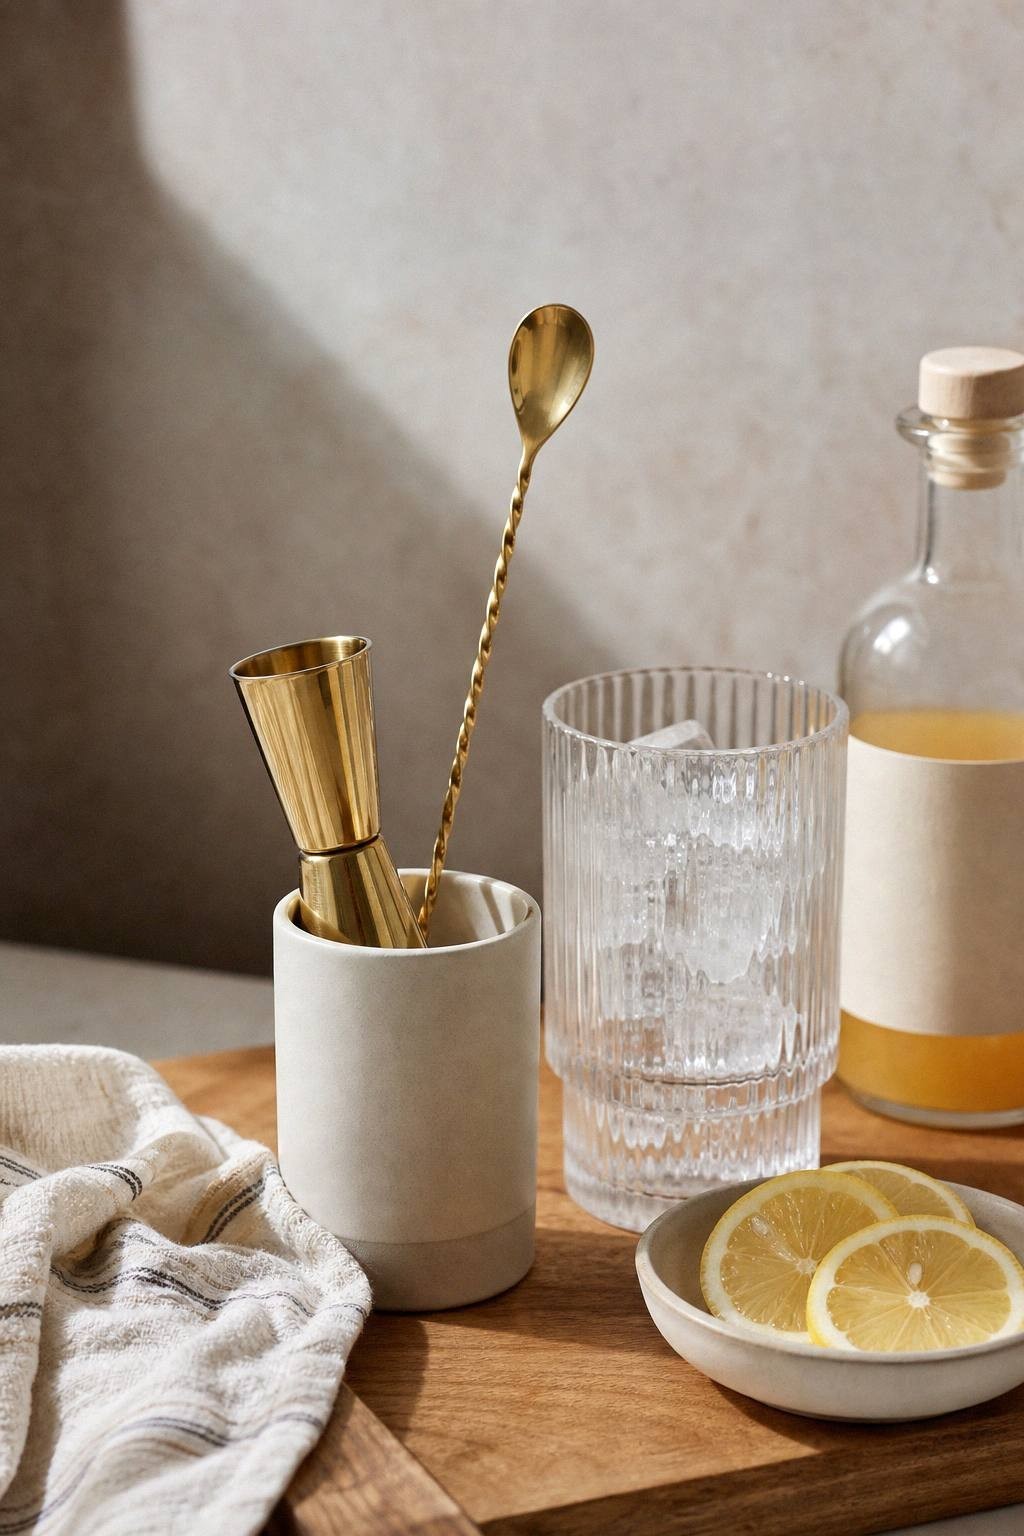
Example listing: Briout double cocktail jigger, 1 oz / 2 oz.
5. A small ice bucket with a scoop
Ice is where a pretty cart usually falls apart.
If guests have to walk back to the freezer every two minutes, the cart is decoration. A small ice bucket solves that without making the setup feel like a catering table.
Look for something compact with a lid and scoop. It does not need to hold party-size ice. It needs to keep the first round easy.
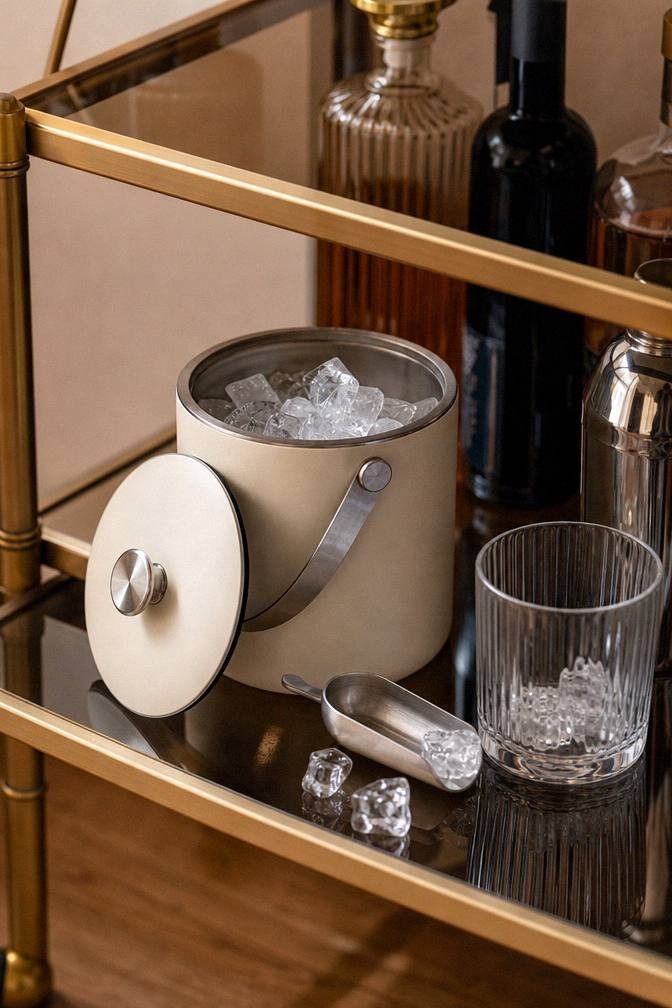
Example listing: Oggi insulated ice bucket, 4 quart.
6. A glass pitcher or carafe for the base
One pitcher makes the whole cart calmer.
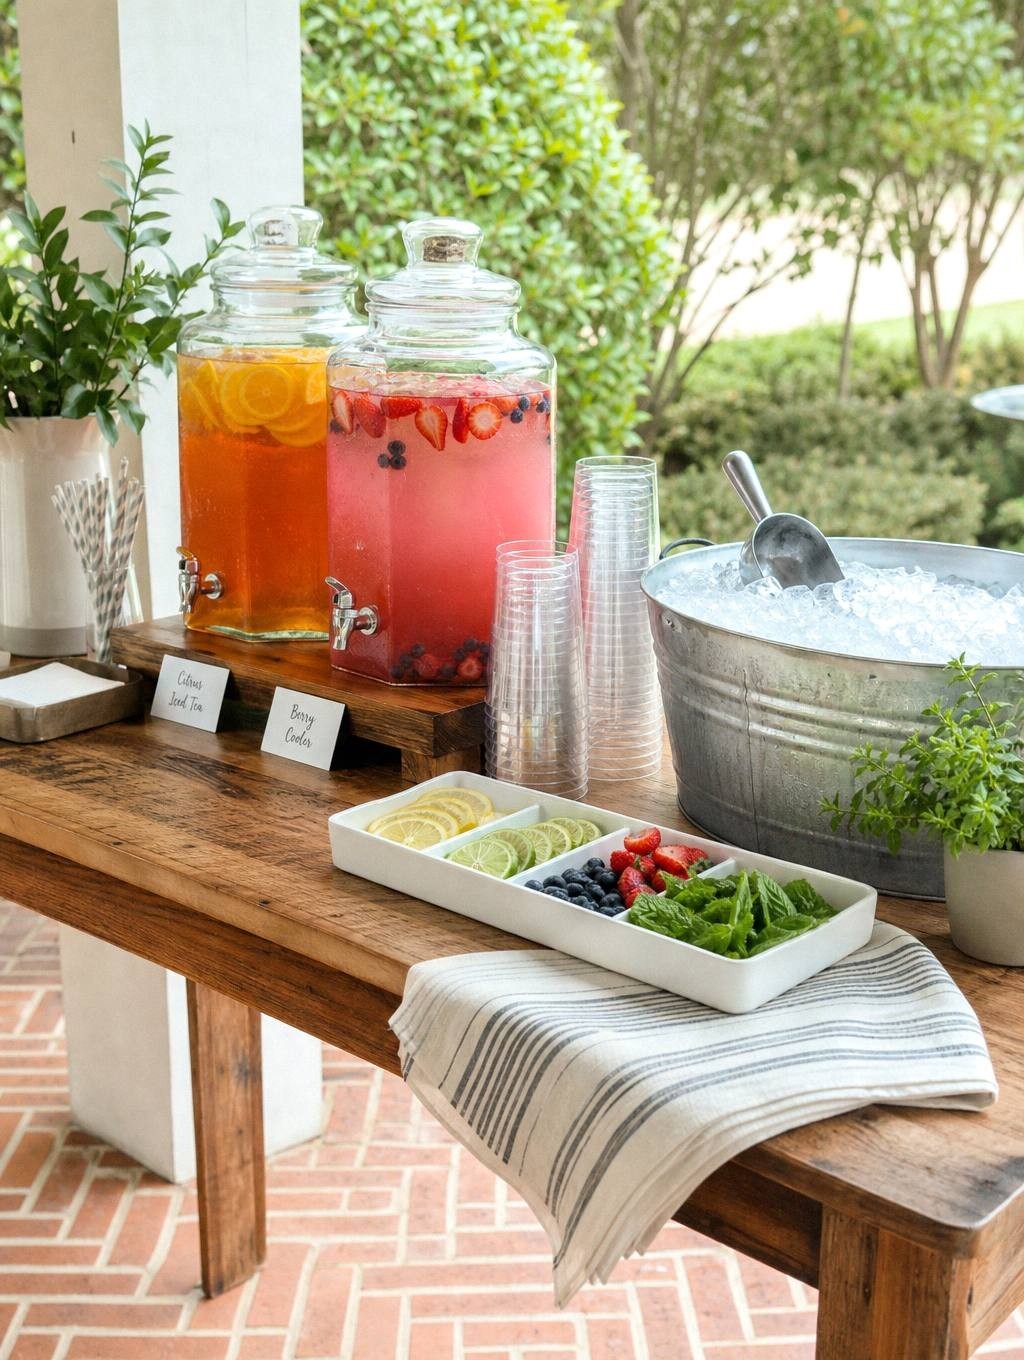
Instead of setting out ten choices, put one drink base on the cart: peach tea, hibiscus citrus tea, cucumber limeade, ginger lemonade, or a shrub base. Those are prepared-product or complete-recipe choices, not instructions for making a syrup, tea or shrub from this shopping list. Use the selected recipe’s measured serving ratio, and label any separate spirits.
This is how a mocktail cart and a cocktail cart can share the same setup without making anyone feel like they got the plain version.
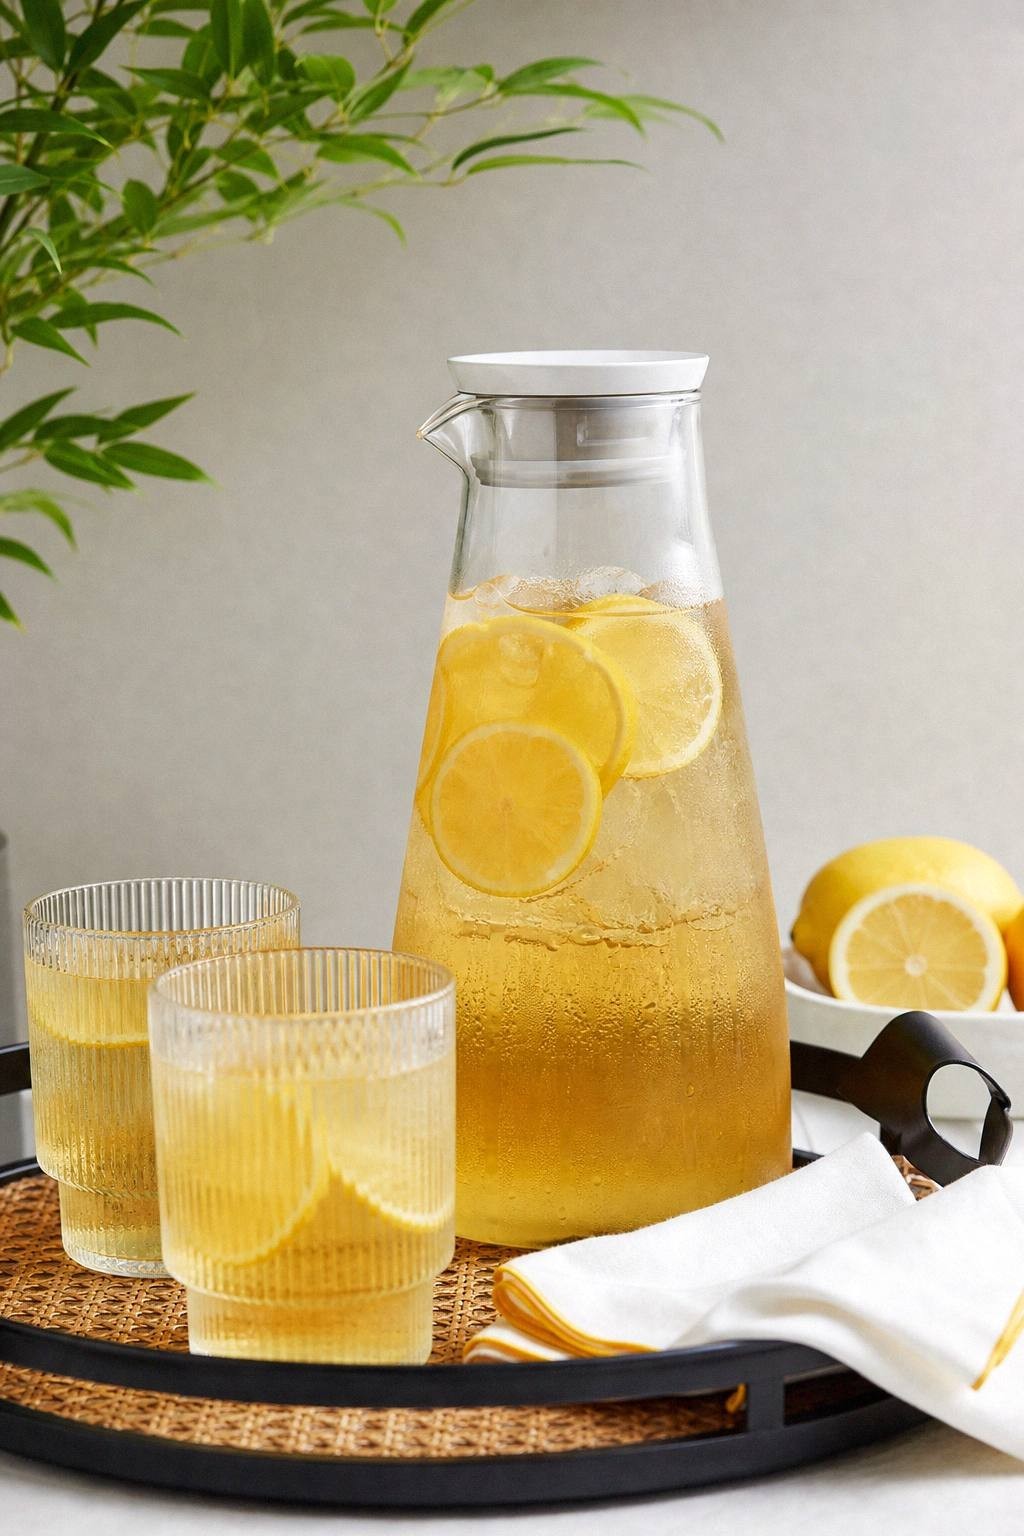
Example listing: NETANY glass carafes with lids, set of 4.
7. Syrup bottles that make homemade mixers look intentional
Homemade syrup looks more useful when it has a clean pour.
A clean food-contact bottle with a pour top keeps an already prepared basil syrup, ginger syrup , honey syrup or strawberry shrub ready to pour. Label the bottle if you have more than one.
Don’t set five syrups out at first. Start with one. If people use it, add a second one next time.
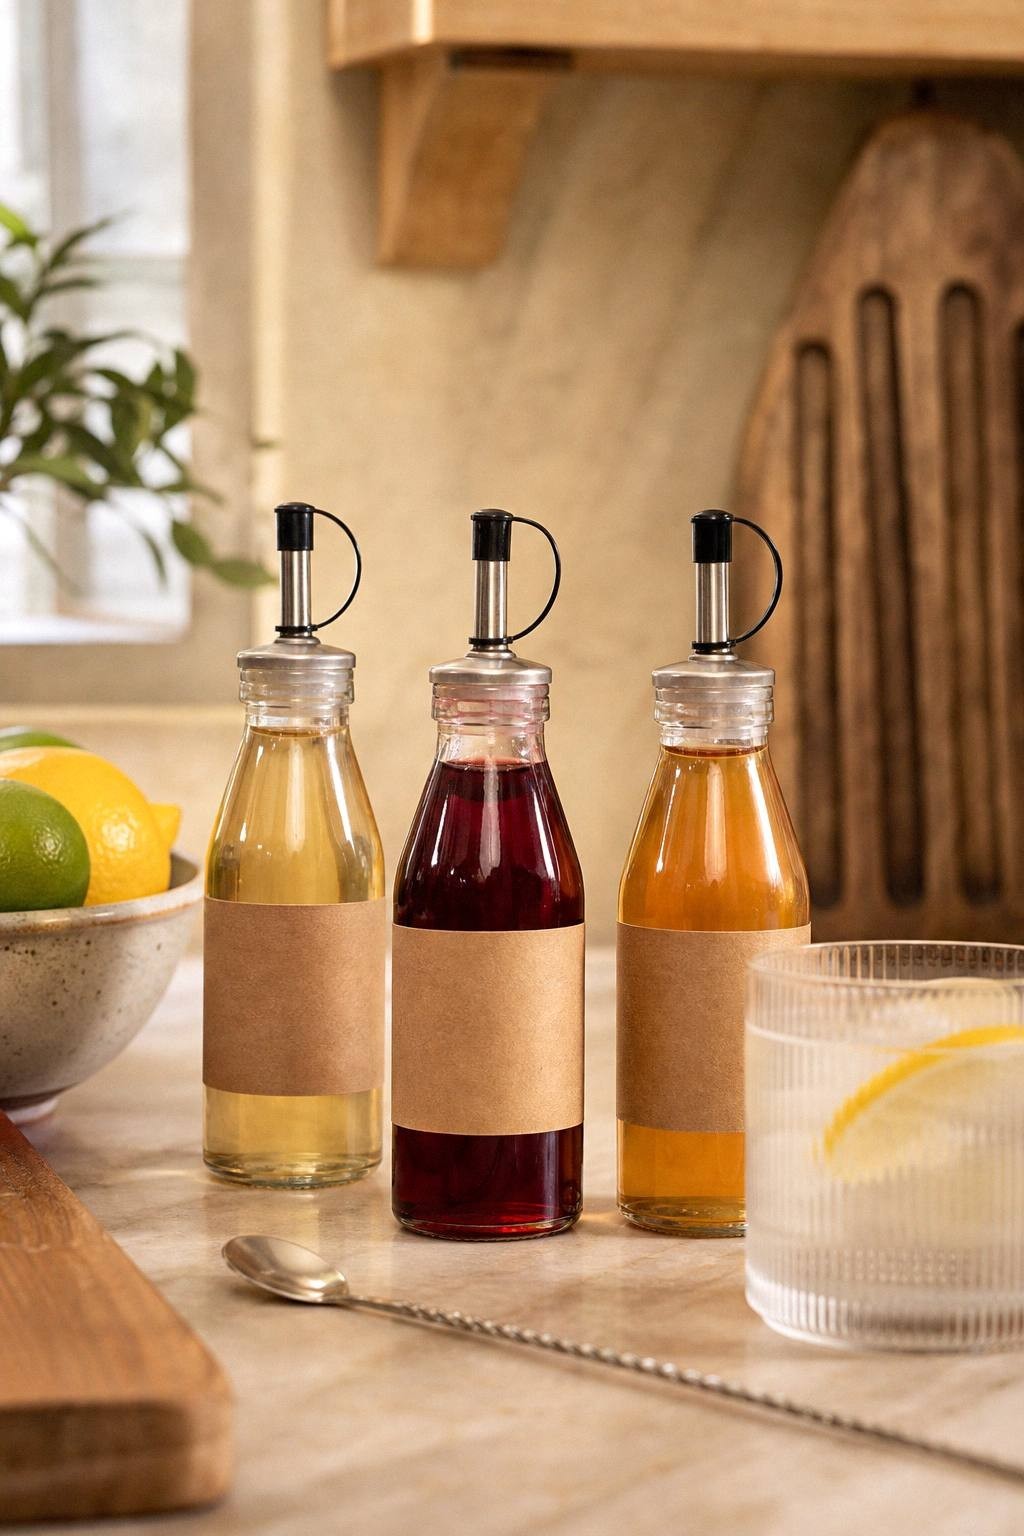
Example listing: Shining Craft syrup bottles with pour spouts.
8. Garnish bowls, tongs, and one fresh thing
Garnish is not just pretty. It tells people what the drink is supposed to taste like.
Use small clean bowls for washed citrus, berries, cucumber and correctly identified culinary herbs. Add clean tongs. Keep cut produce and prepared perishable bases cold; a styled tray does not keep food refrigerated.
Keep dried herbs out of finished drinks. Keep small portions of washed edible mint or basil in cold holding at 40 F (4 C) or below. A room-temperature water glass does not keep cut garnishes cold; woody sprigs can decorate the table.
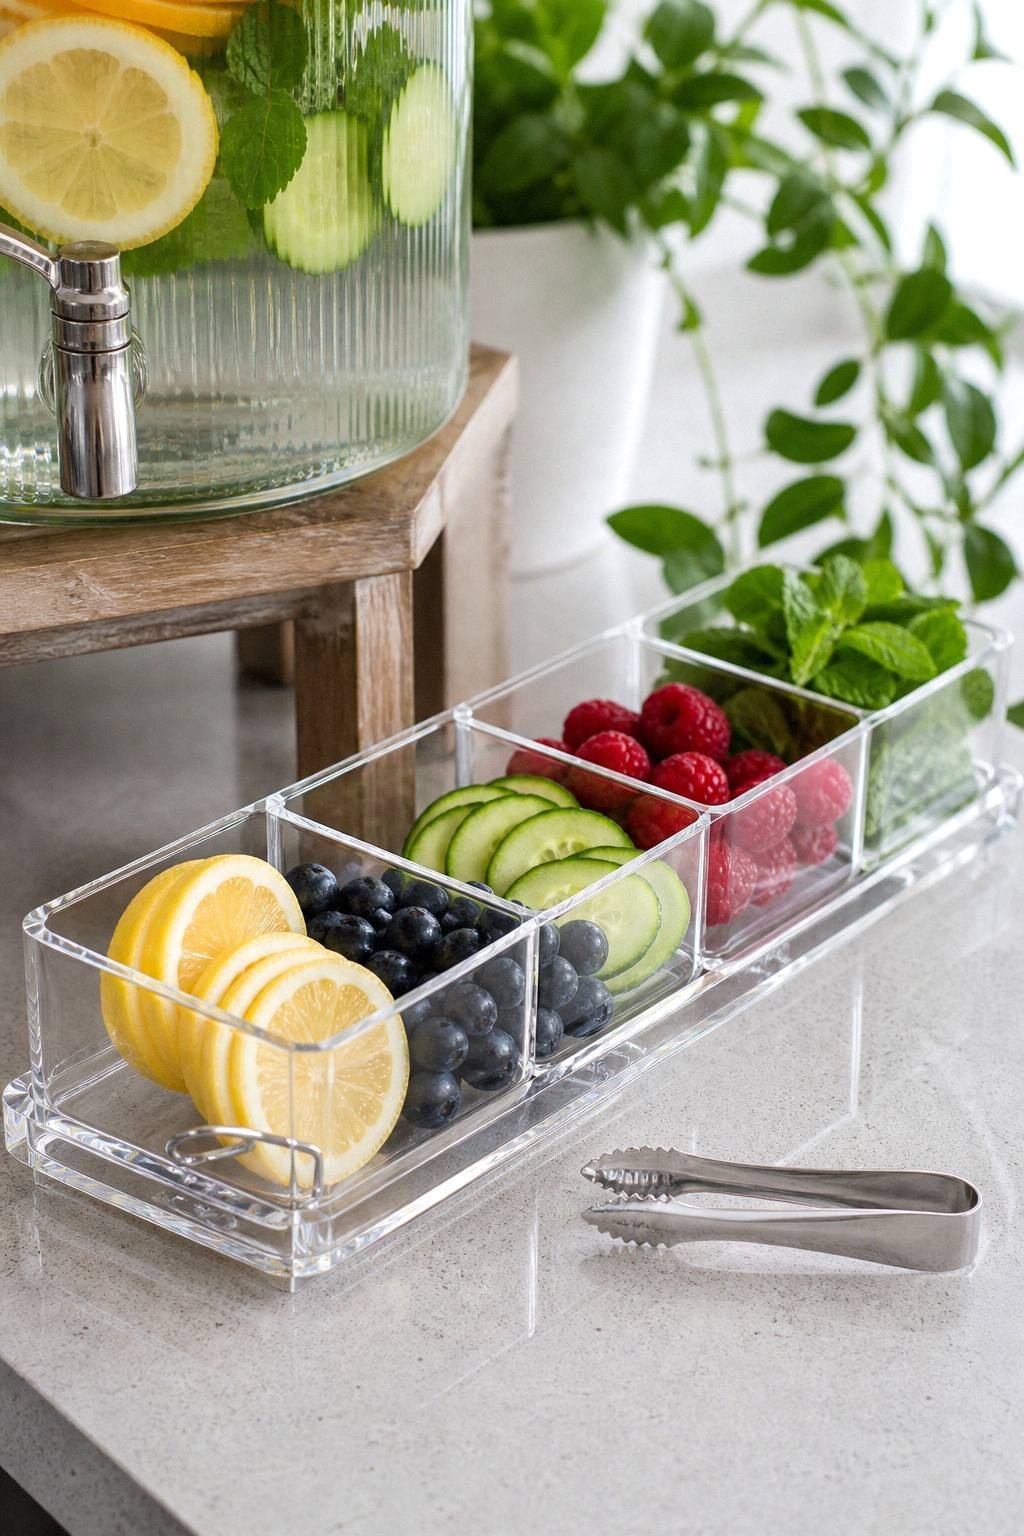
Example listing: Chilled condiment and garnish server.
What I would skip until the cart earns it
Do not start with the loud stuff.
- Neon signs
- Oversized shaker sets
- Novelty straws
- Too many bottles
- Tiny decor that guests have to move
- Fragile glassware you are worried about
- Anything that takes space from ice, glasses, napkins, or the pitcher
If the cart works for three weekends, then decorate it. You will know what space is actually left.
Three setups to copy
The apartment counter setup
Use one handled tray, four ribbed glasses, a small pitcher, syrup bottle, citrus bowl, napkins, and a spoon. Put backup mixers in the fridge, not on the tray.
Best for: small kitchens, Friday night drinks, iced tea mocktails.
The patio cart setup
Use a narrow rolling cart, six glasses, an ice bucket, a pitcher base, sparkling water, garnish bowls, and a towel on the lower shelf.
Best for: backyard drinks, grill nights, mixed mocktail and cocktail groups.
The one-drink hosting setup
Use a pitcher of one base, one syrup bottle, one mixer, citrus, herbs, and a jigger. Guests build from the same starting point.
Best for: people who want a good drink night without playing bartender the whole time.
The short version
The cart should make the first drink easier.
If a piece helps someone find a glass, add ice, pour the base, measure a splash, stir, garnish, or grab a napkin, it belongs. If it only makes the cart look busier, wait.
Start with the things guests touch. That is what makes even cheap drinks feel planned.
Handling the Drink Station
Wash hands and equipment. Rinse fruit and culinary herbs under running water before cutting. Use correctly identified food ingredients, not florist plants or ornamental herbs. Choose pasteurized or otherwise safety-treated packaged juice and follow its label after opening.
Refrigerate promptly at 40 F (4 C) or below. Use clean small containers and keep serving pitchers over ice, checking the liquid temperature. Discard after more than two cumulative hours without cold holding, or one hour above 90 F (32 C). Normal smell and appearance do not establish safety.
Keep drinking ice in its own food-contact bucket with a clean scoop stored handle-up outside the ice. Ice used to chill packages or pitchers is not drinking ice. Replace serving pitchers and garnish dishes with clean, chilled replacements; do not top up a warm remnant. Label prepared syrups with ingredients, preparation date and the handling instructions from their recipe or package. A pour spout does not preserve syrup. Refrigerate perishable leftovers promptly within the holding limits.
The linked products are examples, not a popularity ranking or personal test. Check current details on the listing. There is no food recipe or printable preparation card for this shopping guide.