Every Halloween I used to spend the first hour of my own party behind a counter, and every year I’d realize around nine o’clock that I hadn’t looked at a single costume properly.
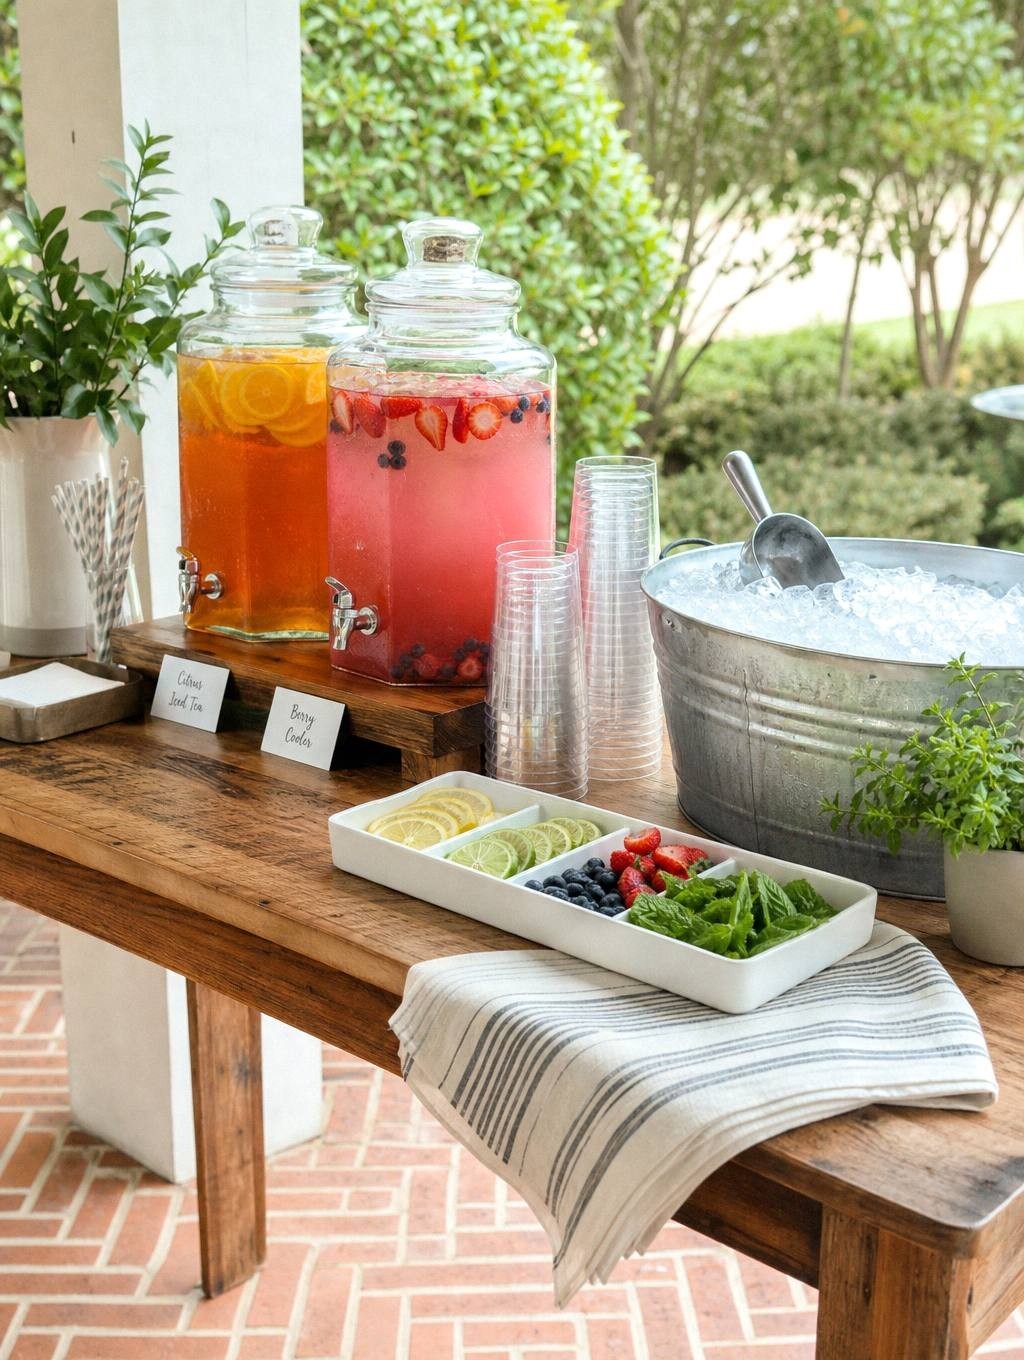
The fix was one table. Two drinks on it, cups in front, ice next, garnish at the end. Guests figured it out without being told, the doorbell stopped being an interruption, and the setup took about thirty minutes. That’s the whole idea, and the rest of this is the details that make it work instead of turning into a sticky mess by hour two. For an alcohol-free pitcher on that table, choose from these measured Halloween mocktails .
Why Self-Serve Stations Work for Halloween Parties
Halloween parties run on momentum. Guests arrive in waves, costumes need admiring, and someone always shows up with a last-minute plus-one. A drink station handles all of it without you playing bartender between doorbell rings.
Pre-batched drinks in pitchers or dispensers mean guests serve themselves at their own pace, refill without asking, and skip the awkward hover near the kitchen. You prep everything before the first knock, then let the station run itself.
Self-serve also scales better than individual cocktails. One large-format punch serves twenty people from a single recipe and stays cold in its own bowl. Less time mixing, more time with your guests.
The general layout logic applies to any party, not just this one. The drink station guide covers the pouring order and the per-guest math in more depth if you want the version that isn’t Halloween-specific.
How Much Punch to Make
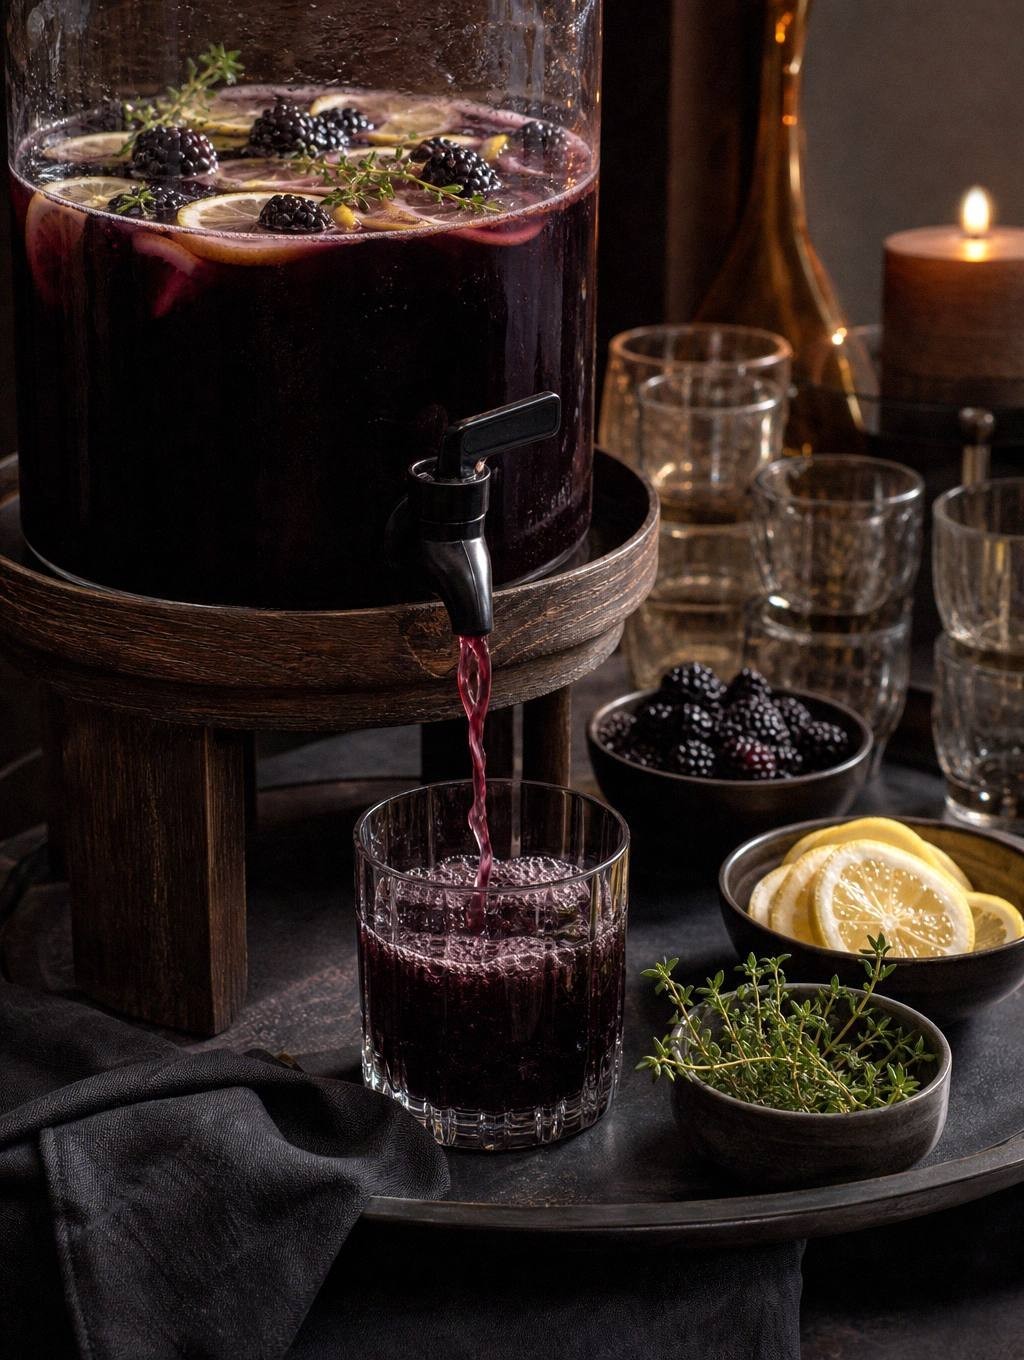
One batch of the blackberry thyme punch below yields 12 to 16 cups. At a six-ounce pour with room for ice, that’s roughly 16 to 21 servings per batch.
| Guests | Party length | Batches | What to put it in |
|---|---|---|---|
| 10 | 3 hours | 1 | One 64-ounce pitcher, refilled once |
| 20 | 3 hours | 2 | One 2-gallon dispenser |
| 20 | 4 to 5 hours | 3 | One dispenser plus a spare pitcher in the fridge |
| 30 | 4 hours | 4 | Two dispensers at opposite ends of the table |
Plan on two to three drinks per guest for a three-hour party. The first hour is the heaviest, because everyone arrives thirsty and in a costume they’re proud of.
Always batch one more than the chart says if the party is the kind where people stay. Leftover punch base keeps in the fridge for a few days. Running out at nine o’clock does not have a fix.
Planning Your Drink Selection
Two signature drinks cover most parties without overwhelming your prep time or your table. One alcoholic option and one kid-friendly mocktail handle different ages and preferences while letting you focus on making each one look great.
Batch recipes beat made-to-order drinks every time. A punch bowl holds enough for fifteen to twenty servings, mixes in five minutes, and never runs out mid-party because you can see the level dropping.
Keep your recipes to three ingredients plus garnish. Complexity doesn’t scale, and guests care more about the presentation than whether you used artisanal bitters. Simple mixes also mean fewer bottles cluttering your station and less chance of running out of one critical ingredient halfway through the night.
Setting Up the Station
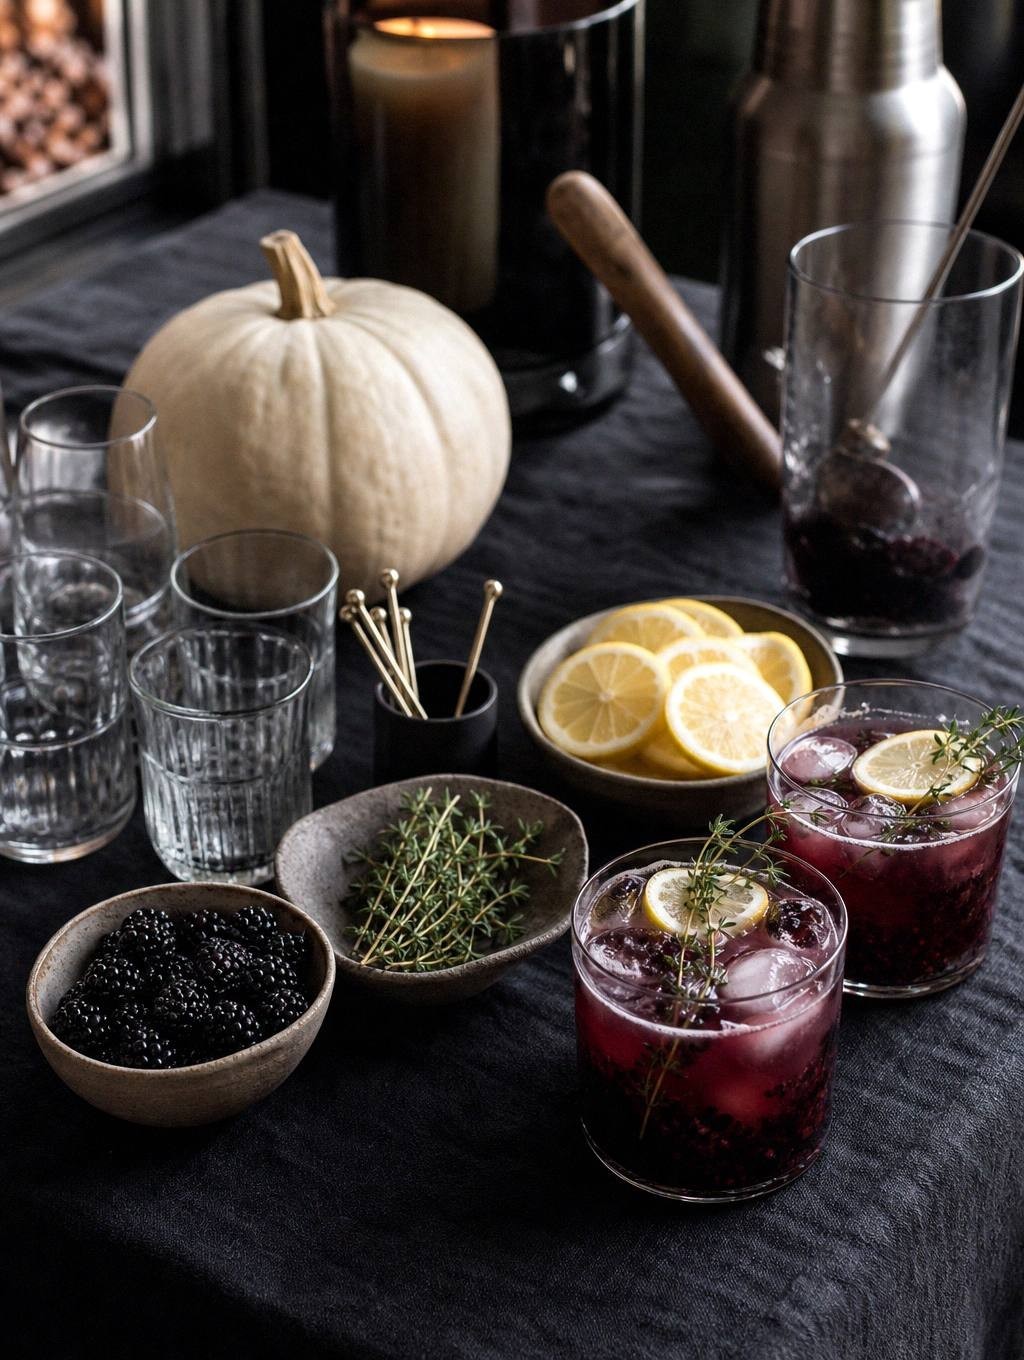
Any flat surface works as your base. A folding table, kitchen island, bar cart, or sturdy side table holds everything you need. Just make sure it’s waist-high so guests don’t have to bend down to pour, and position it away from high-traffic doorways.
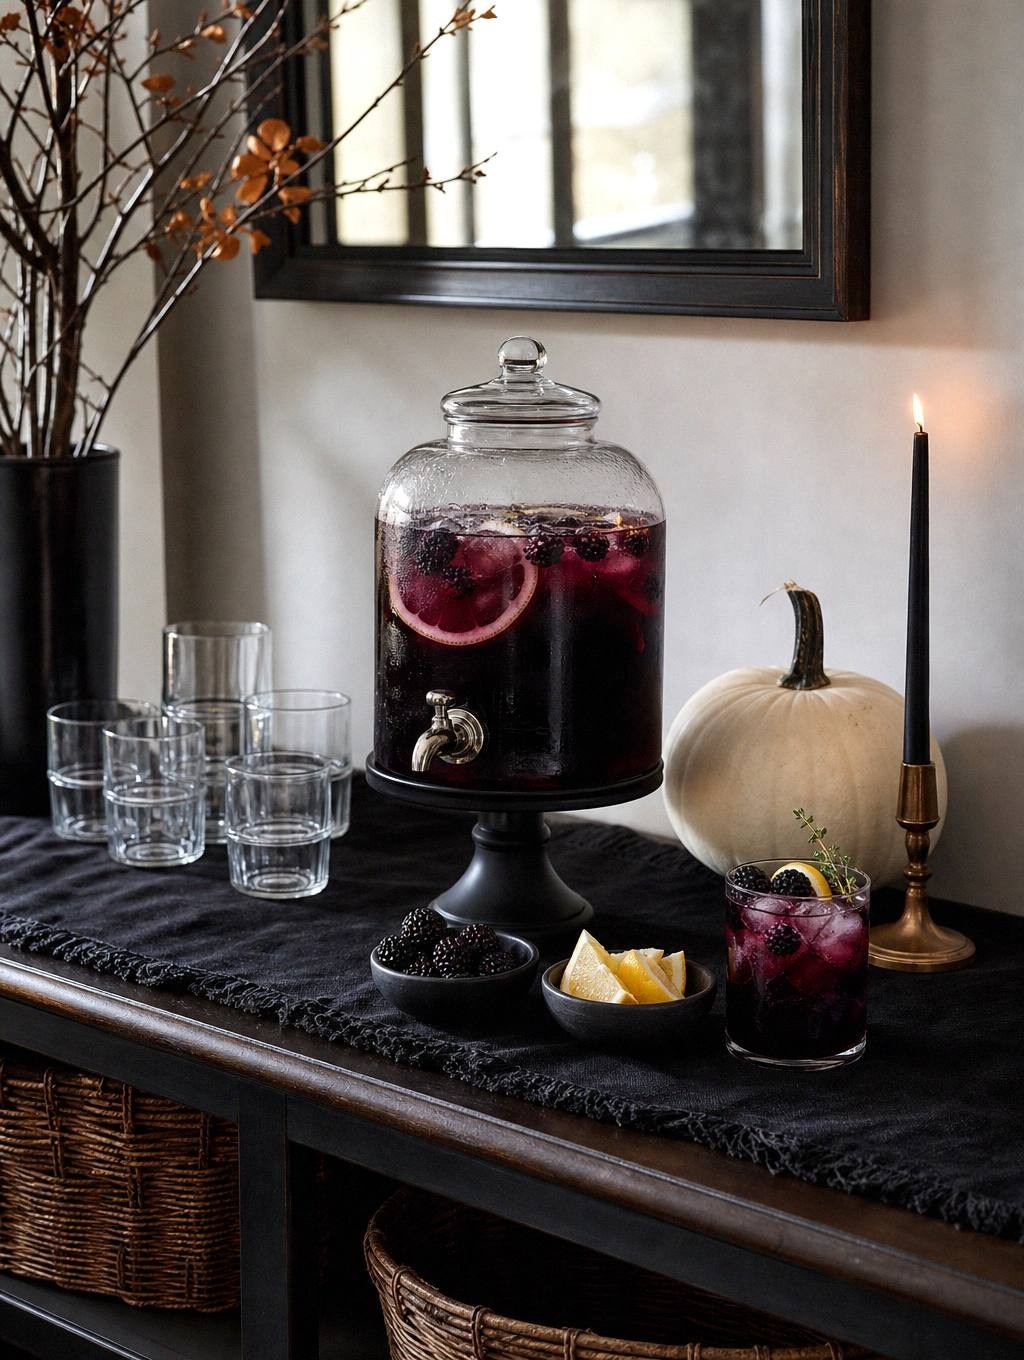
Cover the surface with a dark tablecloth or black plastic sheeting. The backdrop hides spills, makes glassware and garnishes pop visually, and instantly reads as intentional instead of improvised.
Arrange everything in pouring order from left to right. On a standard six-foot table, that breaks down like this:
| Zone | Width | What goes here | Why |
|---|---|---|---|
| Cups and napkins | 12 in | Cup stack, marker, napkins | Guests start at the edge instead of reaching past the punch |
| Main punch | 18 in | Dispenser on a riser, label in front | Needs the most clearance and the most light |
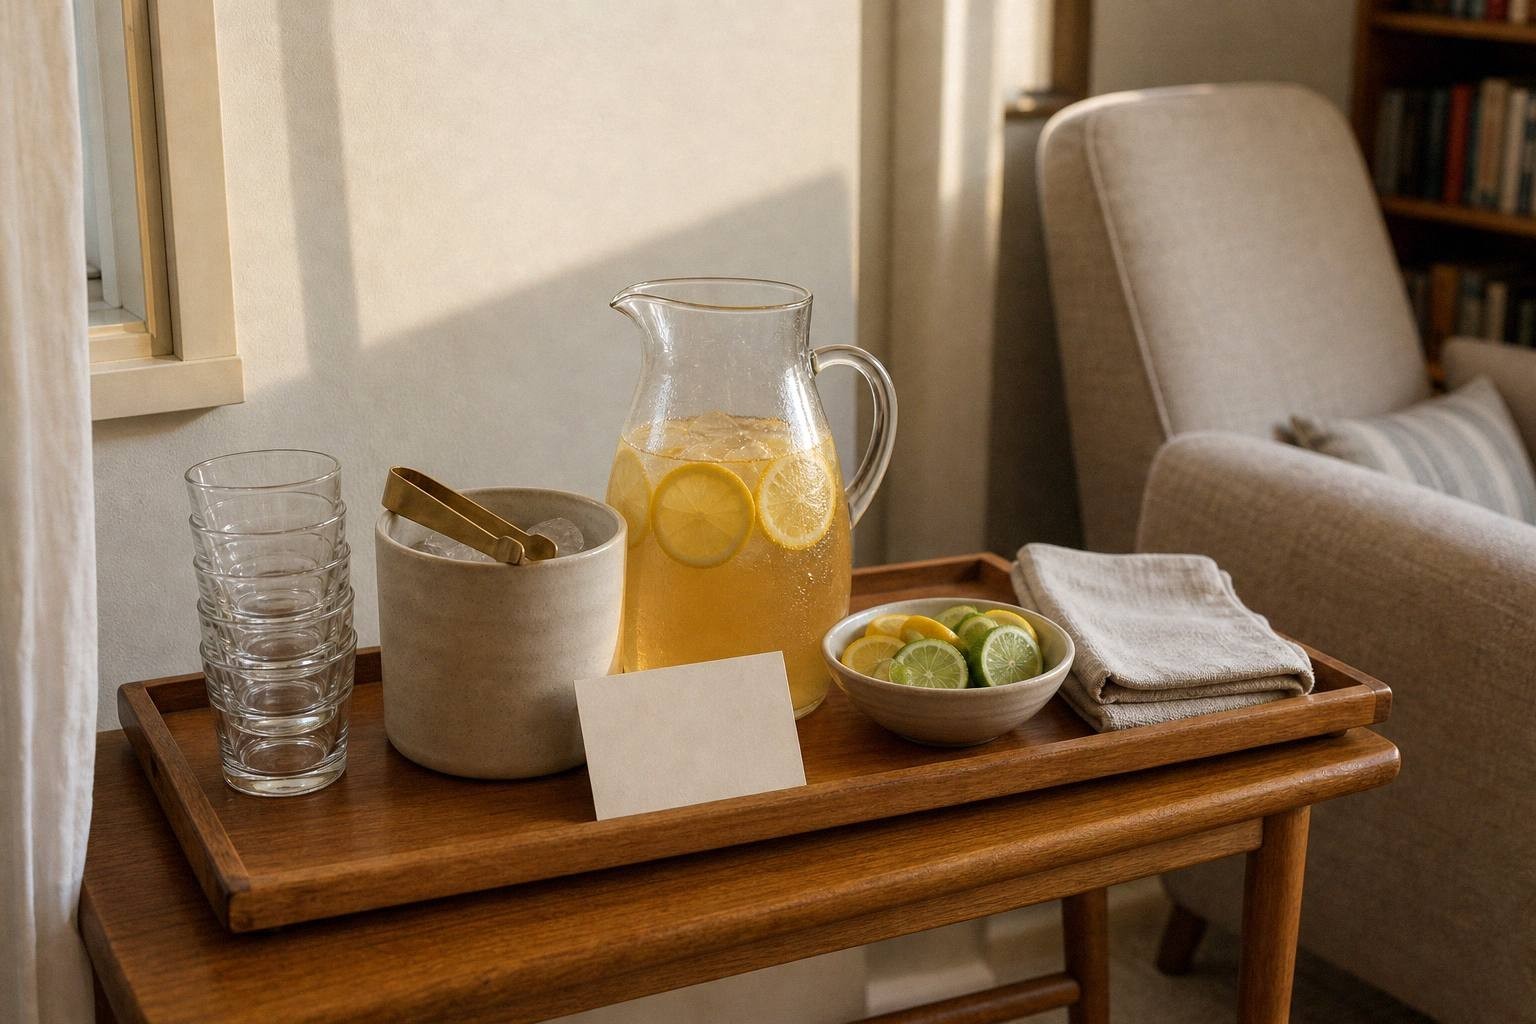
| Mocktail | 16 in | Pitcher on a tray, label in front | The kid-friendly option gets equal billing, not a corner |
| Ice | 12 in | Small bucket and scoop | Ice comes after the pour, never before |
| Garnish | 10 in | Two or three small bowls, tongs | Last stop, so nobody carries a full glass backward |
| Breathing room | 4 in+ | Nothing | Empty space is what makes a dark table readable |
This flow prevents guests from reaching across full glasses to grab ice, reduces spills, and keeps the line moving when several people serve themselves at once. If the path crosses itself, move something.
Ingredients
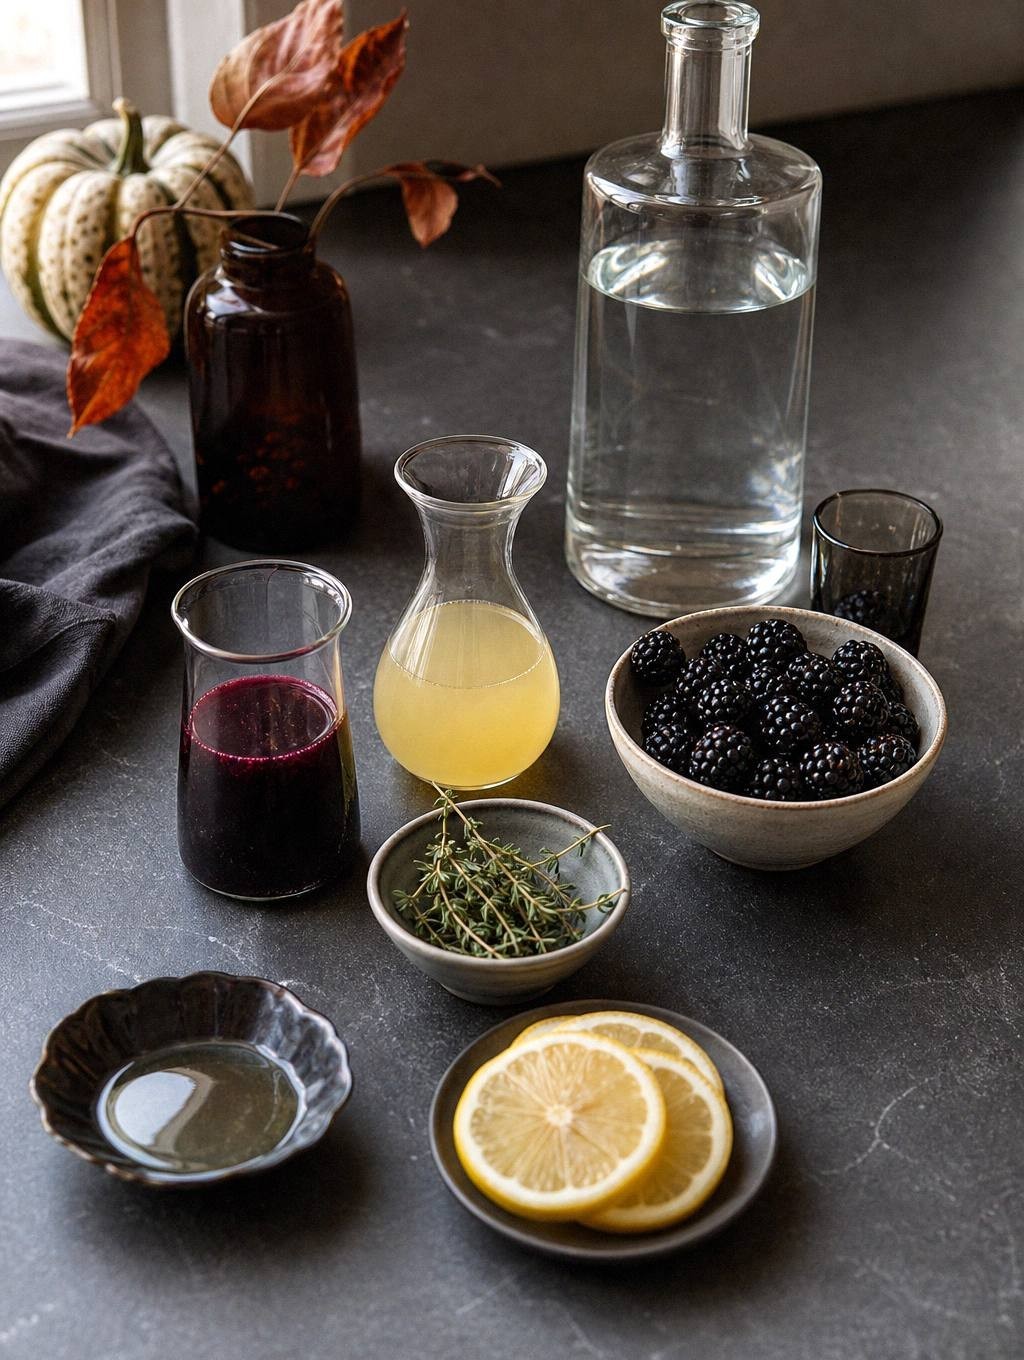
For one batch (serves 12-16 cups):
- 6 cups blackberry juice or blackberry tea, cooled
- 2 cups fresh lemon juice (about 10 lemons)
- 4 cups sparkling water, chilled
- 2 cups vodka or gin (optional)
- 1 cup fresh blackberries
- 6 sprigs fresh thyme
Garnishes (served alongside): additional blackberries, thyme sprigs, lemon wheels
Instructions
- Combine 6 cups cooled blackberry base with 2 cups fresh lemon juice in a large pitcher or punch bowl and stir well.
- Add fresh thyme sprigs to the mixture and refrigerate for 1 to 2 hours to infuse, then strain out and discard the thyme.
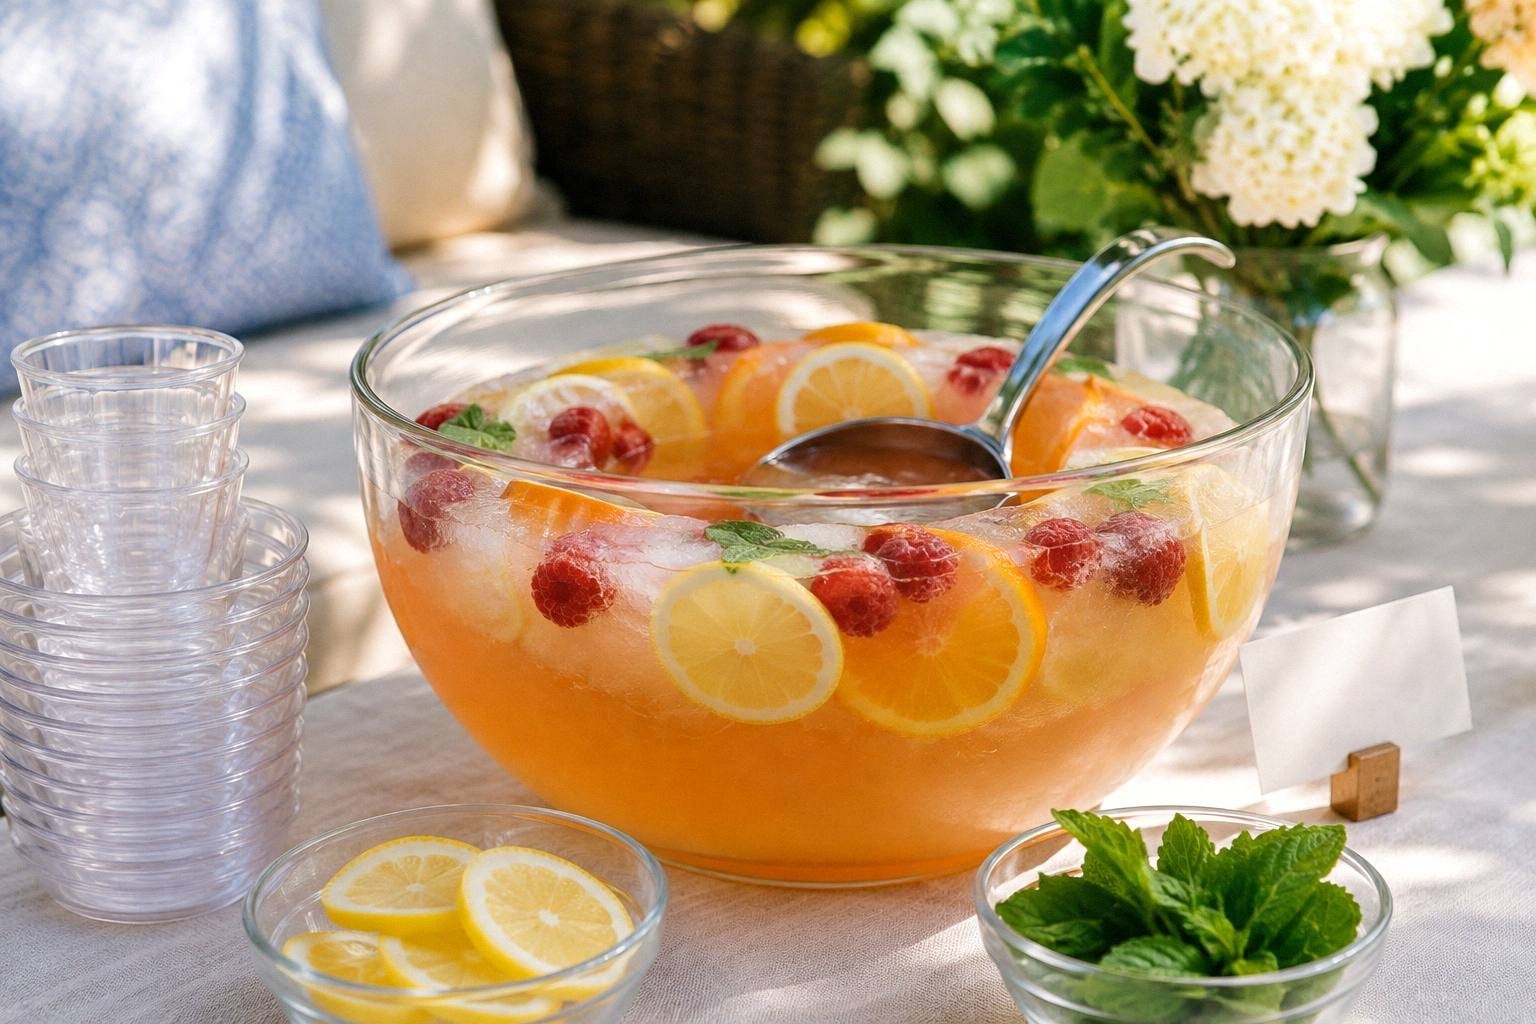
- Pour half the chilled base into a ring mold and freeze for at least 4 hours to create an ice ring that won’t dilute the punch.
- Just before serving, add the ice ring to the punch bowl, pour in 4 cups sparkling water, and add optional spirit if desired.
The Ice Ring, and Why It Matters More Than the Recipe
Regular ice is what ruins a punch bowl. It melts into water, the punch goes pale and thin, and by the third refill it tastes like tinted water. A ring frozen from the punch base itself melts into more punch.
A bundt pan is the standard mold and most kitchens already have one. A loaf pan works. So does a plastic mixing bowl, which gives you a dome instead of a ring and lasts even longer, because a smaller surface area melts more slowly.
Freeze it the day before, not the morning of. Four hours is the minimum in the recipe above, but a full overnight freeze gives you a solid block instead of a slushy one, and that’s what buys you the extra couple of hours.
Drop a few blackberries and thyme sprigs into the mold before it freezes. They suspend inside the ice and the whole thing looks deliberate for the cost of nothing.
To release it, sit the mold in warm water for about thirty seconds. Any longer and the edges start melting before it hits the bowl.
Garnish Station Setup
Prep all garnishes the morning of your party, not the night before. Cut fruit oxidizes and wilts, and fresh herbs lose their snap. Three hours before guests arrive is the sweet spot: everything stays fresh but you’re not scrambling during setup.
Arrange garnishes in small bowls or on a divided tray near the drinks. Guests should be able to grab what they want without digging through a communal pile. Use toothpicks or small tongs for anything that goes into the glass.
| Garnish | Prep when | Holds for | Backup in the fridge? |
|---|---|---|---|
| Lemon wheels | Morning of | All night | No |
| Blackberries | Morning of | All night | No |
| Thyme sprigs | Night before | All night | No |
| Orange slices | Morning of | About 2 hours | Yes |
| Mint | 2 hours before | About 90 minutes | Yes |
Keep backup garnishes in the fridge for anything in that last column. Your first bowl looks great for the first hour, then starts to look tired. Swapping in a fresh one halfway through takes thirty seconds and makes the station look attended all night. The full breakdown of what wilts and what holds lives in the garnish tray guide .
Labeling Your Drinks
Handwritten labels on cardstock work better than printed signs for most home parties. Write the drink name in bold marker, tape it to a toothpick or skewer, and stick it in front of the pitcher.
Include one line about what’s in it if the name isn’t obvious. “Witch’s Brew (lime punch)” or “Black Magic (grape soda mocktail)” tells guests what flavor to expect without listing every ingredient.
Halloween adds a problem no other party has: the room is dark. Black cardstock with a black marker is invisible by eight o’clock, and a guest who can’t read a label either asks you or guesses.
- Write on white or cream card, not black. Contrast beats theme.
- Use a thick marker and print, don’t script. Cursive at candlelight is decoration, not information.
- Put one battery tealight or a small lamp at the garnish end. It lights the labels and the glasses at once.
- Mark the alcoholic one clearly. This is the label that actually matters, and it’s the one people cheerfully forget.
Use the same label style for everything on the table. Mixing fonts, colors, and formats makes your station look chaotic instead of cohesive.
Make-Ahead Timeline
| When | What to do |
|---|---|
| 2 days before | Buy bottles, borrow the dispenser, test the spigot for drips |
| Day before | Mix the punch base without carbonation, freeze the ice ring, chill bottles |
| Morning of | Set up the table, lay the cloth, position cups and buckets, do a walk-through |
| 3 hours before | Cut garnishes, store covered in the fridge |
| 1 hour before | Fill ice buckets, set out garnish bowls, write and place the labels |
| 30 minutes before | Add sparkling water, unmold the ice ring, add the spirit |
| Halfway through | Swap the garnish bowl, top up ice, wipe the tray |
The rule behind the timeline: carbonation goes flat if you add it too early, ice melts if it sits out too long, and garnishes wilt under warm lights. Everything else can be done a day ahead.
Common Setup Problems and Fixes
- Drinks get watery from melting ice: Freeze some of your punch base in ice cube trays the day before, then use those cubes instead of plain ice. They keep drinks cold without diluting them.
- Garnishes turn brown during the party: Brush cut fruit with lemon juice before setting it out, or keep backup garnishes in the fridge and swap them halfway through. Prep fresh, not the night before.
- Guests can’t tell which drink is which: Label everything clearly with the drink name and one-line description. Put labels directly in front of each pitcher, not off to the side.
- The station looks cluttered with mismatched bottles: Decant everything into uniform pitchers or drink dispensers. Hide the original bottles under the table or in the kitchen.
- Ice bucket runs out too fast: Use two smaller buckets instead of one large one, and refill from a cooler stashed nearby. Guests take less ice when the bucket is smaller.
- Spills make the tablecloth sticky: Layer a dark towel under your drink dispensers to catch drips, and keep paper towels within reach. Wipe up spills immediately before they spread.
- The spigot won’t clear a glass: Set the dispenser on a cake stand, a stack of books under the cloth, or an upturned crate. Six inches of clearance is enough for a standard tumbler.
- Nobody touches the mocktail: Give it the same label, the same glassware, and the same garnish bowl as the alcoholic one. A mocktail in a plastic cup next to a punch bowl reads as the lesser option.
Frequently Asked Questions
How many drinks should I offer at a Halloween party?
Two signature drinks work for most parties: one alcoholic and one mocktail. More options create decision paralysis, take up more table space, and triple your prep time. Guests care more about the presentation and ease of serving than having six choices.
How much punch do I need for 20 guests?
Two batches of the recipe above for a three-hour party, three if it runs longer. One batch yields 12 to 16 cups, which is roughly 16 to 21 six-ounce pours with room for ice.
Where should I put beer and wine if I have a themed drink station?
Keep beer and wine separate from your themed station, either in a cooler on the floor nearby or on a different table. Mixing bottles and cans with your styled setup breaks the visual cohesion, and guests who want simple drinks know to look for the cooler anyway.
What furniture works best as a drink station base?
Any waist-high flat surface works: folding tables, kitchen islands, bar carts, console tables, or even a sturdy desk. The key is height and stability, since people will lean on it while serving themselves.
How do I make a drink station look cohesive with mismatched containers?
Use a dark tablecloth as your backdrop and decant everything into clear glass pitchers or dispensers. The uniform material and the dark background make different shapes read as intentional variety instead of random clutter.
What Halloween garnishes are easy to prepare ahead?
Citrus wheels, fresh herb sprigs, and whole berries hold up best when prepped the morning of your party. Cut them three hours before guests arrive, store them in the fridge in a covered container, and set them out right before the party starts.
How do I label drinks without buying special supplies?
Write drink names on cardstock with a bold marker, tape each label to a toothpick or skewer, and stick it in front of the pitcher. Use white or cream card rather than black, because a dark room makes black-on-black labels unreadable by mid-evening.
Can I set the whole station up the day before?
The table, the cloth, the cups, and the ice ring, yes. The punch base too, as long as you leave the sparkling water out. Garnishes and carbonation are the only two things that have to wait until the day of.
So which one are you making the centerpiece, the punch bowl or the mocktail pitcher?